SAFETY INSTRUCTIONS TO OPERATOR
17.Adjust table inserts flush with, or slightly below, the table top.
18.For operations which do not permit the use of a spread- er, serious consideration should be given to the use of
jigs or fixtures to hold the work so the hands of the op- erator are removed a safe distance from the point of operation.
19.The use of abrasive or
20.Objects can be thrown upward toward the operator by the back of the blade if proper operating procedures are not followed. ?his usually occurs when a small loose piece of wood or other object works around to the rear of the revolving blade. It can usually be avoided by re- moving all loose pieces from the table immediately after they are cut off, using a long stick of wood, and by keeping the guard and spreader in place at all times. Use extra caution when the guard assembly is removed for dadoing or molding, and replace the guard as soon as that operation is completed.
21.Never perform any operation "freehand." This term means feeding the stock into the saw blade or other
cutting tool without using the miter gauge, rip fence, taper jig, or some other device which prevents rotating or twisting of the workpiece during the operation.
22.Never turn your saw "ON" before clearing the table of all objects (tools, scraps of wood, etc.) except the workpiece and related feed or support devices for the operation planned.
23.Safety is a combination of operator common sense and alertness at all times when the saw is being used.
24.Do not cycle the motor switch on and off rapidly, as this may cause the saw blade to loosen. In the event this should ever occur, allow the saw blade to come to a complete stop and retighten the arbor nut normally, not excessively.
WARNING: Do not allow familiarity
(gained from frequent use of your saw) to
become commonplace. Always remember that a careless fraction of a second is suf-
ficient to inflict severe injury.
CONTENTS
|
|
| Page |
|
|
| Page |
Unpacking | and | 4 | Maintenance and | Lubrication | 17 | ||
Power Supply and Motor Data | 5 | Proper | Operating | Procedures | 18 | ||
Assembly | and | Adjustments | 6 | Trouble | Shooting | ........................ | 22 |
Operating | Controls | 16 | Repair | Parts | 24 | ||
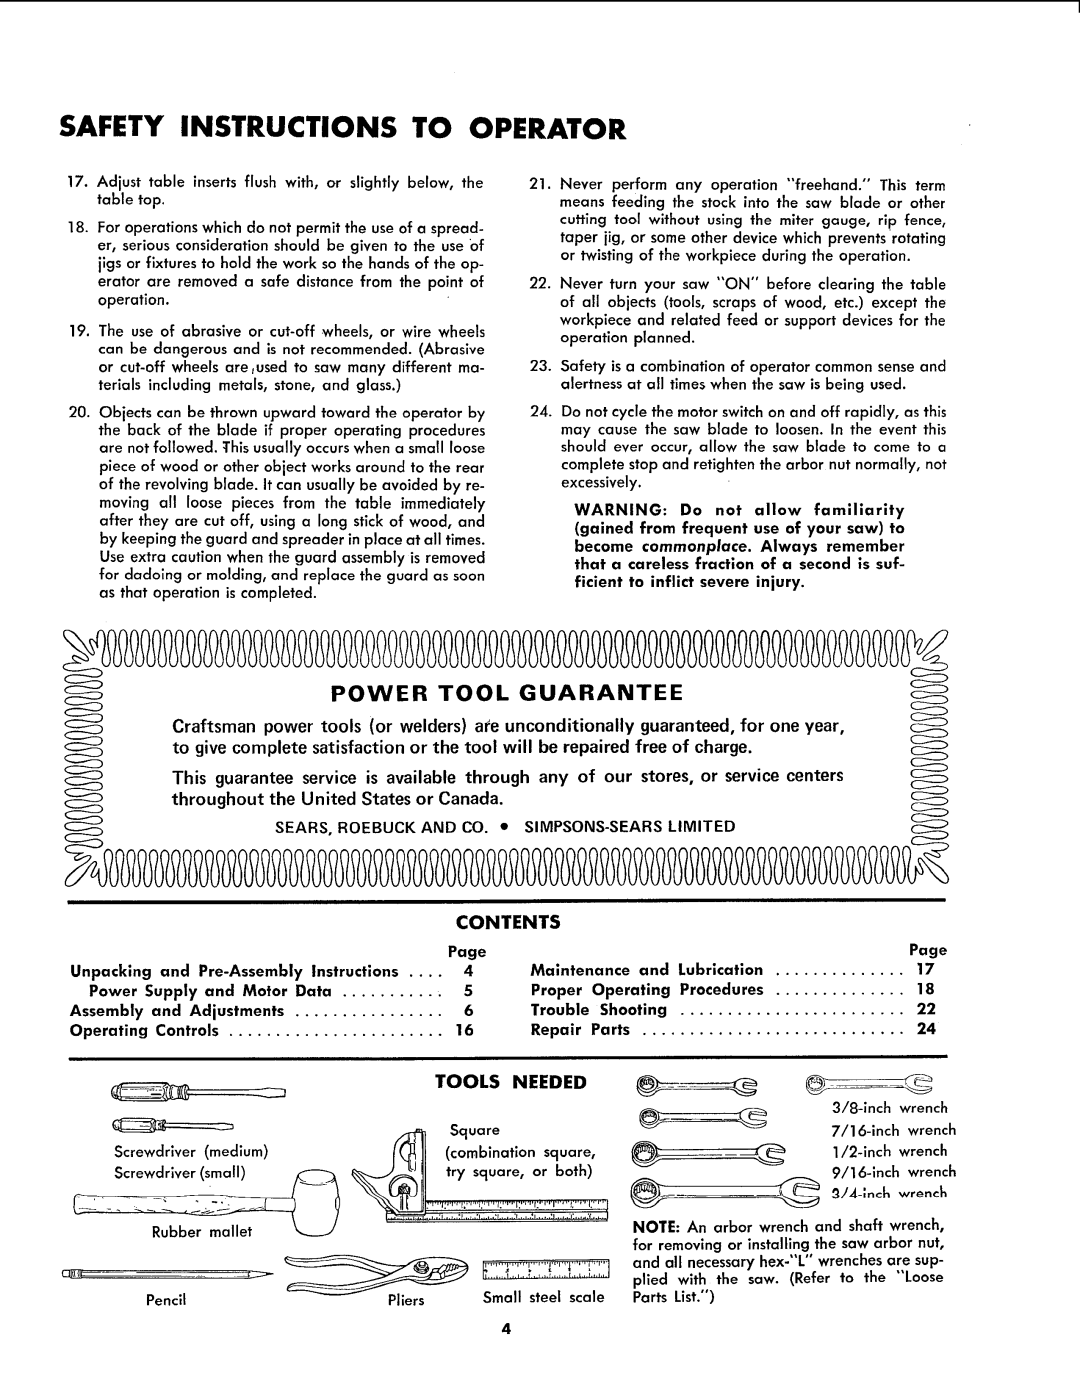
Screwdriver (medium)
Screwdriver (small)
Pencil
TOOLS NEEDED
_ Square
I_ ]J (combination square,
Pliers | Small steel scale |
|
| wrench | |
|
| wrench | |
_ | _ | wrench | |
|
| wrench |
NOTE: An arbor wrench and shaft wrench, for removing or installing the saw arbor nut, and all necessary