Oven Light Replacement
(on some models)
CAUTION: Before replacing your oven light bulb,
disconnect electrical power to the range at the main fuse or circuit breaker panel. Be sure to let the light cover and bulb cool completely.
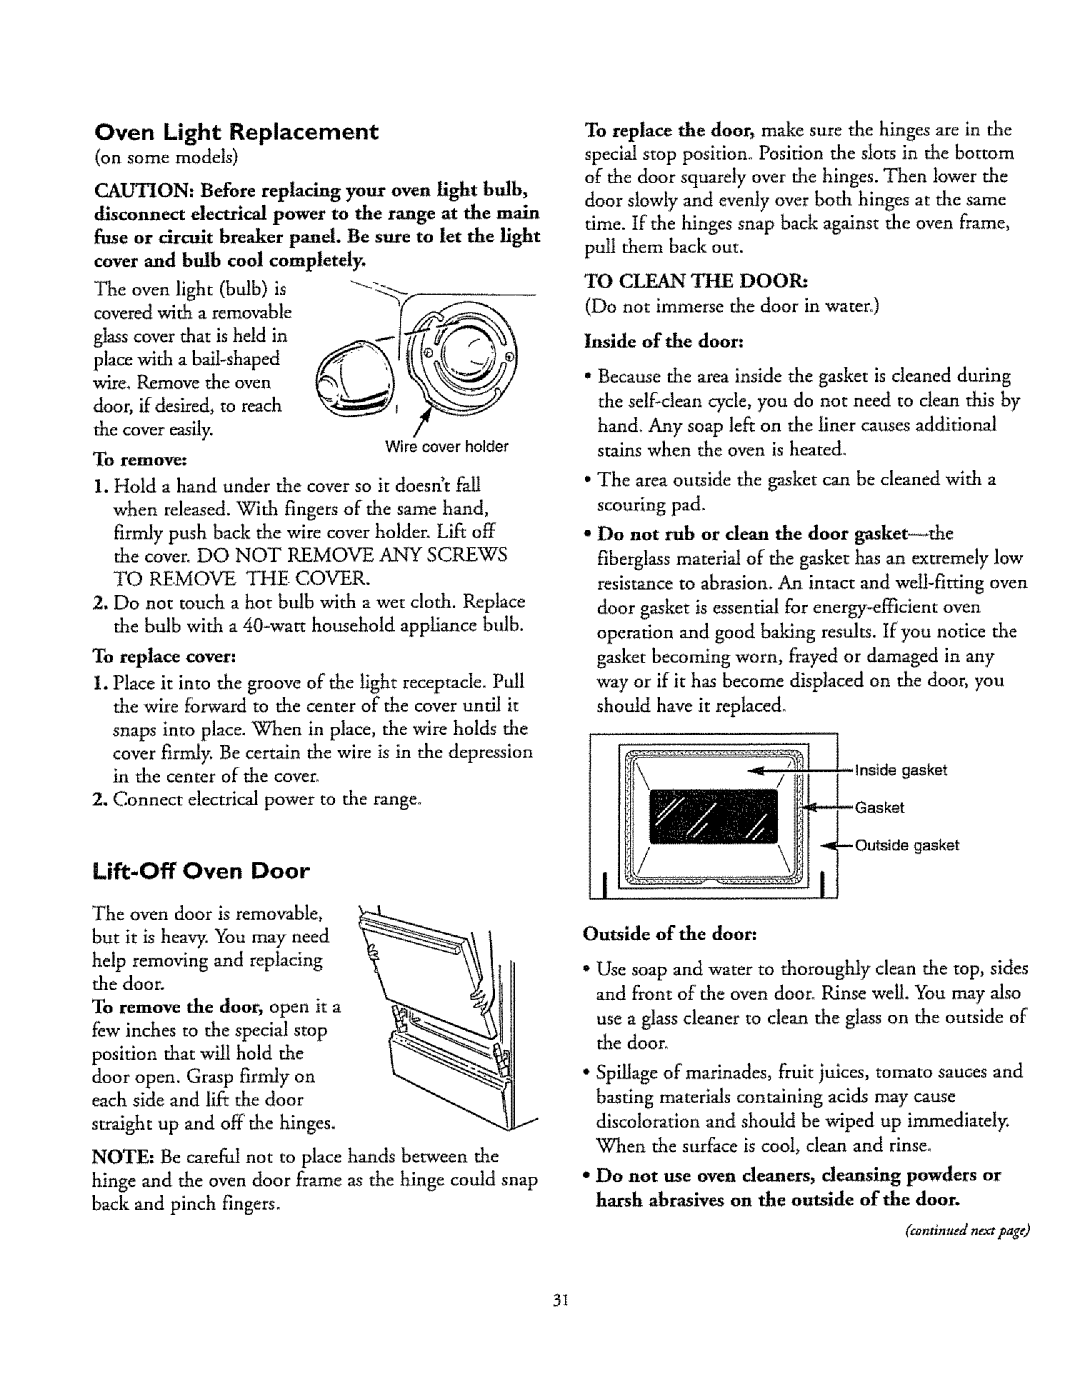
covered with a removable |
|
glass cover that is held | I7_ |
place with a |
|
Theovenlight(b b)is |
|
wire_ Remove the oven |
|
door, if desired, to reach | i |
the cover easily. | Wire cover holder |
|
To remove:
1.Hold a hand under the cover so it doesn't fall when released. With fingers of the same hand,
firmly push back the wire cover holder. Lift off
the cover. DO NOT REMOVE ANY SCREWS
TO REMOVE THE COVER.
2.Do not touch a hot bulb with a wet cloth. Replace
the bulb with a
To replace cover:
I. Place it into the groove of the light receptacle. Pull the wire forward to the center of the cover until it
snaps into place. When in place, the wire holds the
cover firmly, Be certain the wire is in the depression in the center of the cover.
2. Connect electrical power to the range°
Lift-Off Oven Door
The oven door is removable, but it is heavy. You may need help removing and replacing the door.
To remove the door, open it a few inches to the special stop position that will hold the
door open. Grasp firmly on each side and lift the door
straight up and off the hinges.
NOTE: Be careful not to place hands between the hinge and the oven door frame as the hinge could snap back and pinch fingers.
To replace the door, make sure the hinges are in the special stop position,, Position the slots in the bottom of the door squarely over the hinges. Then lower the door slowly and evenly over both hinges at the same time. If the hinges snap back against the oven frame, pull them back out.
TO CLEAN THE DOOR:
(Do not immerse the door in water°)
Inside of the door:
•Because the area inside the gasket is cleaned during the
•The area outside the gasket can be cleaned with a scouring pad.
•Do not rub or dean the door
fiberglass material of the gasket has an extremely low
resistance to abrasion. An intact and
door gasket is essential for
Inside gasket
gasket
Outside of the door:
•Use soap and water to thoroughly clean the top, sides and front of the oven door. Rinse well. You may also
use a glass cleaner to clean the glass on the outside of the door.
•Spillage of marinades, fruit juices, tomato sauces and basting materials containing acids may" cause discoloration and should be wiped up immediately. When the surface is cool, clean and rinse.
"Do not use oven cleaners, deansLrlg powders or harsh abrasives on the outside of the door.
(continued next page)
3I