Macintosh
o o
T
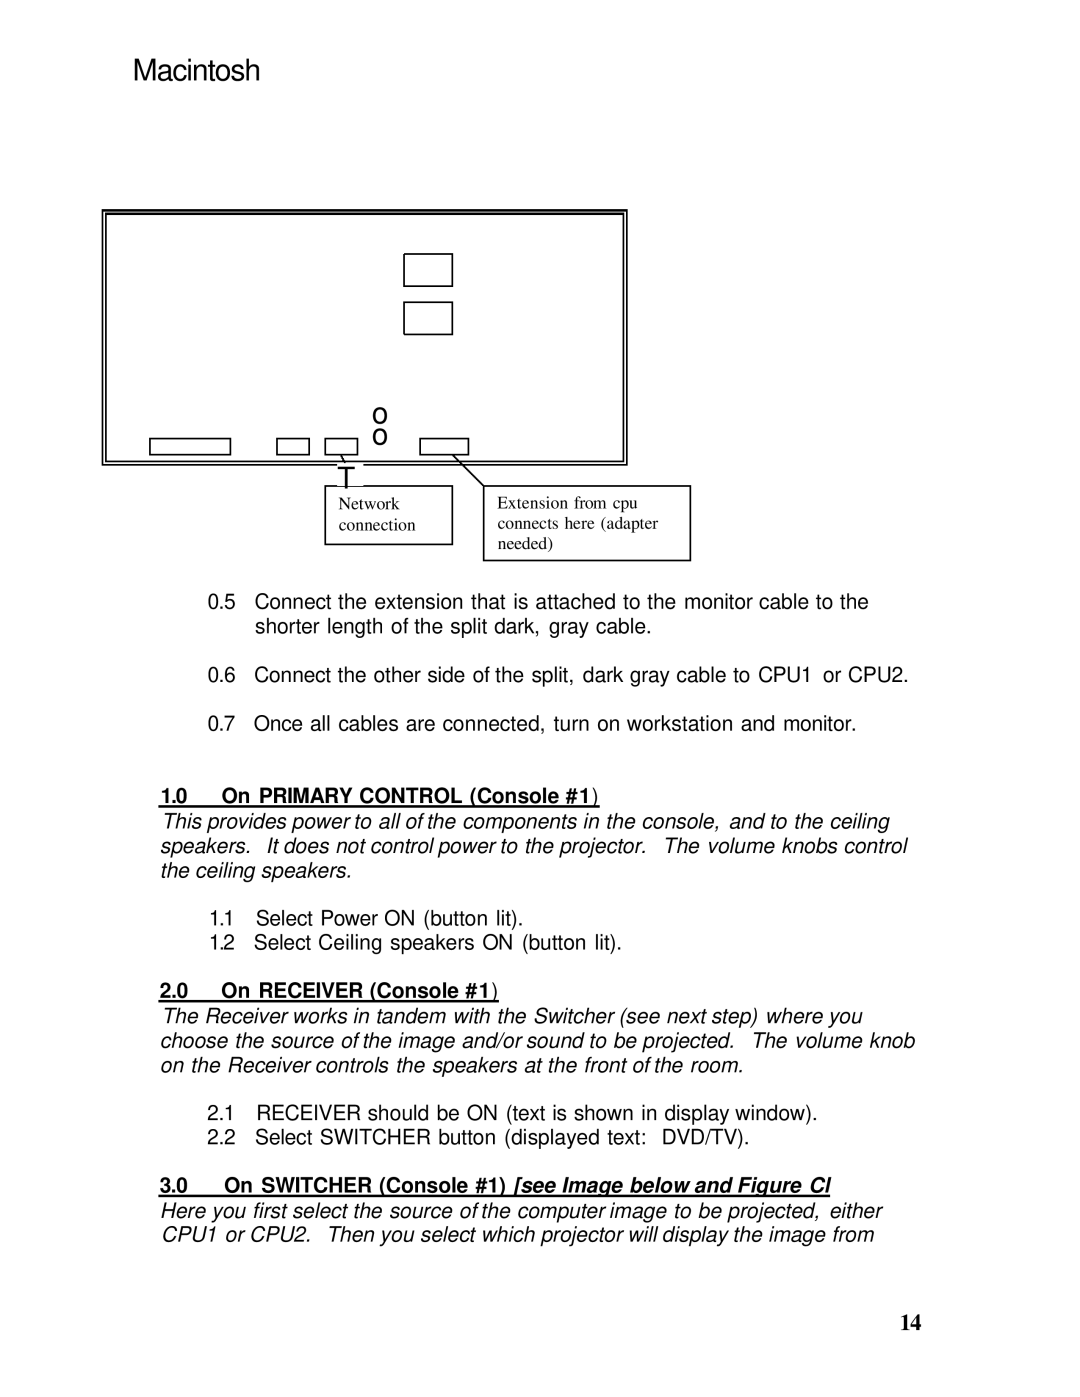
Network | Extension from cpu |
connection | connects here (adapter |
| needed) |
0.5Connect the extension that is attached to the monitor cable to the shorter length of the split dark, gray cable.
0.6Connect the other side of the split, dark gray cable to CPU1 or CPU2.
0.7Once all cables are connected, turn on workstation and monitor.
1.0On PRIMARY CONTROL (Console #1)
This provides power to all of the components in the console, and to the ceiling speakers. It does not control power to the projector. The volume knobs control the ceiling speakers.
1.1Select Power ON (button lit).
1.2Select Ceiling speakers ON (button lit).
2.0On RECEIVER (Console #1)
The Receiver works in tandem with the Switcher (see next step) where you choose the source of the image and/or sound to be projected. The volume knob on the Receiver controls the speakers at the front of the room.
2.1RECEIVER should be ON (text is shown in display window).
2.2Select SWITCHER button (displayed text: DVD/TV).
3.0On SWITCHER (Console #1) [see Image below and Figure Cl Here you first select the source of the computer image to be projected, either CPU1 or CPU2. Then you select which projector will display the image from
14