Using Video Output in Room 111 - Step-by-Step
Instructions for using the Room 111 mounted projectors to display images and output sound from the room's VHS video recorder/player, the
0.0Initial setup
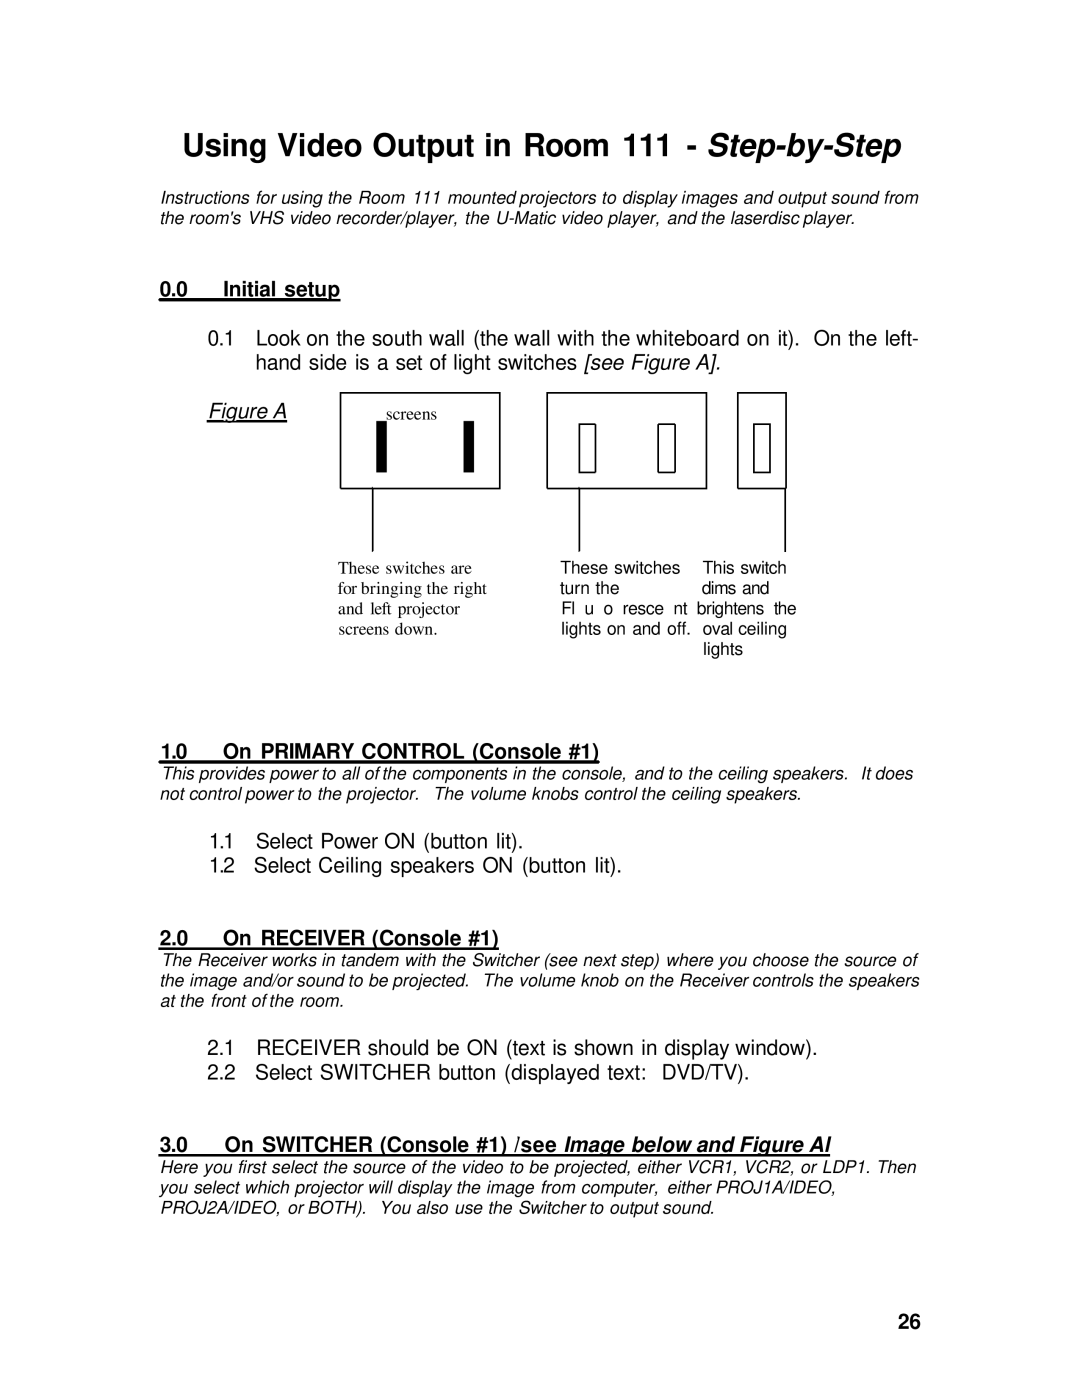
0.1Look on the south wall (the wall with the whiteboard on it). On the left- hand side is a set of light switches [see Figure A].
Figure A | screens | I |
| I |
These switches are | These switches | This switch |
for bringing the right | turn the | dims and |
and left projector | Fl u o resce nt brightens the | |
screens down. | lights on and off. | oval ceiling |
|
| lights |
1.0On PRIMARY CONTROL (Console #1)
This provides power to all of the components in the console, and to the ceiling speakers. It does not control power to the projector. The volume knobs control the ceiling speakers.
1.1Select Power ON (button lit).
1.2Select Ceiling speakers ON (button lit).
2.0On RECEIVER (Console #1)
The Receiver works in tandem with the Switcher (see next step) where you choose the source of the image and/or sound to be projected. The volume knob on the Receiver controls the speakers at the front of the room.
2.1RECEIVER should be ON (text is shown in display window).
2.2Select SWITCHER button (displayed text: DVD/TV).
3.0On SWITCHER (Console #1) /see Image below and Figure Al
Here you first select the source of the video to be projected, either VCR1, VCR2, or LDP1. Then you select which projector will display the image from computer, either PROJ1A/IDEO, PROJ2A/IDEO, or BOTH). You also use the Switcher to output sound.
26