TROUBLESHOOTING
If you think the oven is not working properly there are some simple checks which you can carry out yourself before you call for an engineer. This will help prevent unnecessary service calls if the fault is something simple.
Simply answer “YES” or “NO” to the following questions:
1.Plug the power cord into a
2.Open the door
A. Does the oven light come on? | Yes________No |
3.Place one cup of water (approx. 250ml) in a microwave- safe glass measuring cup in the oven and close the door securely. Oven lamp should go off if door is closed properly.
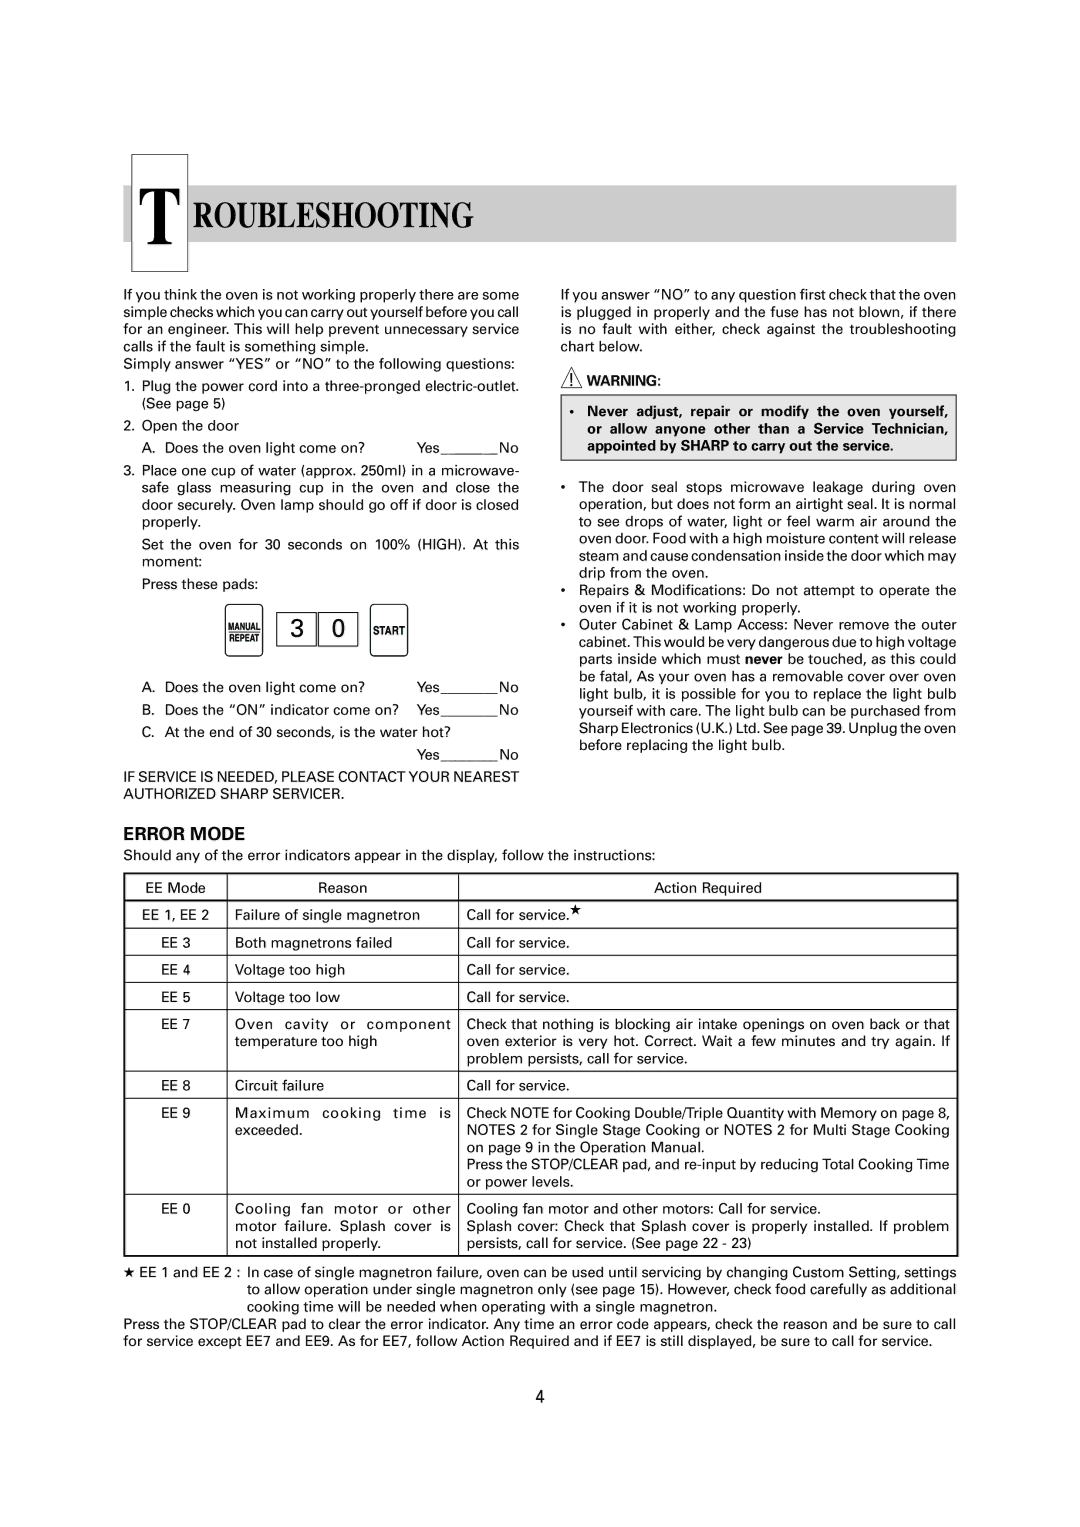
Set the oven for 30 seconds on 100% (HIGH). At this moment:
Press these pads:
![]()
![]() 3
3 ![]()
![]() 0
0 ![]()
![]()
A. Does the oven light come on? | Yes________No |
B.Does the “ON” indicator come on? Yes________No
C.At the end of 30 seconds, is the water hot?
Yes________No
IF SERVICE IS NEEDED, PLEASE CONTACT YOUR NEAREST AUTHORIZED SHARP SERVICER.
ERROR MODE
If you answer “NO” to any question first check that the oven is plugged in properly and the fuse has not blown, if there is no fault with either, check against the troubleshooting chart below.
![]() WARNING:
WARNING:
•Never adjust, repair or modify the oven yourself, or allow anyone other than a Service Technician, appointed by SHARP to carry out the service.
•The door seal stops microwave leakage during oven operation, but does not form an airtight seal. It is normal to see drops of water, light or feel warm air around the oven door. Food with a high moisture content will release steam and cause condensation inside the door which may drip from the oven.
•Repairs & Modifications: Do not attempt to operate the oven if it is not working properly.
•Outer Cabinet & Lamp Access: Never remove the outer cabinet. This would be very dangerous due to high voltage parts inside which must never be touched, as this could be fatal, As your oven has a removable cover over oven light bulb, it is possible for you to replace the light bulb yourseif with care. The light bulb can be purchased from Sharp Electronics (U.K.) Ltd. See page 39. Unplug the oven before replacing the light bulb.
Should any of the error indicators appear in the display, follow the instructions:
EE Mode | Reason | Action Required |
|
|
|
EE 1, EE 2 | Failure of single magnetron | Call for service.★ |
EE 3 | Both magnetrons failed | Call for service. |
|
|
|
EE 4 | Voltage too high | Call for service. |
|
|
|
EE 5 | Voltage too low | Call for service. |
|
|
|
EE 7 | Oven cavity or component | Check that nothing is blocking air intake openings on oven back or that |
| temperature too high | oven exterior is very hot. Correct. Wait a few minutes and try again. If |
|
| problem persists, call for service. |
|
|
|
EE 8 | Circuit failure | Call for service. |
|
|
|
EE 9 | Maximum cooking time is | Check NOTE for Cooking Double/Triple Quantity with Memory on page 8, |
| exceeded. | NOTES 2 for Single Stage Cooking or NOTES 2 for Multi Stage Cooking |
|
| on page 9 in the Operation Manual. |
|
| Press the STOP/CLEAR pad, and |
|
| or power levels. |
|
|
|
EE 0 | Cooling fan motor or other | Cooling fan motor and other motors: Call for service. |
| motor failure. Splash cover is | Splash cover: Check that Splash cover is properly installed. If problem |
| not installed properly. | persists, call for service. (See page 22 - 23) |
|
|
|
★EE 1 and EE 2 : In case of single magnetron failure, oven can be used until servicing by changing Custom Setting, settings to allow operation under single magnetron only (see page 15). However, check food carefully as additional
cooking time will be needed when operating with a single magnetron.
Press the STOP/CLEAR pad to clear the error indicator. Any time an error code appears, check the reason and be sure to call for service except EE7 and EE9. As for EE7, follow Action Required and if EE7 is still displayed, be sure to call for service.
4