Computer Image Adjustments (INPUT 1 or 2 mode Only)
Projector | Remote control | Saving and Selecting Adjustment Settings |
1, 6
![]()
![]()
![]()
![]()
![]()
![]() 2, 3, 4
2, 3, 4
5
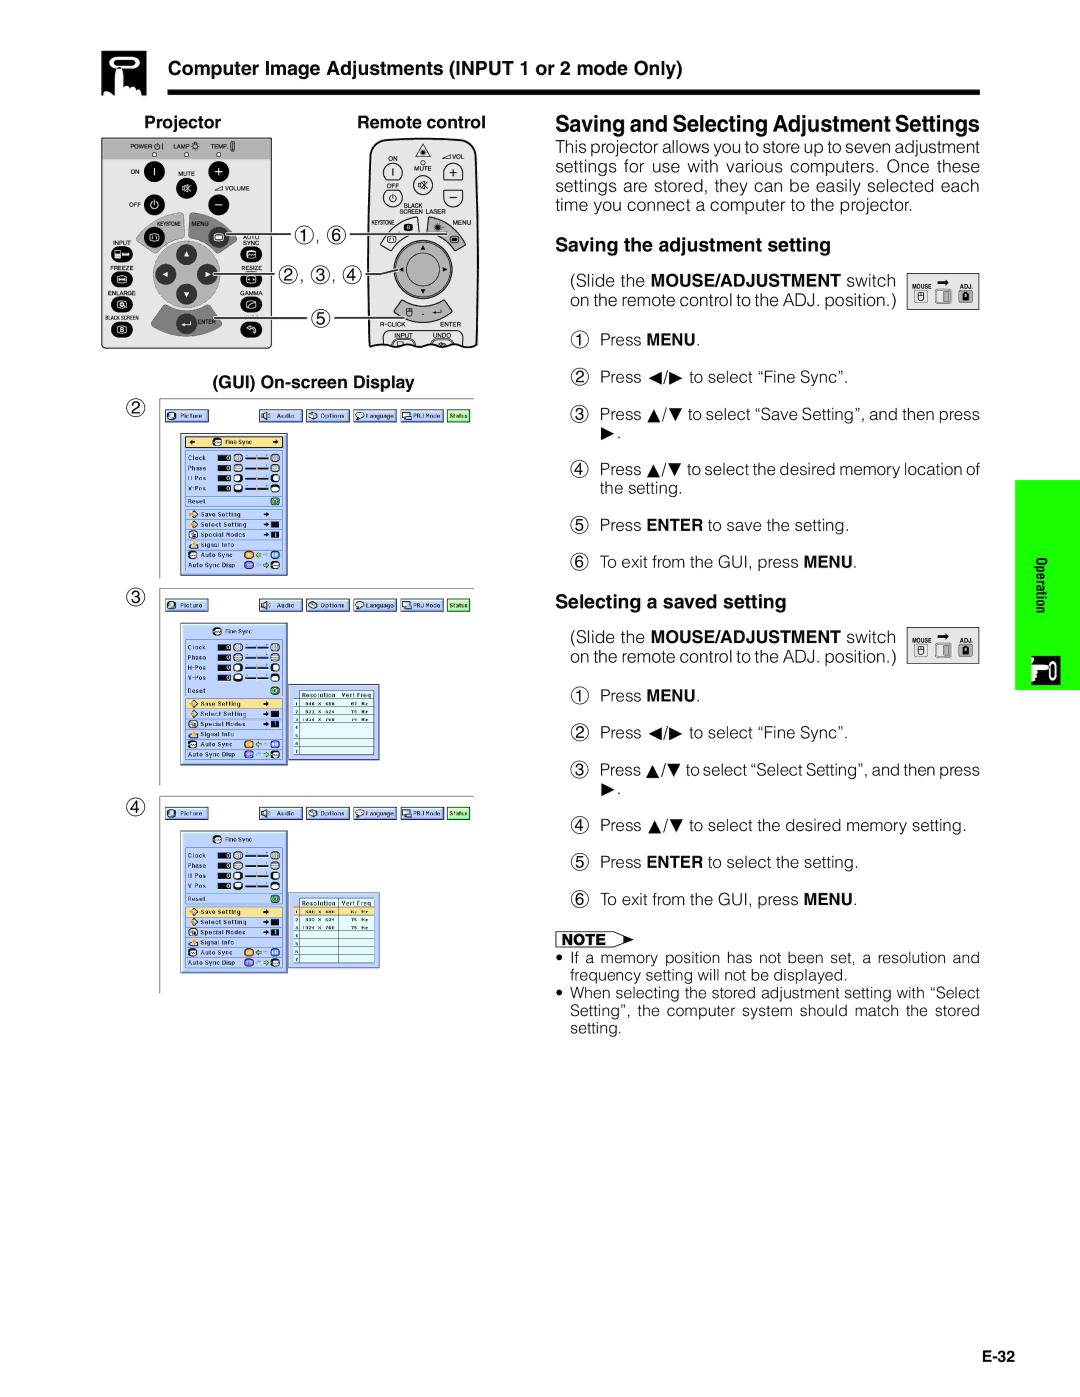
(GUI) On-screen Display
2 |
3 |
4
This projector allows you to store up to seven adjustment settings for use with various computers. Once these settings are stored, they can be easily selected each time you connect a computer to the projector.
Saving the adjustment setting
(Slide the MOUSE/ADJUSTMENT switch MOUSE ![]() ADJ. on the remote control to the ADJ. position.)
ADJ. on the remote control to the ADJ. position.) ![]()
![]()
![]()
1Press MENU.
2Press ß/© to select “Fine Sync”.
3Press ∂/ƒ to select “Save Setting”, and then press
©.
4Press ∂/ƒ to select the desired memory location of the setting.
5Press ENTER to save the setting.
6To exit from the GUI, press MENU.
Selecting a saved setting
(Slide the MOUSE/ADJUSTMENT switch MOUSE ![]() ADJ. on the remote control to the ADJ. position.)
ADJ. on the remote control to the ADJ. position.) ![]()
![]()
![]()
1Press MENU.
2Press ß/© to select “Fine Sync”.
3Press ∂/ƒ to select “Select Setting”, and then press
©.
4Press ∂/ƒ to select the desired memory setting.
5Press ENTER to select the setting.
6To exit from the GUI, press MENU.
•If a memory position has not been set, a resolution and frequency setting will not be displayed.
•When selecting the stored adjustment setting with “Select Setting”, the computer system should match the stored setting.
Operation