Powering On and Connecting to the Appliance
After registering your SonicWALL CDP appliance on MySonicWALL, you are ready to turn on the appliance and connect a computer to it for initial configuration.
1.Place the SonicWALL CDP appliance and your management computer next to each other for the initialization process.
2.Set the LAN IP address of your management computer to a static IP address on the 192.168.168.0/24 subnet, such as 192.168.168.50. For help with setting a static IP address on your computer, refer to Configuring a Static IP Address on Windows - page 14.
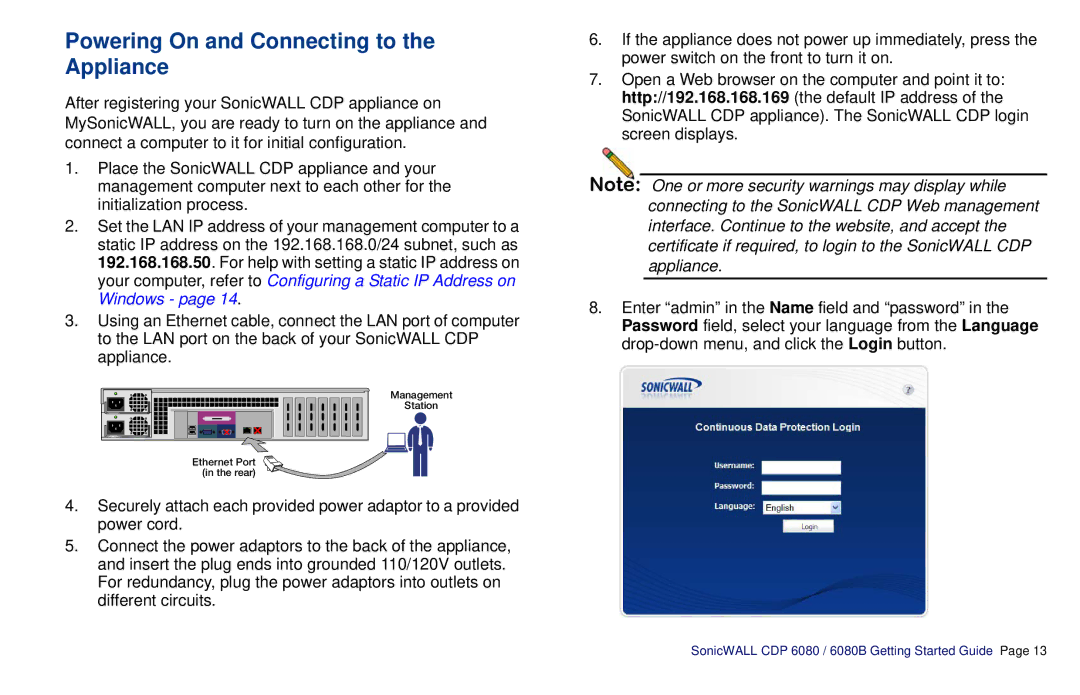
3.Using an Ethernet cable, connect the LAN port of computer to the LAN port on the back of your SonicWALL CDP appliance.
Management |
Station |
Ethernet Port (in the rear)
4.Securely attach each provided power adaptor to a provided power cord.
5.Connect the power adaptors to the back of the appliance, and insert the plug ends into grounded 110/120V outlets. For redundancy, plug the power adaptors into outlets on different circuits.
6.If the appliance does not power up immediately, press the power switch on the front to turn it on.
7.Open a Web browser on the computer and point it to: http://192.168.168.169 (the default IP address of the SonicWALL CDP appliance). The SonicWALL CDP login screen displays.
Note: One or more security warnings may display while connecting to the SonicWALL CDP Web management interface. Continue to the website, and accept the certificate if required, to login to the SonicWALL CDP appliance.
8.Enter “admin” in the Name field and “password” in the Password field, select your language from the Language
SonicWALL CDP 6080 / 6080B Getting Started Guide Page 13