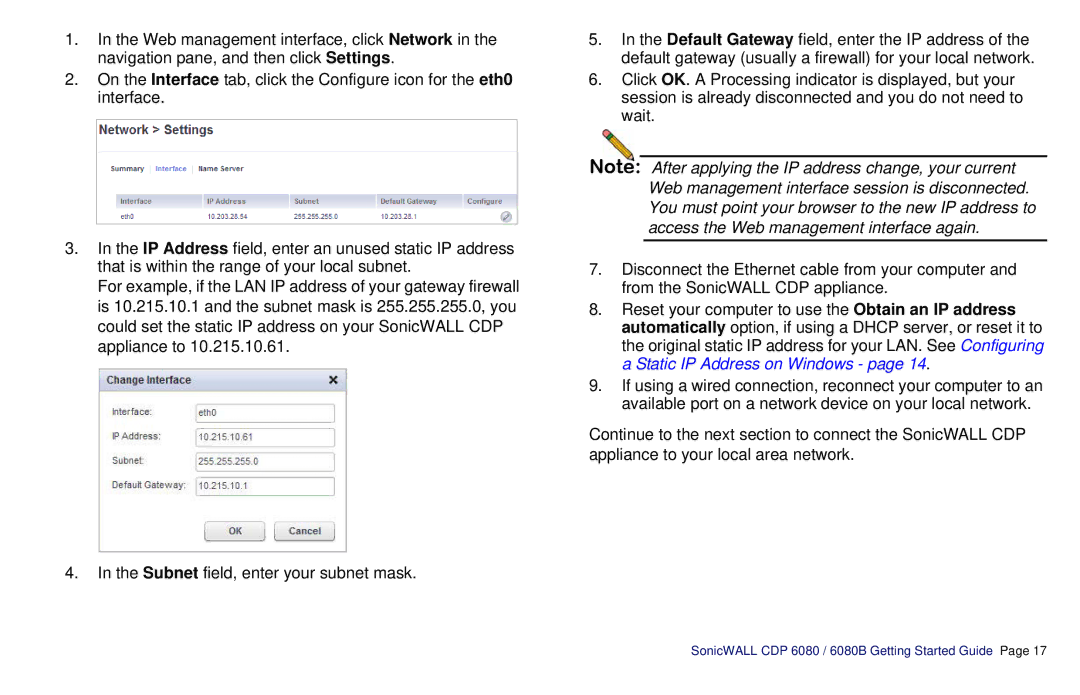
1.In the Web management interface, click Network in the navigation pane, and then click Settings.
2.On the Interface tab, click the Configure icon for the eth0 interface.
3.In the IP Address field, enter an unused static IP address that is within the range of your local subnet.
For example, if the LAN IP address of your gateway firewall is 10.215.10.1 and the subnet mask is 255.255.255.0, you could set the static IP address on your SonicWALL CDP appliance to 10.215.10.61.
4.In the Subnet field, enter your subnet mask.
5.In the Default Gateway field, enter the IP address of the default gateway (usually a firewall) for your local network.
6.Click OK. A Processing indicator is displayed, but your session is already disconnected and you do not need to wait.
Note: After applying the IP address change, your current Web management interface session is disconnected. You must point your browser to the new IP address to access the Web management interface again.
7.Disconnect the Ethernet cable from your computer and from the SonicWALL CDP appliance.
8.Reset your computer to use the Obtain an IP address automatically option, if using a DHCP server, or reset it to the original static IP address for your LAN. See Configuring a Static IP Address on Windows - page 14.
9.If using a wired connection, reconnect your computer to an available port on a network device on your local network.
Continue to the next section to connect the SonicWALL CDP appliance to your local area network.
