4.Pop open the drive handle on the new hard drive by pressing the square button.
5.Insert the drive into the empty slot, label side up with the handle sticking out.
6.Press the drive firmly into place to seat the connectors, and then close the handle.
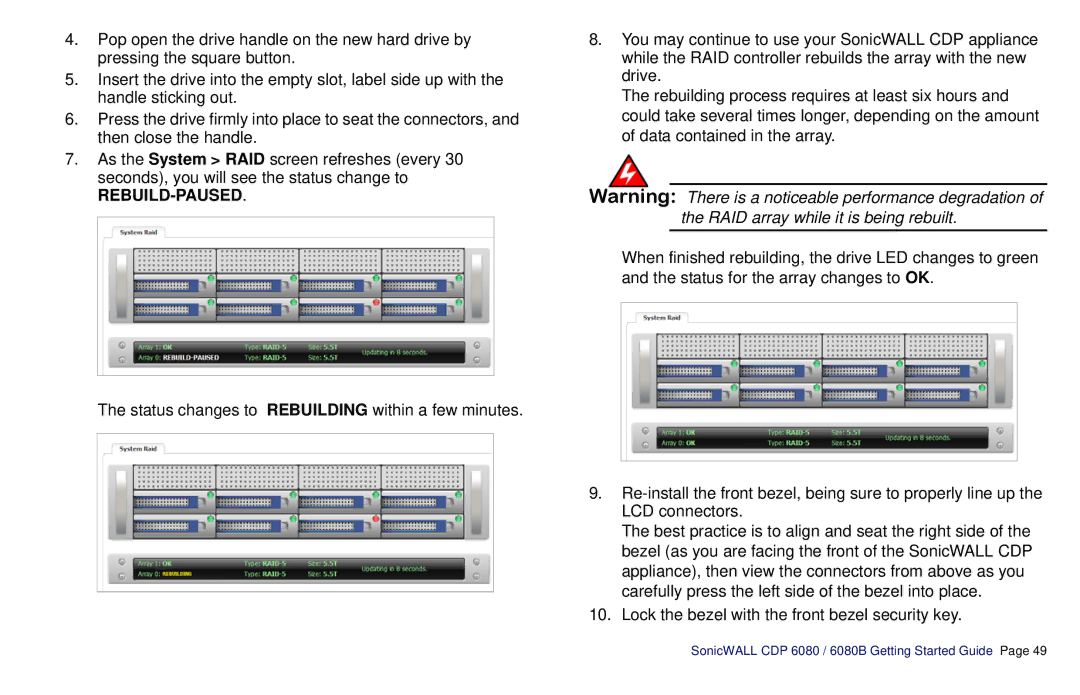
7.As the System > RAID screen refreshes (every 30 seconds), you will see the status change to
REBUILD-PAUSED.
The status changes to REBUILDING within a few minutes.
8.You may continue to use your SonicWALL CDP appliance while the RAID controller rebuilds the array with the new drive.
The rebuilding process requires at least six hours and could take several times longer, depending on the amount of data contained in the array.
Warning: There is a noticeable performance degradation of the RAID array while it is being rebuilt.
When finished rebuilding, the drive LED changes to green and the status for the array changes to OK.
9.
The best practice is to align and seat the right side of the bezel (as you are facing the front of the SonicWALL CDP appliance), then view the connectors from above as you carefully press the left side of the bezel into place.
10.Lock the bezel with the front bezel security key.