SSL VPN 5.0 specifications
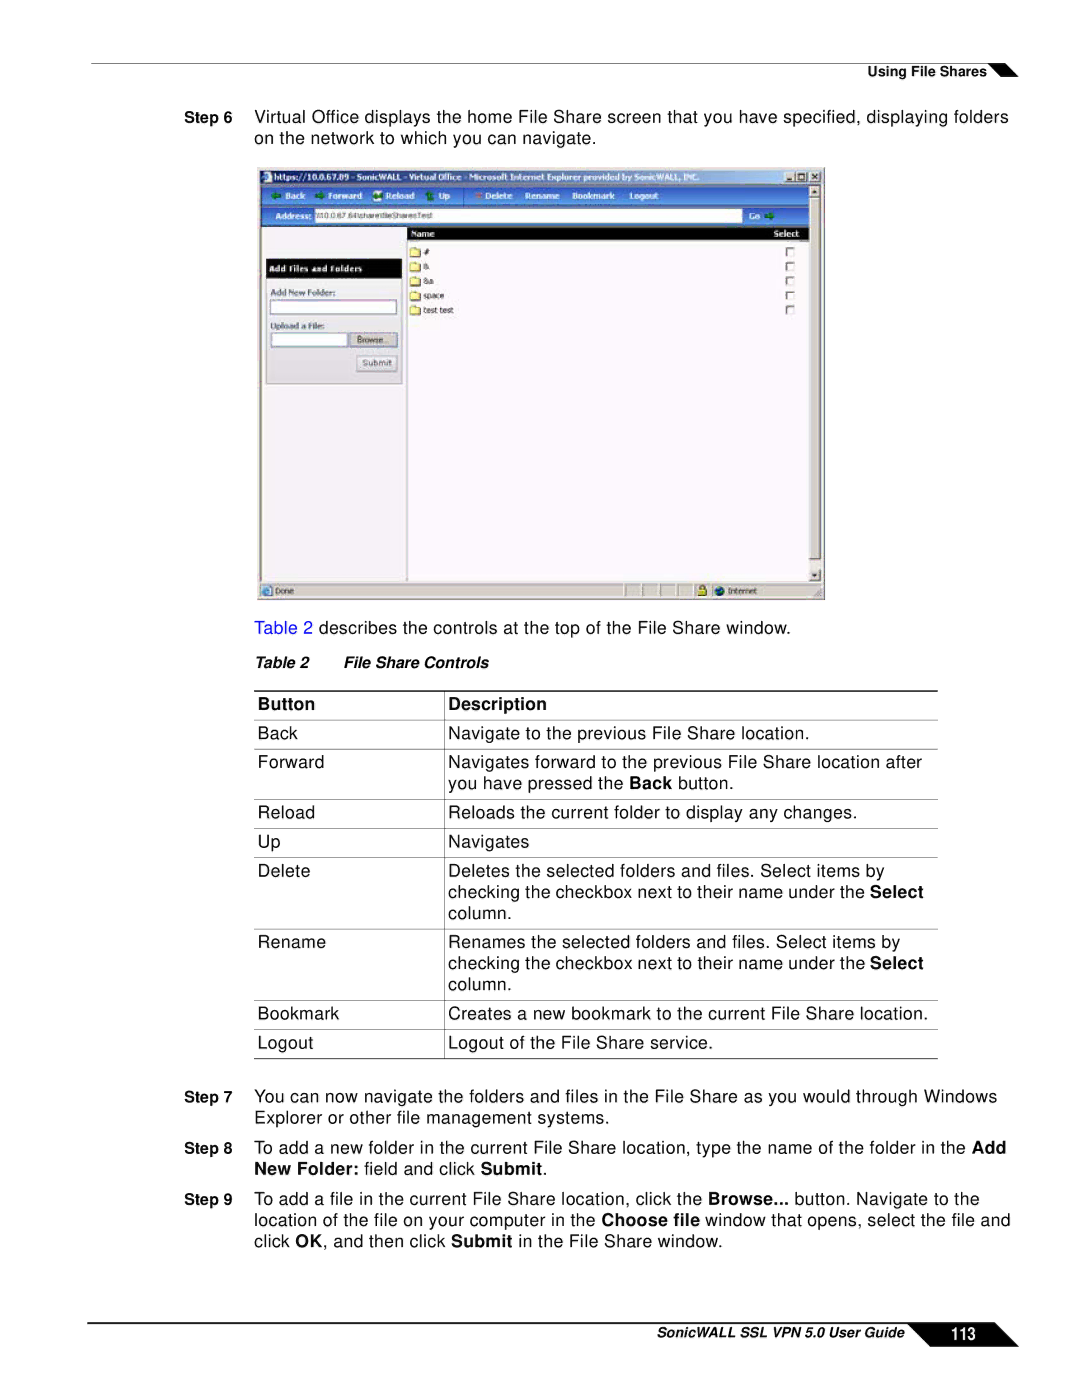
SonicWALL SSL VPN 5.0 is a powerful solution designed to provide secure remote access to organizations while ensuring robust security for their networks. This version builds upon previous iterations, incorporating advanced technologies and features that cater to both enterprise and small business needs.One of the main features of SonicWALL SSL VPN 5.0 is its user-friendly web portal. The portal is accessible from any device with a web browser, allowing users to connect seamlessly to corporate resources without the need for client software installation. This flexibility is particularly beneficial for remote workers who may be using public or personal devices.
The SSL VPN 5.0 also supports multiple authentication methods, enhancing security while maintaining ease of access. It includes support for two-factor authentication (2FA), which adds an extra layer of protection during the login process. Administrators can configure various authentication schemes, including RSA SecurID, LDAP, RADIUS, and more, to meet organizational security policies.
Another notable characteristic of SonicWALL SSL VPN 5.0 is its scalable architecture. Organizations can easily expand their VPN capabilities as their workforce grows. The solution supports a large number of concurrent connections, ensuring that businesses can accommodate an increasing number of remote users without compromising performance.
SonicWALL SSL VPN 5.0 also emphasizes security features that protect both user data and the corporate network. It leverages strong encryption protocols, ensuring that all data transmitted between users and the network is secure from eavesdropping or interception. The solution employs SSL (Secure Sockets Layer) technology, which is widely recognized for its robust security measures.
In addition to security, SonicWALL SSL VPN 5.0 provides comprehensive access control options. Administrators can create policies that restrict user access based on roles or groups, making it easier to manage permissions and safeguard sensitive information. This granular control helps organizations enforce compliance with regulatory standards.
Moreover, the solution includes advanced logging and reporting capabilities that allow administrators to monitor user activity and access patterns. This insight not only aids in troubleshooting but also helps to identify potential security threats.
SonicWALL SSL VPN 5.0 stands out with its integration capabilities. It can work harmoniously with existing network infrastructures, including firewalls, to create a cohesive security strategy. By utilizing the SonicWALL global management system, IT teams can manage and monitor their VPN and other security solutions from a central location.
Combining ease of use, robust security, and comprehensive management capabilities, SonicWALL SSL VPN 5.0 is a compelling choice for organizations seeking to enable secure remote access while protecting their critical assets against emerging threats.

