Getting Started
How to Use the Software
Music
“SensMe™ Channels”
Videos/Podcasts/Photos
FM Radio
Making/Playing Voice
Recordings
Timer
Settings
Troubleshooting
Important Information
Specifications
![]() Contents list
Contents list
Top page > How to Use the Software > Windows Media Player > Importing music from CDs using Windows Media Player
Importing music from CDs using Windows Media Player
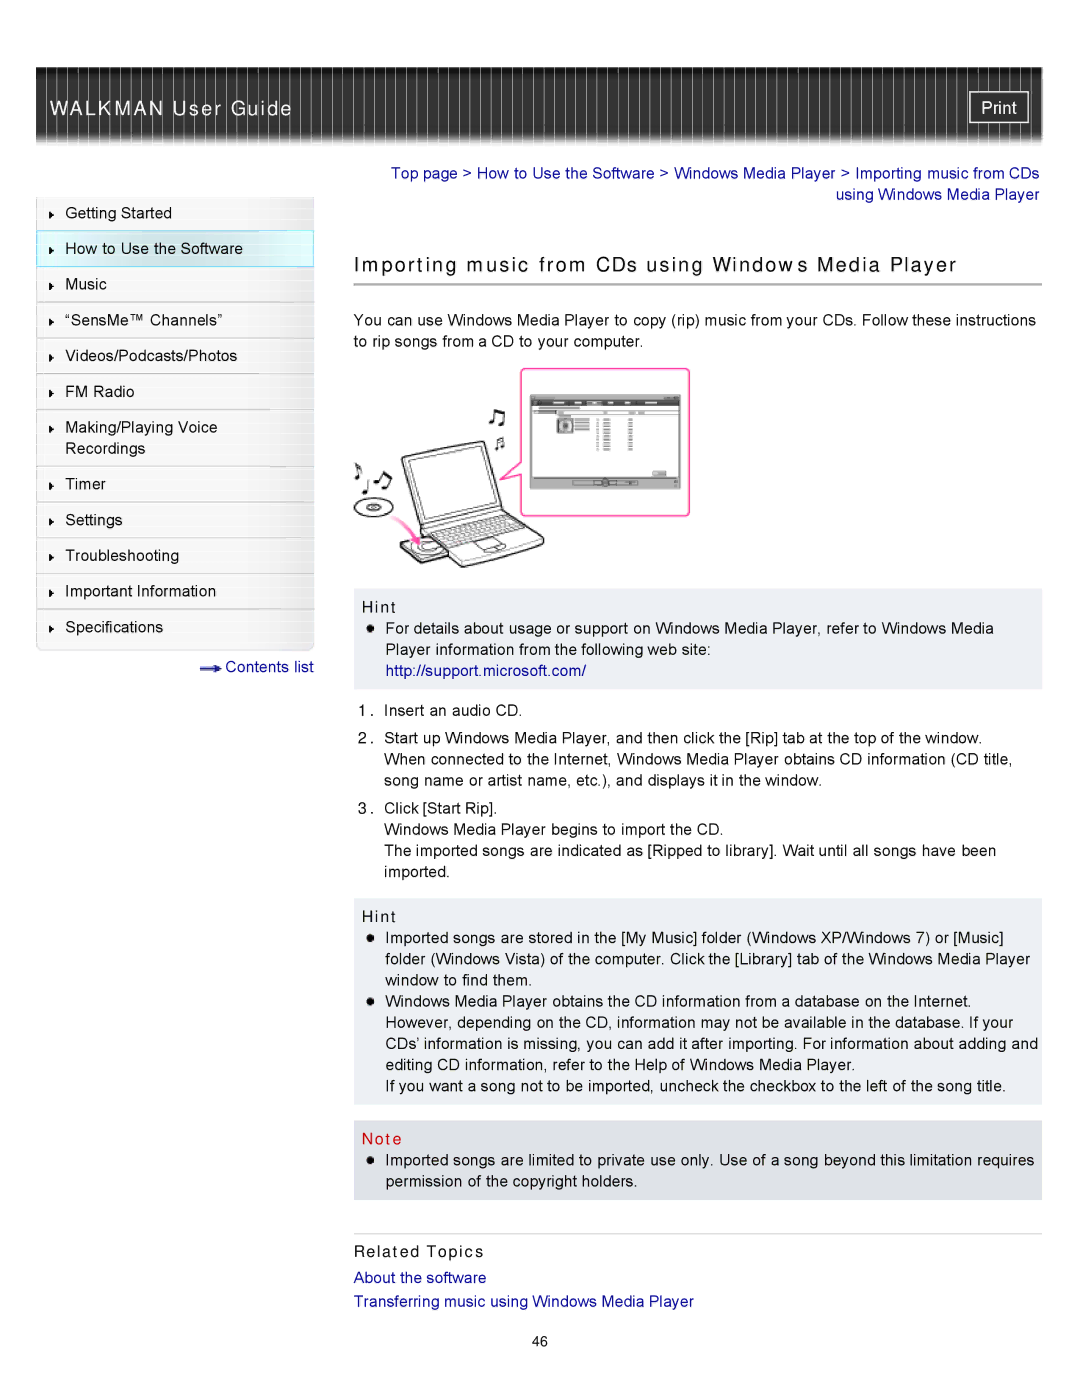
You can use Windows Media Player to copy (rip) music from your CDs. Follow these instructions to rip songs from a CD to your computer.
Hint
For details about usage or support on Windows Media Player, refer to Windows Media Player information from the following web site:
http://support.microsoft.com/
1.Insert an audio CD.
2.Start up Windows Media Player, and then click the [Rip] tab at the top of the window. When connected to the Internet, Windows Media Player obtains CD information (CD title, song name or artist name, etc.), and displays it in the window.
3.Click [Start Rip].
Windows Media Player begins to import the CD.
The imported songs are indicated as [Ripped to library]. Wait until all songs have been imported.
Hint
Imported songs are stored in the [My Music] folder (Windows XP/Windows 7) or [Music] folder (Windows Vista) of the computer. Click the [Library] tab of the Windows Media Player window to find them.
Windows Media Player obtains the CD information from a database on the Internet. However, depending on the CD, information may not be available in the database. If your CDs’ information is missing, you can add it after importing. For information about adding and editing CD information, refer to the Help of Windows Media Player.
If you want a song not to be imported, uncheck the checkbox to the left of the song title.
Note
Imported songs are limited to private use only. Use of a song beyond this limitation requires permission of the copyright holders.
Related Topics
About the software
Transferring music using Windows Media Player
46
