7
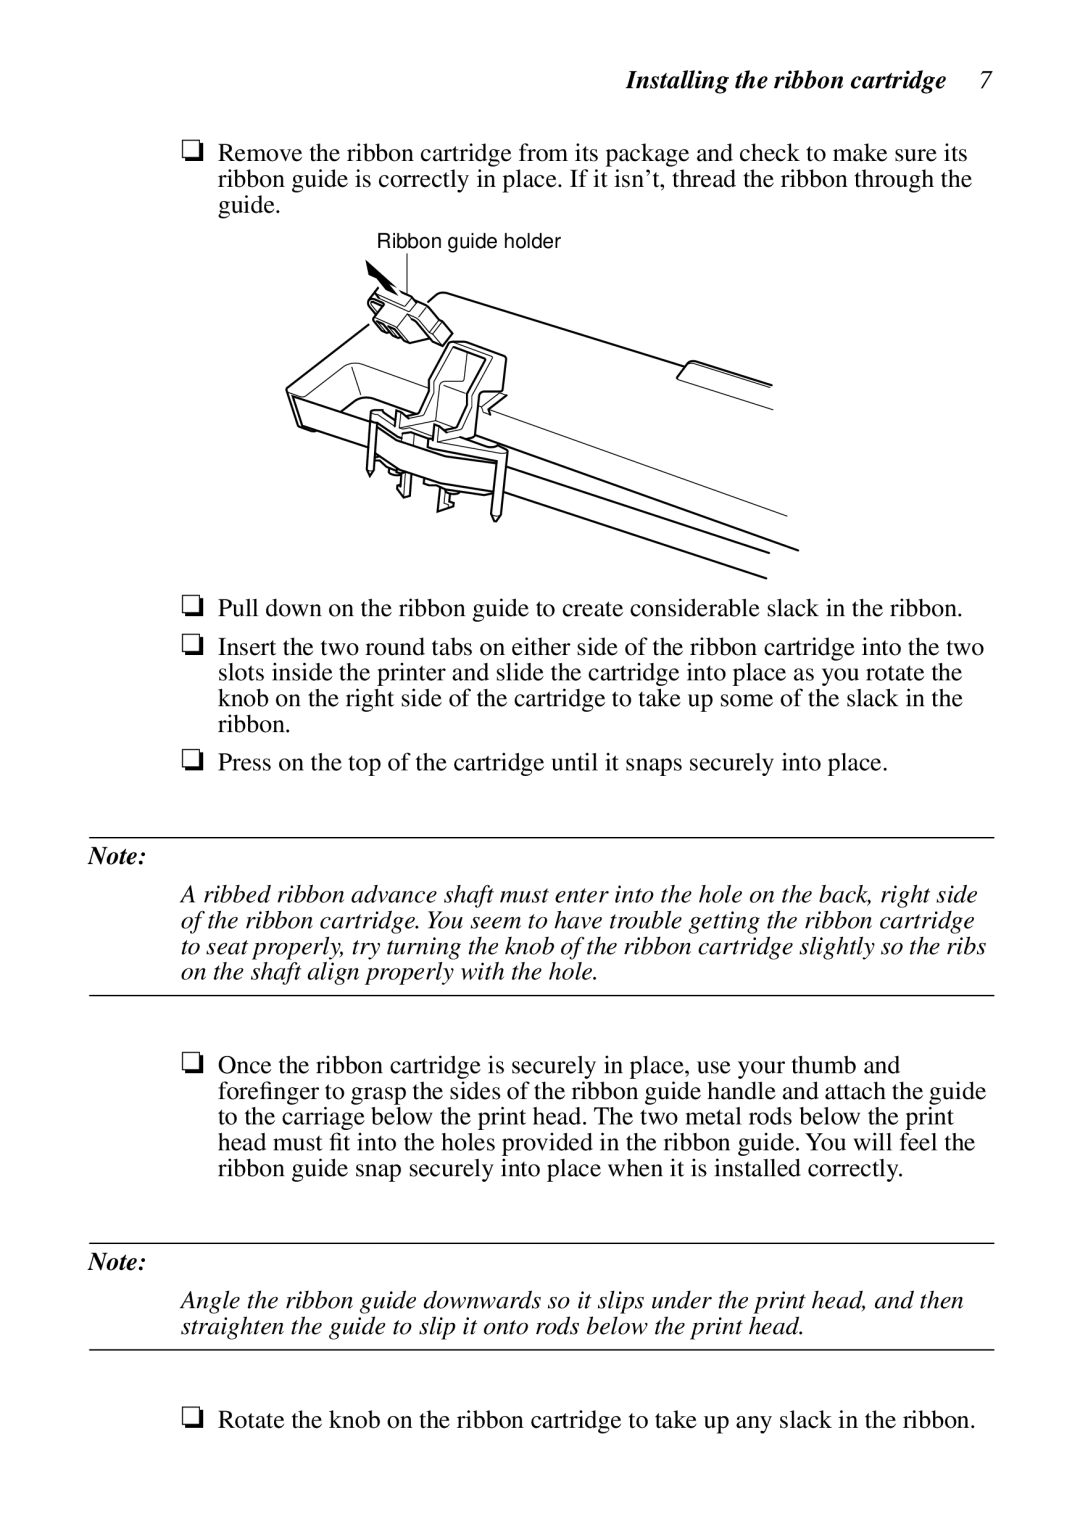
❏Remove the ribbon cartridge from its package and check to make sure its ribbon guide is correctly in place. If it isn’t, thread the ribbon through the guide.
❏Pull down on the ribbon guide to create considerable slack in the ribbon.
❏Insert the two round tabs on either side of the ribbon cartridge into the two slots inside the printer and slide the cartridge into place as you rotate the knob on the right side of the cartridge to take up some of the slack in the ribbon.
❏Press on the top of the cartridge until it snaps securely into place.
Note:
❏Once the ribbon cartridge is securely in place, use your thumb and forefinger to grasp the sides of the ribbon guide handle and attach the guide to the carriage below the print head. The two metal rods below the print head must fit into the holes provided in the ribbon guide. You will feel the ribbon guide snap securely into place when it is installed correctly.
Note: