19
Chapter 3: Using the EDS Mode
The letters “EDS” stand for “Electronic DIP Switches.” Just like the small DIP switches that are used by many computers, printers, and other devices, the EDS lets you configure the printer so that it matches your system and software needs.
This chapter describes how to enter the printer’s EDS Mode and provides details about available settings and how to change them.
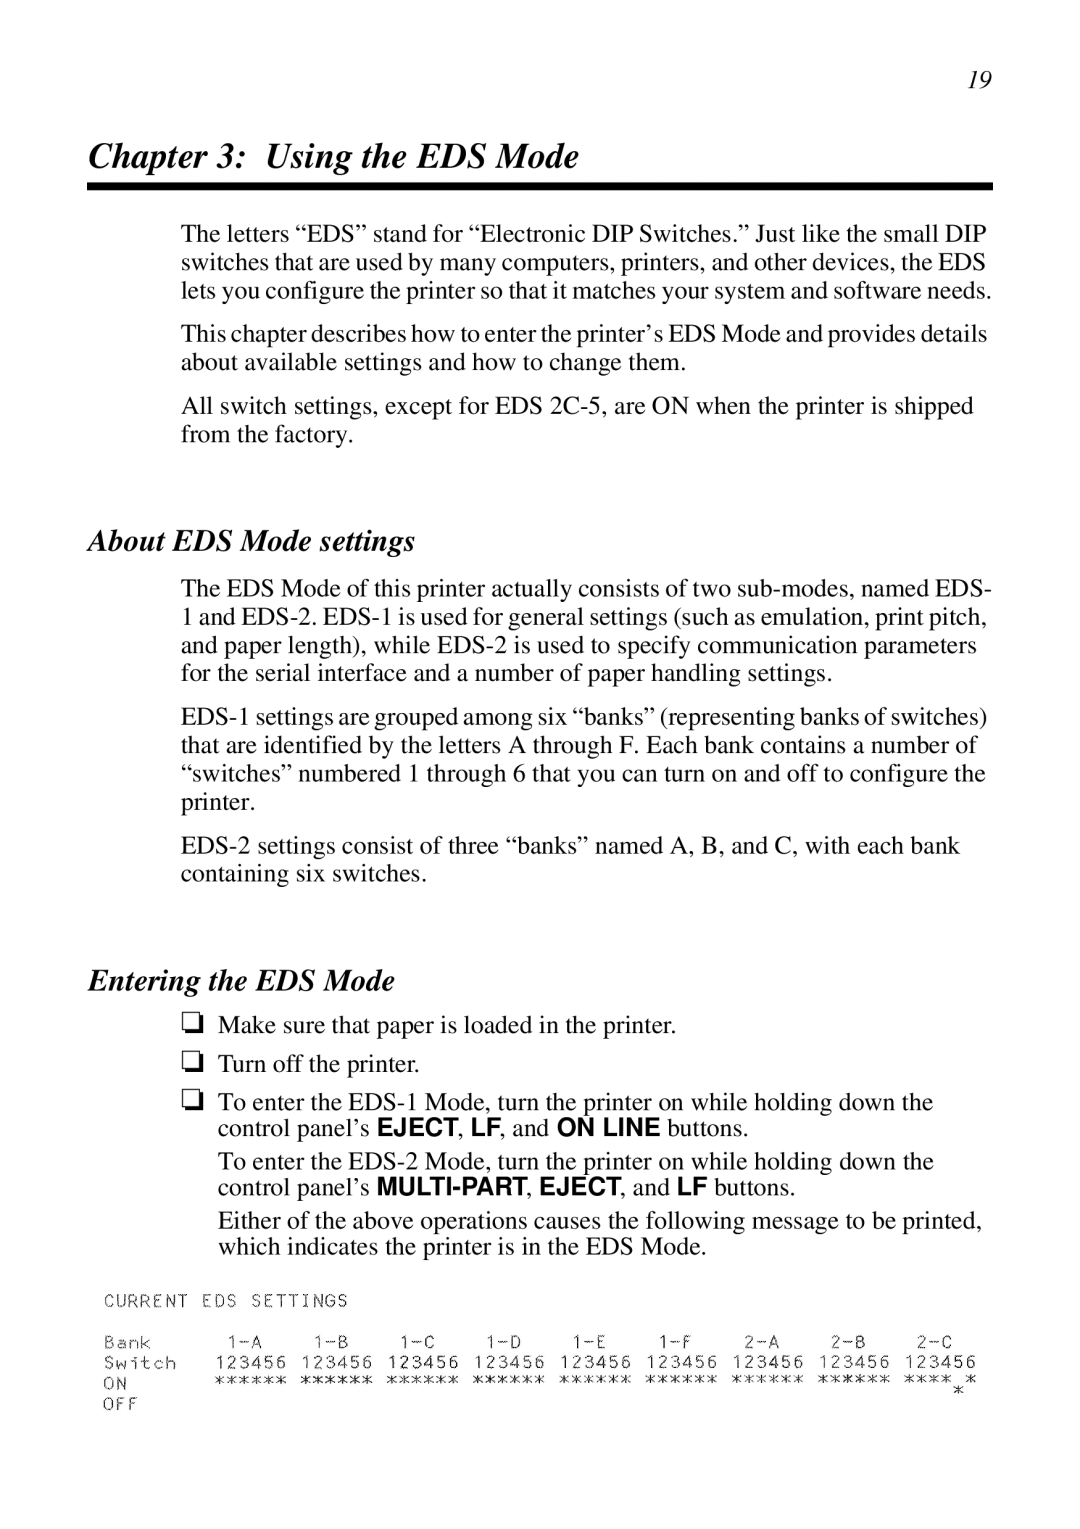
All switch settings, except for EDS 2C-5, are ON when the printer is shipped from the factory.
About EDS Mode settings
The EDS Mode of this printer actually consists of two sub-modes, named EDS- 1 and EDS-2. EDS-1 is used for general settings (such as emulation, print pitch, and paper length), while EDS-2 is used to specify communication parameters for the serial interface and a number of paper handling settings.
EDS-1 settings are grouped among six “banks” (representing banks of switches) that are identified by the letters A through F. Each bank contains a number of “switches” numbered 1 through 6 that you can turn on and off to configure the printer.
EDS-2 settings consist of three “banks” named A, B, and C, with each bank containing six switches.
Entering the EDS Mode
❏Make sure that paper is loaded in the printer.
❏Turn off the printer.
❏To enter the EDS-1 Mode, turn the printer on while holding down the control panel’s EJECT, LF, and ON LINE buttons.
To enter the EDS-2 Mode, turn the printer on while holding down the control panel’s MULTI-PART, EJECT, and LF buttons.
Either of the above operations causes the following message to be printed, which indicates the printer is in the EDS Mode.

