ENGLISH
15
Buttons
The following table describes the function of the three control buttons of the control panel.
Button | Description | |
|
| |
FORWARD | Feeds the slip paper forward, toward the back of the printer. One press | |
feeds one line, holding down performs continuous feed. | ||
| ||
|
| |
REVERSE | Feeds the slip paper back, toward the front of the printer. One press | |
feeds one line, holding down performs continuous feed. | ||
| ||
|
| |
RELEASE | Activates the printer’s paper release (the paper is not held in place by | |
the paper feed roller). | ||
| Clears recoverable errors. | |
|
|
Producing a test print
The following procedure can be used at any time to test the printer.
❏Turn on the printer and insert a piece of paper (page 6, 11).
❏Turn off printer power.
❏While holding down RELEASE, turn printer back on. Keep RELEASE depressed for a few moments until the printer beeps and the printer test print starts.
The printer test will continue until it reaches the end of the paper.
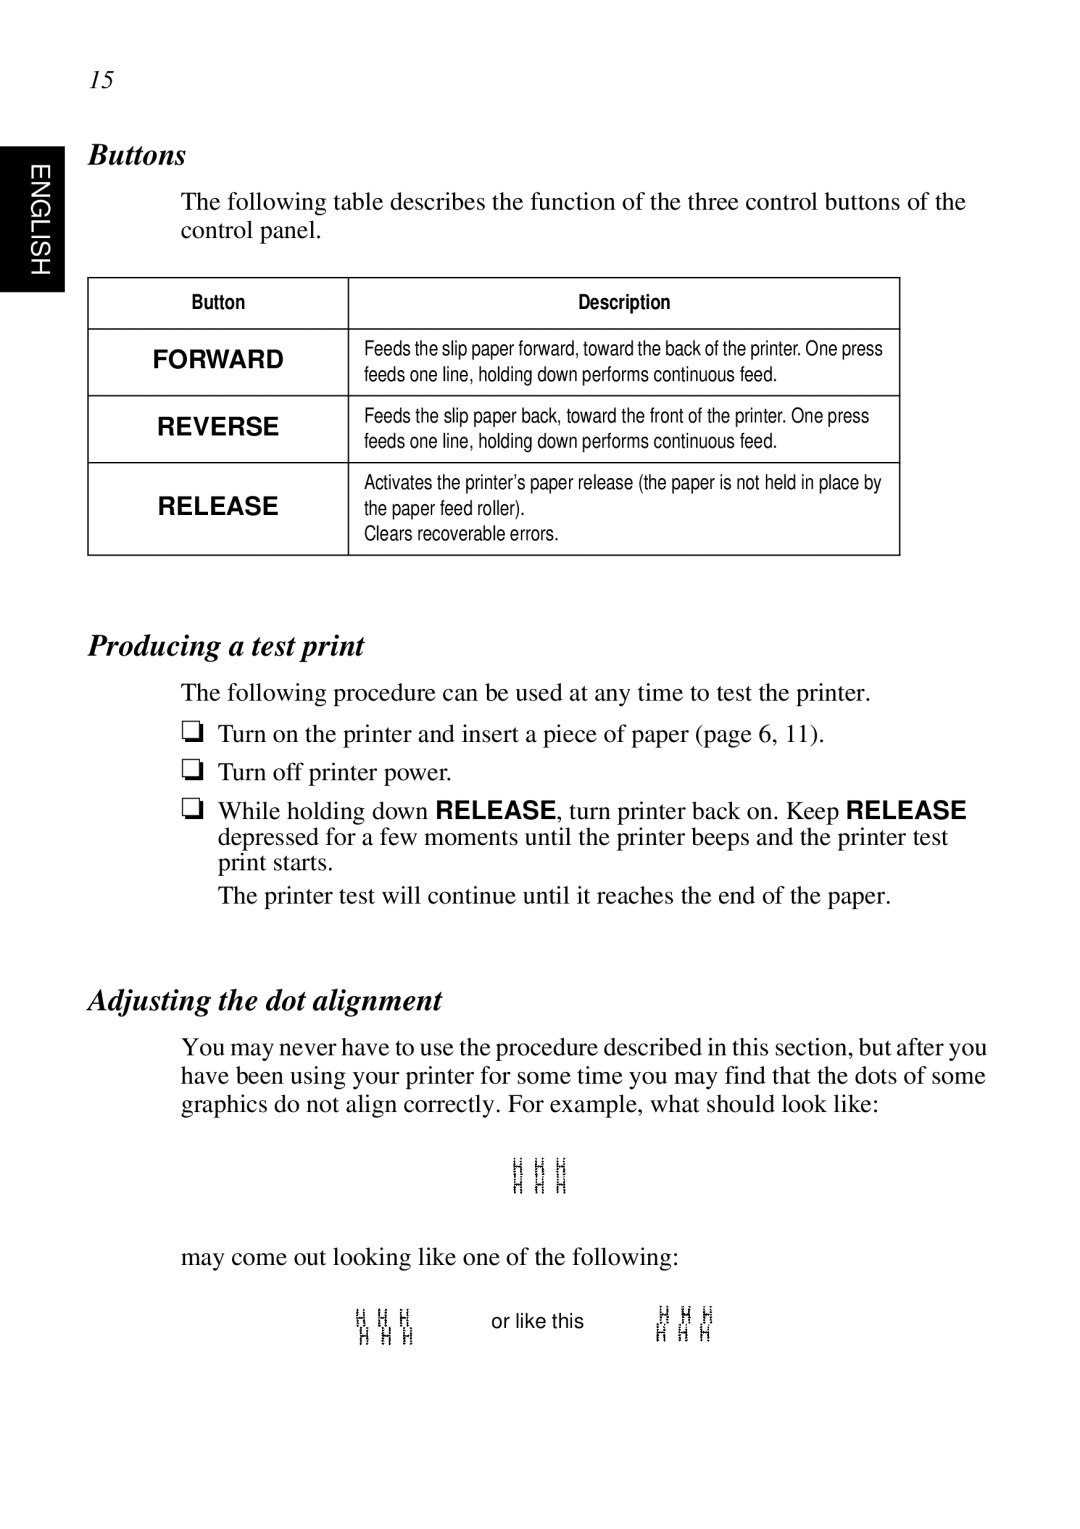
Adjusting the dot alignment
You may never have to use the procedure described in this section, but after you have been using your printer for some time you may find that the dots of some graphics do not align correctly. For example, what should look like:
may come out looking like one of the following:
or like this