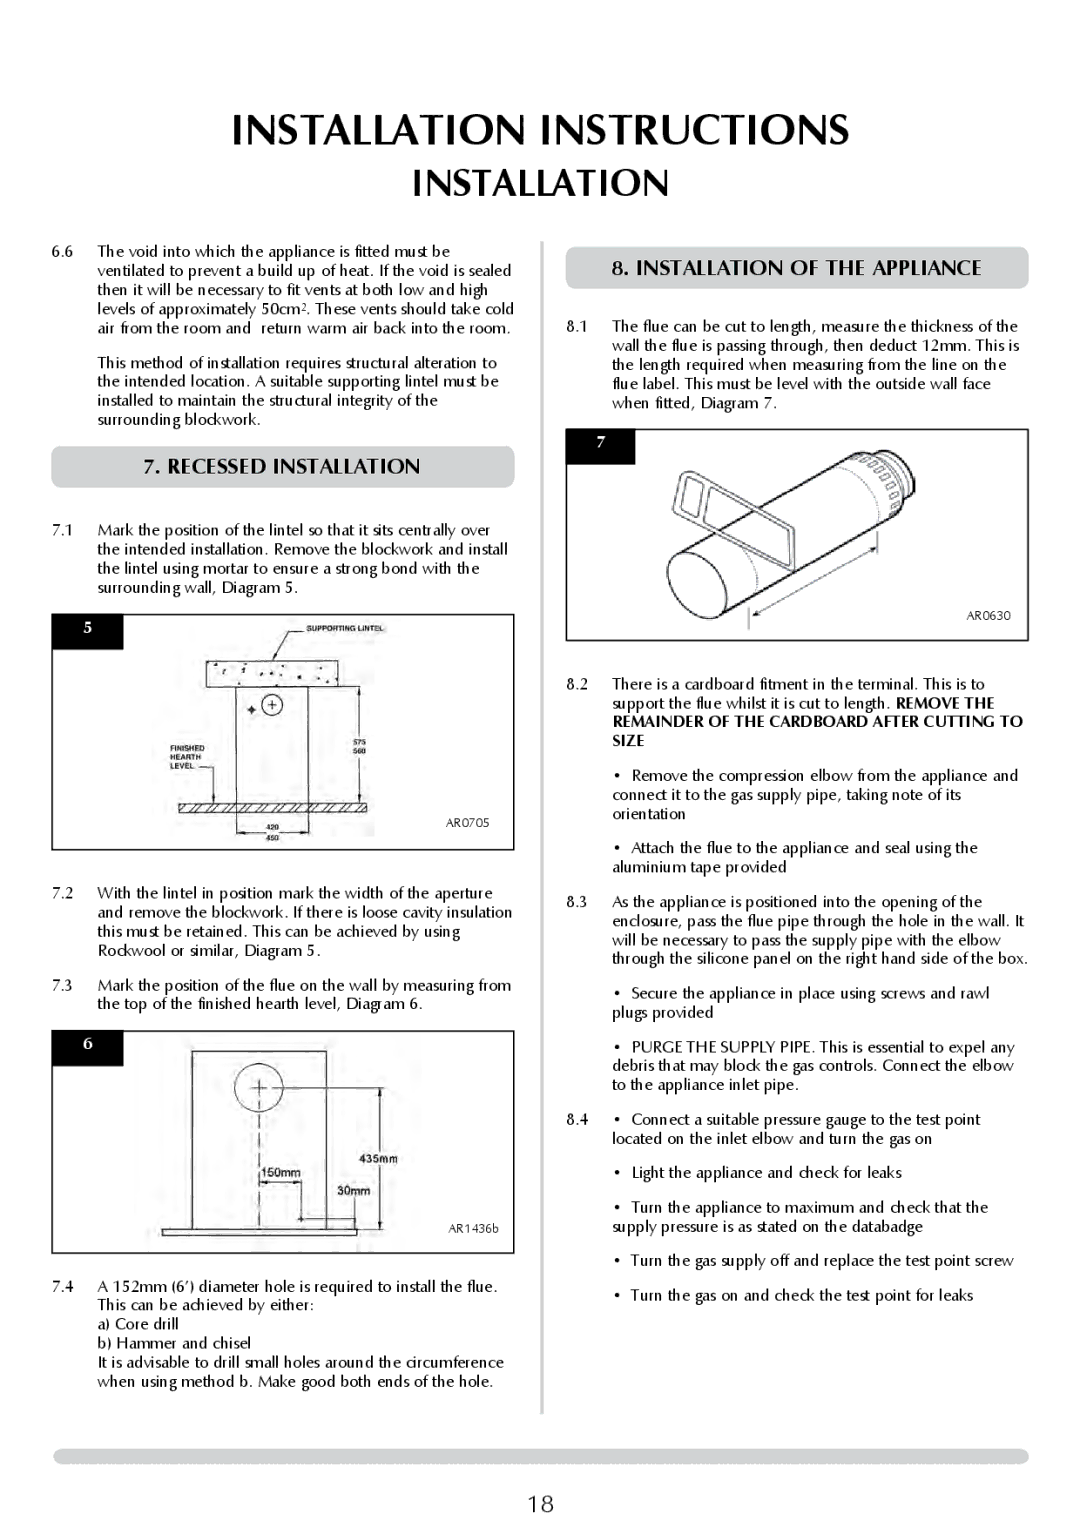
PR0776 specifications
The Stovax PR0776 is a highly regarded multifuel stove that combines traditional craftsmanship with modern technologies, making it an excellent choice for contemporary homes as well as classic interiors. With its striking design and efficient performance, this stove not only enhances the aesthetic of any room but also provides effective heating solutions.One of the primary features of the Stovax PR0776 is its clean-burning technology. The stove is equipped with advanced combustion systems that allow for maximum efficiency while minimizing emissions. The air wash system works to keep the glass panel clear, ensuring that the beautiful flames are always on display, adding a warm, inviting ambiance to any space.
The Stovax PR0776 offers a generous heat output, making it suitable for heating medium to large-sized rooms. With a nominal output of around 5kW, this multifuel stove can effectively warm your living area while maintaining a cozy atmosphere. The versatility of the stove is further enhanced by its ability to burn both wood and solid fuels, giving users the flexibility to choose their preferred fuel source.
Constructed from high-quality materials, the PR0776 is built to last. Its robust cast iron body ensures durability and longevity, while the modern steel parts provide a sleek finish. The design also features an efficient flue system that optimizes airflow, allowing for better performance and reducing the likelihood of chimney blockages.
The aesthetics of the Stovax PR0776 are impressive, with a classic design that can complement various interior styles. Available in multiple finishes, users can select a look that best suits their home decor. Additionally, the stove can be customized with optional accessories, including different base options and elegant door designs, further enhancing its visual appeal.
In summary, the Stovax PR0776 combines functionality with style, offering homeowners an efficient and beautiful heating solution. With its advanced clean-burning technology, versatility in fuel options, robust construction, and customizable design, this multifuel stove exemplifies the perfect blend of tradition and innovation. Ideal for both heating and creating a focal point in any living space, the Stovax PR0776 is an excellent investment for those seeking quality and performance.

