USER INSTRUCTIONS
DECREASING TEMPERATURE
•Press the DOWN arrow once to decrease flame height one stage
•Press and hold the DOWN arrow to decrease to minimum
At the lowest point the fire goes to ‘standby mode’ (only pilot lit)
NOTE: While pressing a button a symbol indicating transmission appears on the display. The receiver confirms transmission with an acoustic signal.
Turning the Studio Off
•Press the Off button to extinguish the pilot
2.3TEMP MODE
The display shows the current room temperature. To increase or decrease the fire’s output:
•Press the SET button to select either the DAY TEMP or the NIGHT TEMP mode by briefly pressing the SET button
•Hold the SET button until the TEMP display flashes and then let go
•Set the desired temperature with the UP and DOWN arrows. (Minimum temperature 5C, maximum 30C or
fahrenheit)
•Press the OFF button to stop the display flashing or wait to return to TEMP mode.
NOTE: If you set a temperature that is beneath the current room temperature, the fire automatically switches to OFF.
NOTE: If you would like the Night temperature control to turn off then decrease the temperature until
2.4TIMER MODE
There are two programmable settings you can make over a 24 hour period, P1 and P2
P1 + ![]() = Start Timed Setting 1
= Start Timed Setting 1
P1 + ![]() = End of Timed Setting 1
= End of Timed Setting 1
P2 + ![]() = Start Timed Setting 2
= Start Timed Setting 2
P2 + ![]() = End of Timed Setting 2
= End of Timed Setting 2
2.4.1P1 - Program 1 for a Timed Setting
•Press the SET button until the TIMER mode is displayed
•Hold the SET button. The displays flashes the current time for P1. While the time displayed is flashing you can alter the hours and minutes set.
To set the time your fire first lights, change the Start Timed Setting for P1![]() .
.
•Press the UP arrow to alter the hour
•Press the DOWN arrow to alter the minutes in 10 minute increments
•Press SET again to move to the End of Timed Setting,
P1. The display shows the current setting for P1 ![]() This is the time your Studio first shuts down:
This is the time your Studio first shuts down:
•Press the UP arrow to alter the hour
•Press the DOWN arrow to alter the minutes
2.4.2P2 - Program 2 for a Timed Setting
Use the same steps outlined in 2.4.1 to change the setting for P2.
If you have already set P1 and want to alter the setting for
P2 only:
•Press the SET button until TIMER mode is displayed
•Hold the SET button until the display flashes the current time for P1![]()
•Press the SET button again to scroll past the settings for
P1![]() and P1
and P1 ![]()
With the time still flashing:
•Press the UP arrow to alter the hour
•Press the DOWN arrow to alter the minutes
Once all four times are set press the OFF button or simply wait to complete programming.
2.5LOW BATTERY
“BATT” is displayed on the remote when its batteries need replacement.
2.6SETTING THE TIME
•Simultaneously press the up and down arrow buttons
•Press the up arrow to set the hour and the down arrow to set the minutes
•Press OFF to return to the manual mode or simply wait
2.7SETTING THE °C/24 HOUR OR °F/12 HOUR CLOCK
•Press OFF and the down arrow until the display changes from °C/24 hour clock to °F/12 hour clock and vice versa.
If the remote is removed, lost or damaged, signals transmitted to the receiver cease. Your fire will go to standby (pilot) mode after 6 hours.
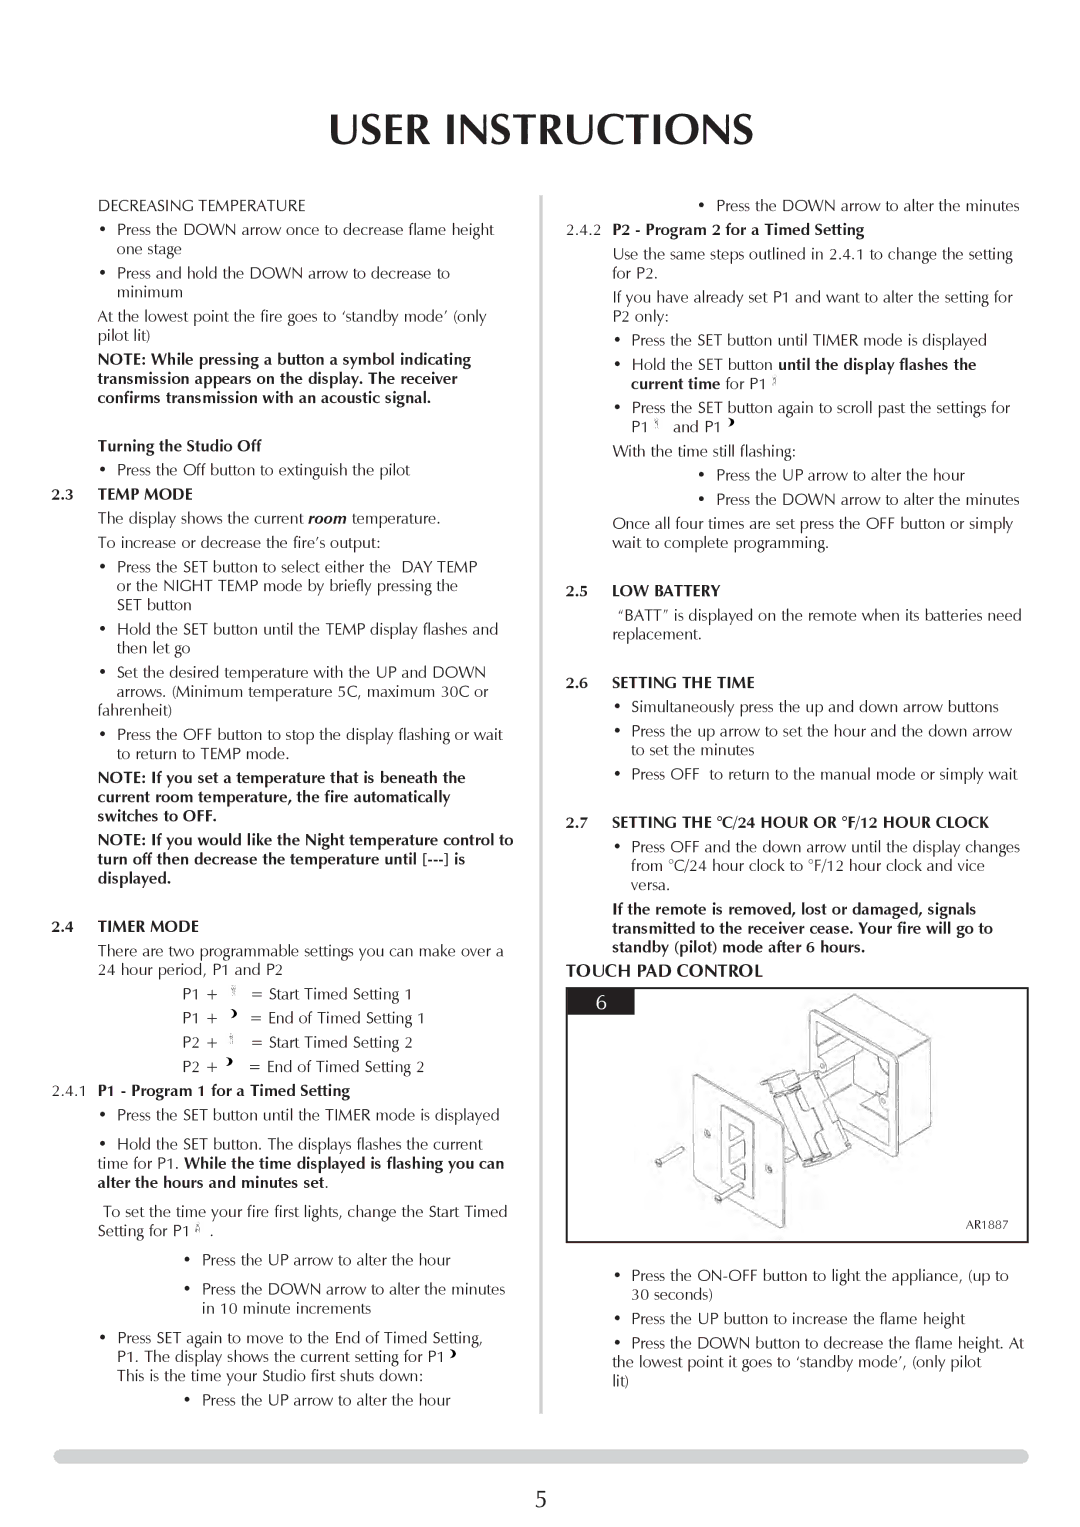
TOUCH PAD CONTROL
6
AR1887
•Press the
30 seconds)
•Press the UP button to increase the flame height
•Press the DOWN button to decrease the flame height. At the lowest point it goes to ‘standby mode’, (only pilot
lit)
5