SERVICING INSTRUCTIONS
REPLACING PARTS
13.main injector
13.1To change the main injector:
•Undo the injector fee pipe
•Undo the lock nut from the injector
•Replace with the correct size injector
14. Primary Aeration Plate
NOT ALL MODELS HAVE AERATION PLATES. REFER TO NOTE AT BEGINNING OF INSTALLATION INSTRUCTIONS.
14.1Remove the burner module as described in Servicing section 2.
14.2Remove the fixing screw and slide the plate off the venturi.
14.3Replace with the correct size plate and secure with the screw. Ensure the lower edge of the plate is located over the venturi flange. See diagram 20.
20
AR0766
15. Changing between Gas Types
In order to change between gas types, it will be necessary to change the following items:
Burner Unit
Pilot Injector
Control Valve
Injector
Aeration Plate (if required)
Data badge
A kit of parts is available for this, always quote the Model number and Serial number when ordering any spare parts.
NOTE: THE CONTROL VALVE IS FACTORY PRESET FOR THE CORRECT GAS TYPE AND MODEL, A NEW UNIT WILL NEED TO BE ORDERED WHEN CHANGING BETWEEN GAS TYPES.
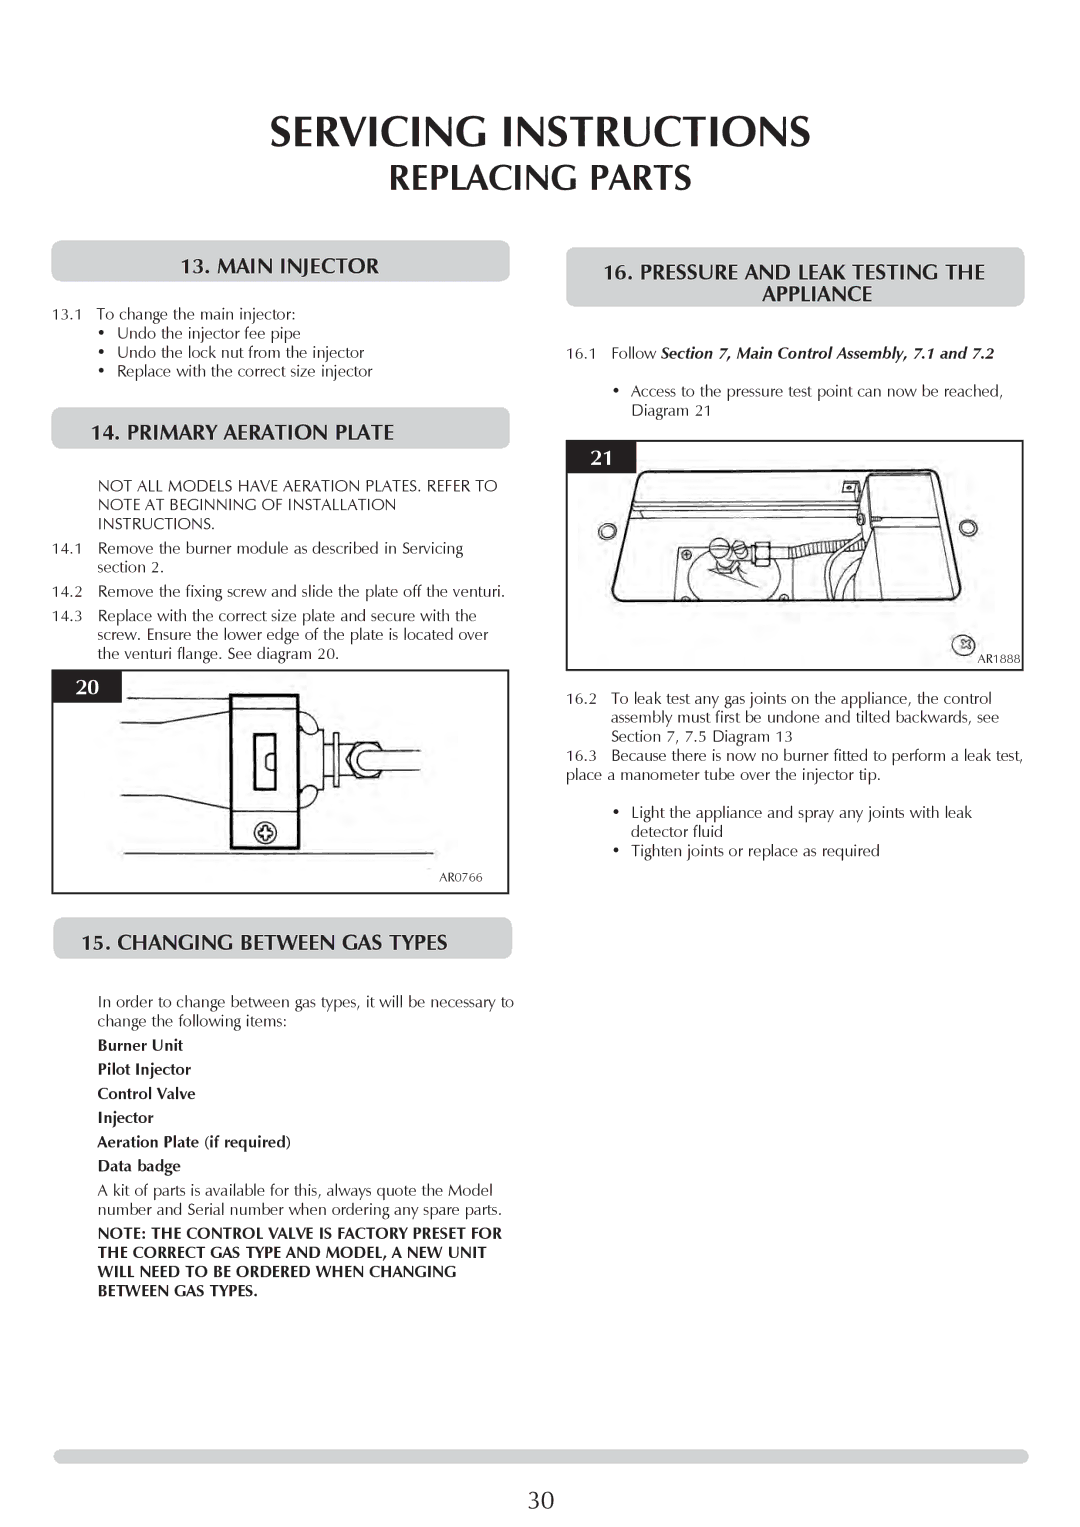
16.PRESSURE AND LEAK TESTING THE APPLIANCE
16.1Follow Section 7, Main Control Assembly, 7.1 and 7.2
• Access to the pressure test point can now be reached,
Diagram 21
21
AR1888
16.2To leak test any gas joints on the appliance, the control assembly must first be undone and tilted backwards, see Section 7, 7.5 Diagram 13
16.3Because there is now no burner fitted to perform a leak test, place a manometer tube over the injector tip.
•Light the appliance and spray any joints with leak detector fluid
•Tighten joints or replace as required
30