3.Select the PC ComPort where the iPort is connected to your computer.
4.Use the Options menu to override default Baud Rate and I2C Bus Clock rate settings.
5.Establish a link to the iPort with the Open button. The iPort Message Center software sets the iPort’s own I2C Slave address to 0xFE.
6.To open an existing message list, click FileOpen List on the menu bar.
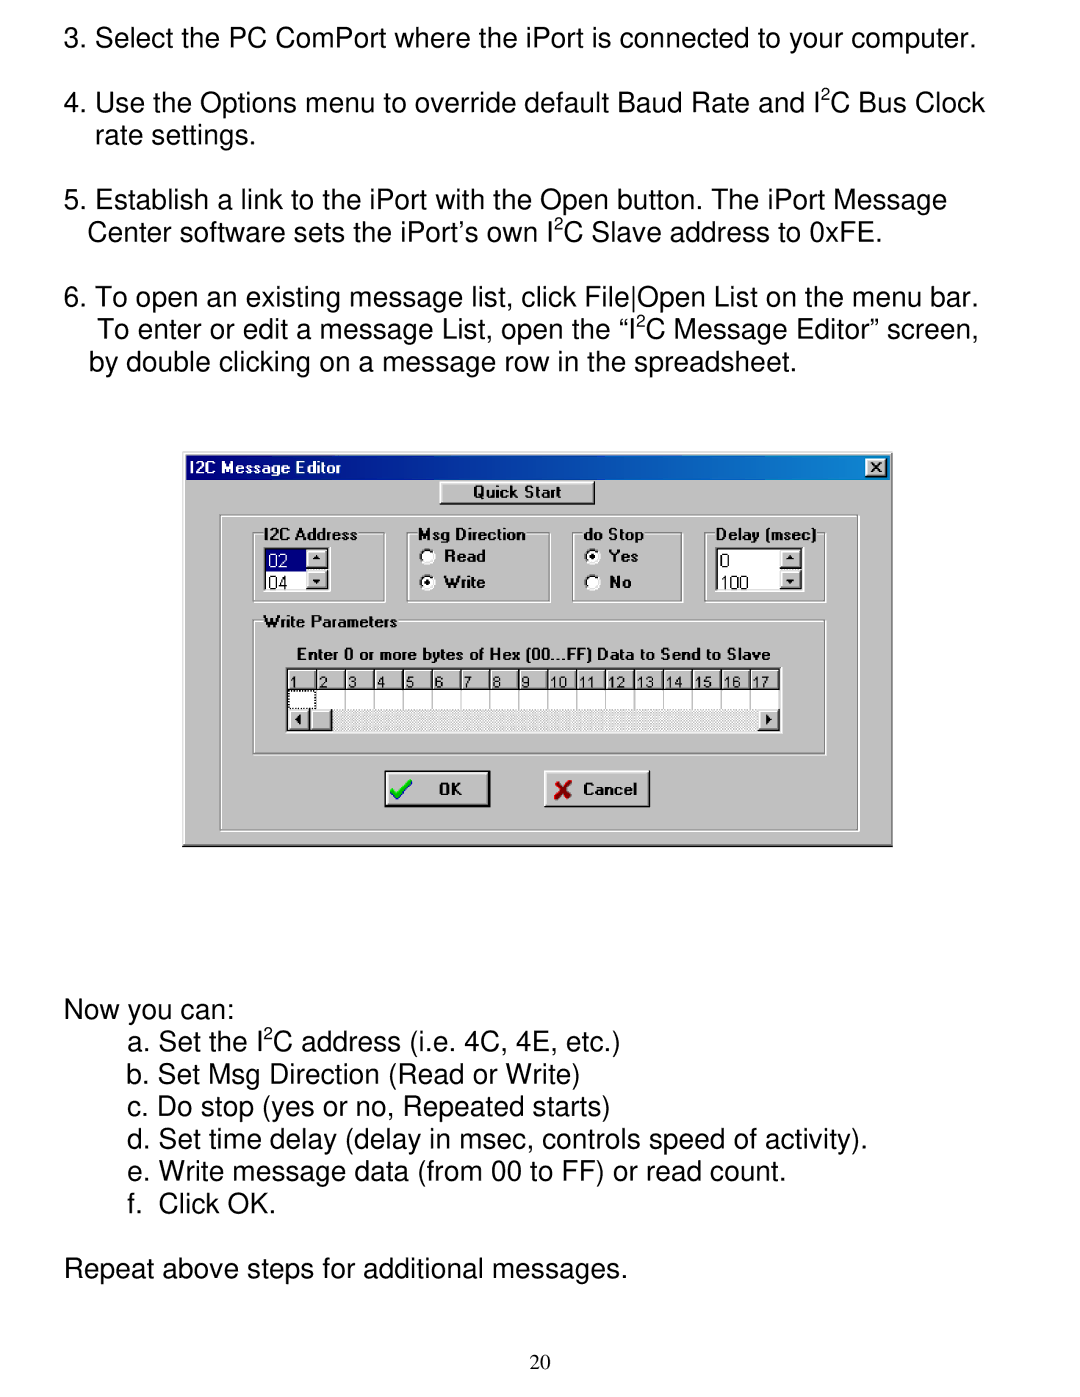
To enter or edit a message List, open the “I2C Message Editor” screen, by double clicking on a message row in the spreadsheet.
Now you can:
a. Set the I2C address (i.e. 4C, 4E, etc.) b. Set Msg Direction (Read or Write) c. Do stop (yes or no, Repeated starts)
d. Set time delay (delay in msec, controls speed of activity). e. Write message data (from 00 to FF) or read count.
f. Click OK.
Repeat above steps for additional messages.
20
