Chapter 2: Server Installation
Installing the Chassis Rails
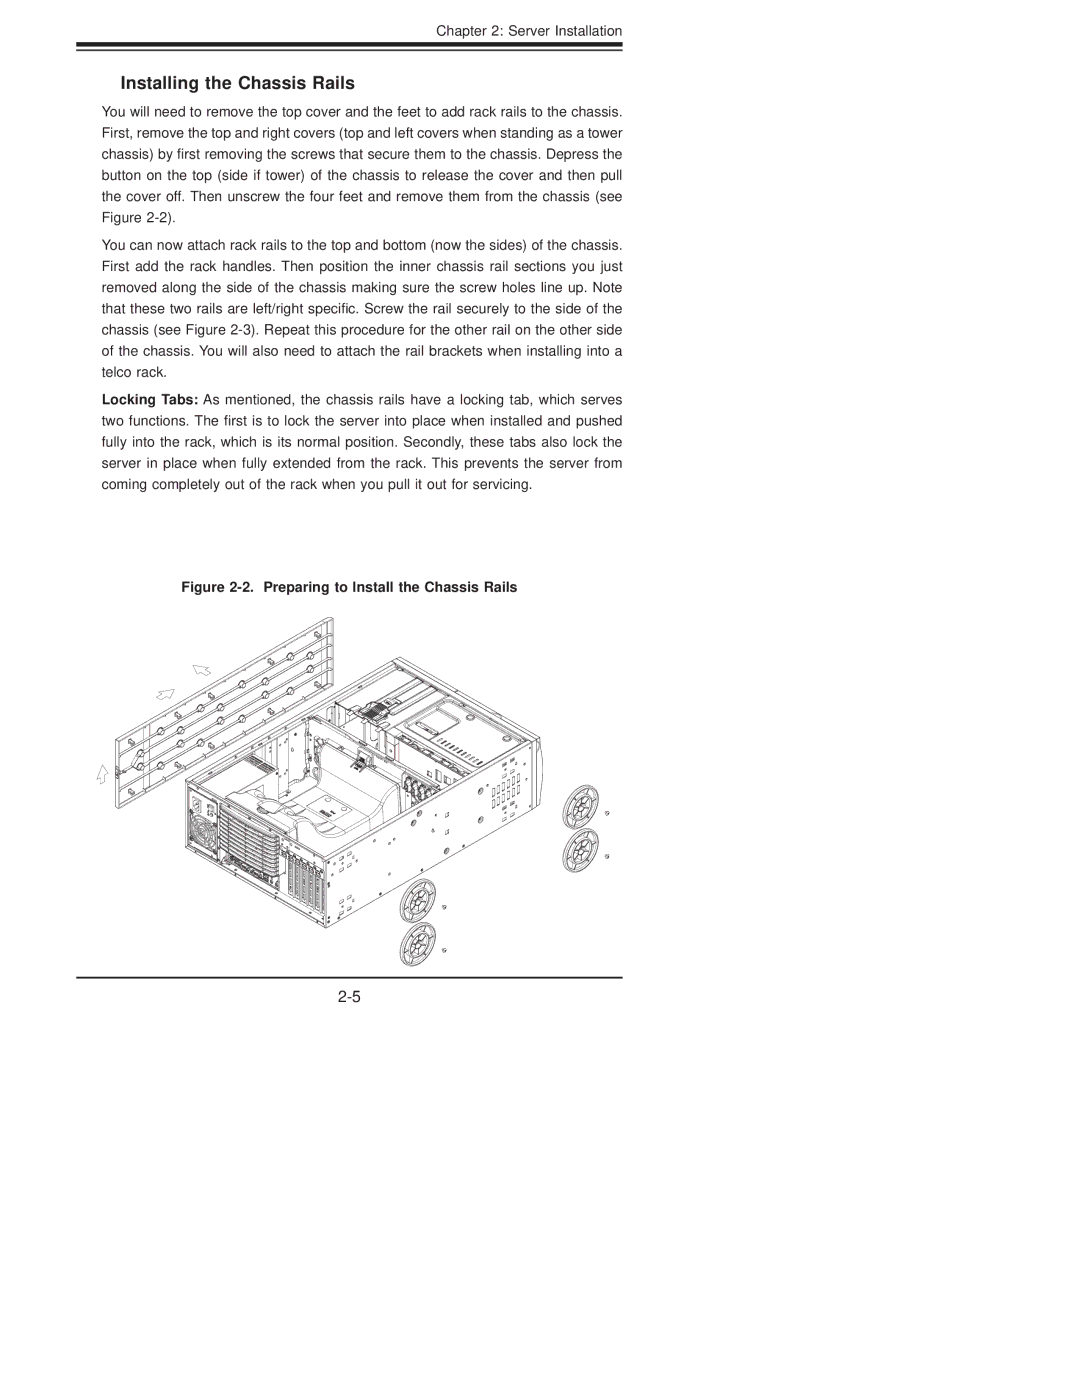
You will need to remove the top cover and the feet to add rack rails to the chassis. First, remove the top and right covers (top and left covers when standing as a tower chassis) by first removing the screws that secure them to the chassis. Depress the button on the top (side if tower) of the chassis to release the cover and then pull the cover off. Then unscrew the four feet and remove them from the chassis (see Figure
You can now attach rack rails to the top and bottom (now the sides) of the chassis. First add the rack handles. Then position the inner chassis rail sections you just removed along the side of the chassis making sure the screw holes line up. Note that these two rails are left/right specific. Screw the rail securely to the side of the chassis (see Figure
Locking Tabs: As mentioned, the chassis rails have a locking tab, which serves two functions. The first is to lock the server into place when installed and pushed fully into the rack, which is its normal position. Secondly, these tabs also lock the server in place when fully extended from the rack. This prevents the server from coming completely out of the rack when you pull it out for servicing.