Manuals
/
Superior
/
Household Appliance
/
Indoor Fireplace
Superior
DR-400CEN, DR-400CMP
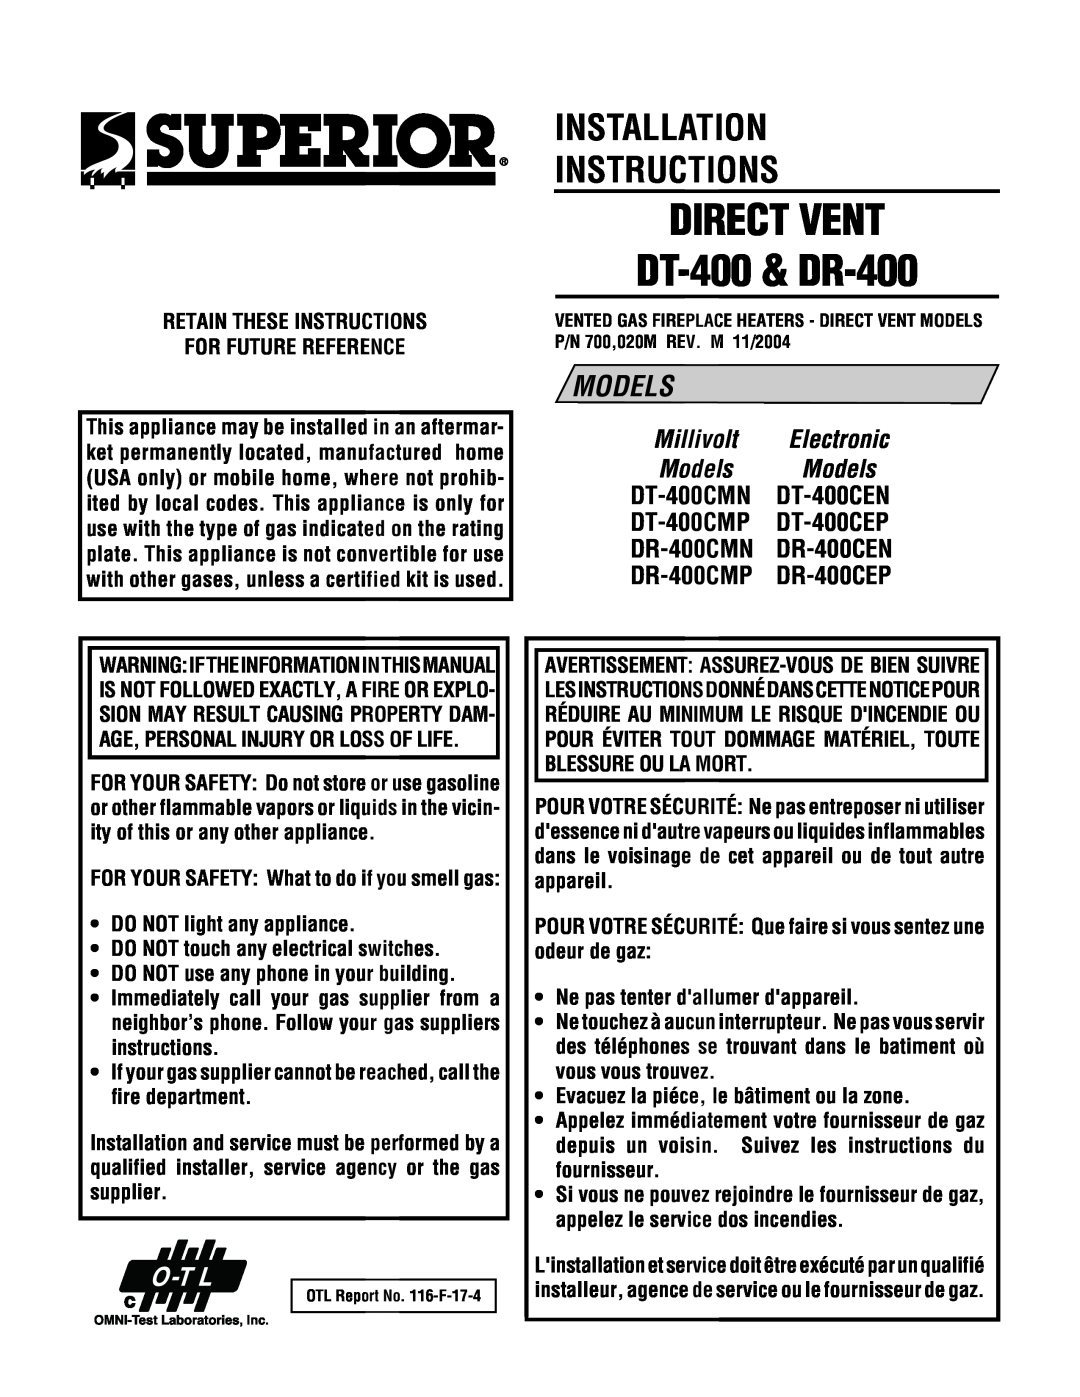
installation instructions
DIRECT VENT DT-400& DR-400, Models
Models:
DR-400CMN
DR-400CEP
DT-400CMN
DT-400CMP
DR-400CEN
DT-400CEN
DT-400CEP
DR-400CMP
1
1
28
28
Download
28 pages
33.19 Kb
1
2
3
4
5
6
7
8
Specs
Install
Field Wiring
Dimension
Installation Accessories
Adjustment
Page 1
Image 1
Page 1
Page 2
Page 1
Image 1
Page 1
Page 2
Contents
DIRECT VENT DT-400& DR-400
INSTALLATION INSTRUCTIONS
MODELS
Millivolt Electronic
PACKAGING
TYPICAL INSTALLATION
INTRODUCTION
GENERAL INFORMATION
Millivolt Models
ÀCOTE DE LAPPAREIL
Electronic Models
All Models
LOCATION
Typical Locations
APPLIANCE AND VENT CLEARANCES
Shelf Height inches mm
DETAILED INSTALLATION STEPS
TYPICAL INSTALLATION SEQUENCE
VENT TERMINATION CLEARANCES
Vertical Vent Termination Clearances
US Installation
Canadian Installation
12 inches 30cm
12 inches 30cm
AND ROUND HORIZONTAL TERMINATION SV4.5HTR
framing depth dimension when the finish
12¹⁄₈material drywall thickness is 1/2 in
13mm
Step 3. INSTALL THE VENT SYSTEM
FIREPLACE SPECIFICATIONS
way. Install vent according to local codes
listed for operation and installation with
VERTICAL TERMINATION SYSTEMS ROOF
Vertical Straight Installation
Select Venting System - Horizontal or Vertical
Vent / Appliance Collar Connection
Vertical Offset Installation
C. Attach vent components to each other
Connection
Pitch
Framing Dimensions for Roof
0/12
6/12
VERTICAL VENT FIGURES/TABLES
TABLE A
H Maximum
Figure 23 - Top Vent - STRAIGHT
VERTICAL VENT FIGURES/TABLES
TABLE D
Figure 26 - Rear Vent - THREE ELBOWS
Figure 27 - Top Vent - THREE ELBOWS
TYPICAL HORIZONTAL VENT INSTALLATION
F.Install firestop/spacer at ceiling
HORIZONTAL OUTSIDE WALL TERMINATION SYSTEM
A. Plan the vent run
attach termination adapter
Connecting/Recessing Long Square Horizontal
Square SV4.5HTS
Short Square SV4.5HTSS
HORIZONTAL VENT FIGURES/TABLES
3.Install the round termination SV4.5HTR
Venting Components
LONG SQUARE TERMINATION
V Minimum
TABLE F
H Maximum
V Minimum
TABLE J
HORIZONTAL VENT FIGURES/TABLE CONTINUED
H + H1 Maximum termination
Figure 39- Top Vent - TWO 90 DEGREE ELBOWS
B. Install the Outer Flex Pipe
A. Install the Inner Flex Pipe
C. Route Flex Vent
A. SIT and Honeywell Millivolt Wiring
Step 4. FIELD WIRING
B. Electronic Wiring See Figure
Optional Gas Flex Line Connector
Step 6. CONNECTING GAS LINE
FBK-250Blower Kit See Figure
Opening Control Compartment Door
Step 9. INSTALLING THE GLASS DOOR
Step 7. INSTALLING LOGS AND GLOWING EMBERS
Adjustment
Sit and Honeywell Millivolt Gas Valve
Step 11. HOOD INSTALLATION
Step 10. BURNER ADJUSTMENTS
Burner Adjustment
FINISHING REQUIREMENTS Wall Details
MANTEL CLEARANCES
INSTALLATION ACCESSORIES
Inches mm
COLD CLIMATE INSULATION
Description
INSTALLATION ACCESSORIES Continued
Model No. Description
GAS CONVERSION KITS
AND .2 INSTALLATION CODE
In Canada
Natural To Propane Gas Conversion Kit SIT Systems
Pilot for SIT Millivolt Gas Valve Pilot Orifice
Adjusting Knob
Pilot for Honeywell Millivolt Gas Valve
Step 5. Millivolt Appliances Honeywell Systems
Pilot PilotAssembly Orifice Ignitor Assembly
Spring Adjusting Screw
All Models
Model No
Top
Page
Image
Contents