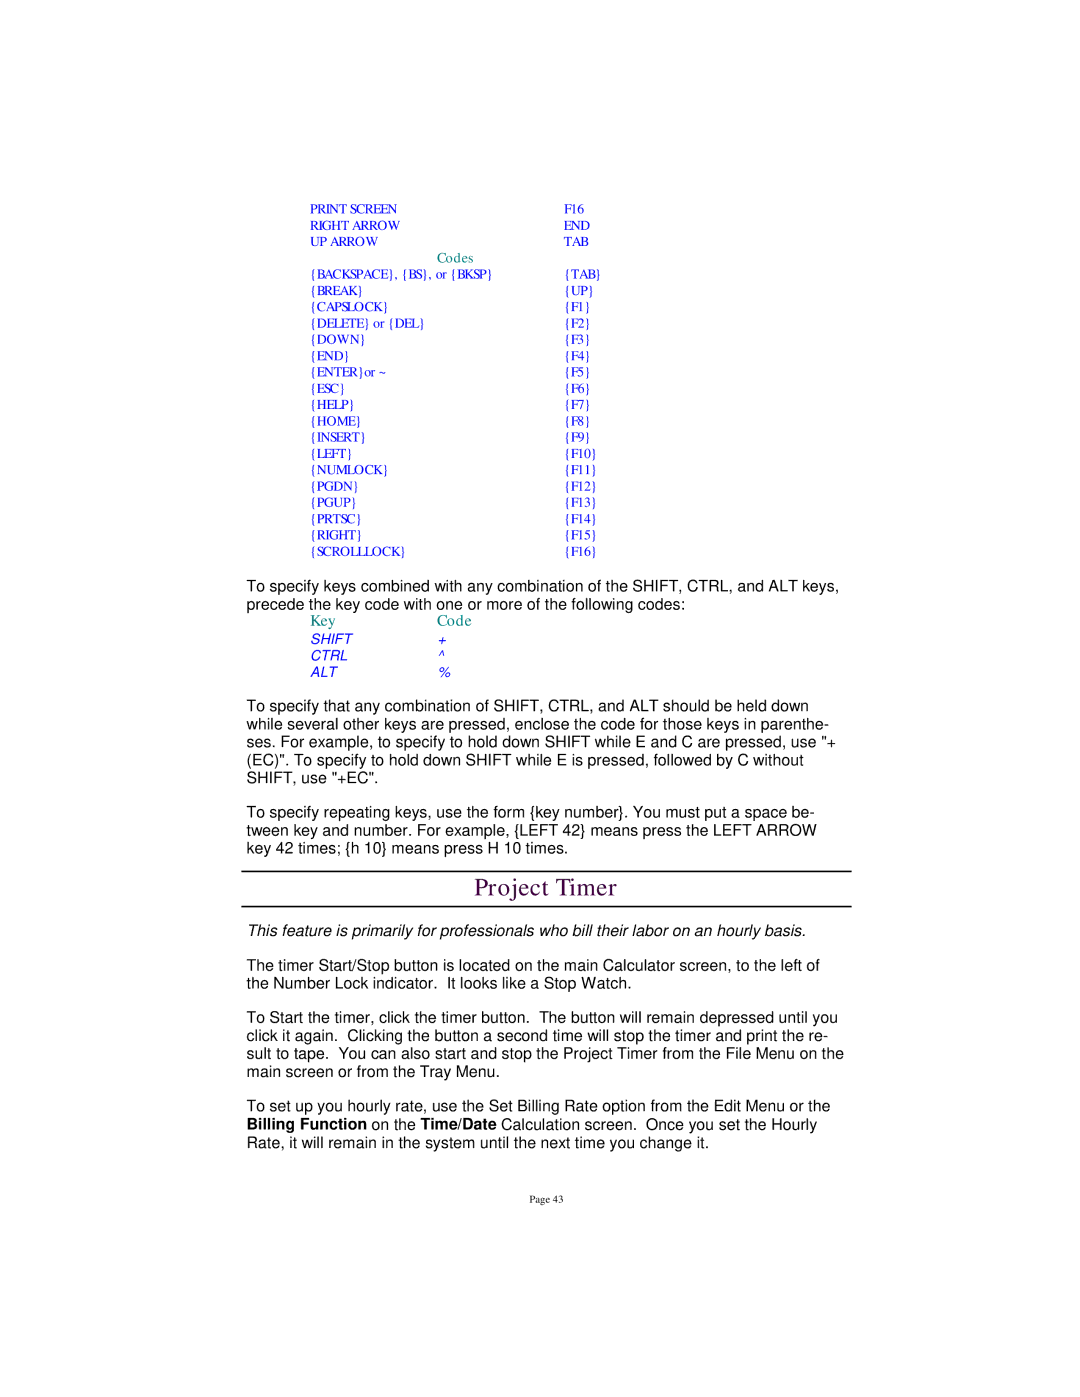
PRINT SCREEN | F16 |
RIGHT ARROW | END |
UP ARROW | TAB |
Codes |
|
{BACKSPACE}, {BS}, or {BKSP} | {TAB} |
{BREAK} | {UP} |
{CAPSLOCK} | {F1} |
{DELETE} or {DEL} | {F2} |
{DOWN} | {F3} |
{END} | {F4} |
{ENTER}or ~ | {F5} |
{ESC} | {F6} |
{HELP} | {F7} |
{HOME} | {F8} |
{INSERT} | {F9} |
{LEFT} | {F10} |
{NUMLOCK} | {F11} |
{PGDN} | {F12} |
{PGUP} | {F13} |
{PRTSC} | {F14} |
{RIGHT} | {F15} |
{SCROLLLOCK} | {F16} |
To specify keys combined with any combination of the SHIFT, CTRL, and ALT keys, precede the key code with one or more of the following codes:
Key | Code |
SHIFT | + |
CTRL | ^ |
ALT | % |
To specify that any combination of SHIFT, CTRL, and ALT should be held down while several other keys are pressed, enclose the code for those keys in parenthe- ses. For example, to specify to hold down SHIFT while E and C are pressed, use "+ (EC)". To specify to hold down SHIFT while E is pressed, followed by C without SHIFT, use "+EC".
To specify repeating keys, use the form {key number}. You must put a space be- tween key and number. For example, {LEFT 42} means press the LEFT ARROW key 42 times; {h 10} means press H 10 times.
Project Timer
This feature is primarily for professionals who bill their labor on an hourly basis.
The timer Start/Stop button is located on the main Calculator screen, to the left of the Number Lock indicator. It looks like a Stop Watch.
To Start the timer, click the timer button. The button will remain depressed until you click it again. Clicking the button a second time will stop the timer and print the re- sult to tape. You can also start and stop the Project Timer from the File Menu on the main screen or from the Tray Menu.
To set up you hourly rate, use the Set Billing Rate option from the Edit Menu or the Billing Function on the Time/Date Calculation screen. Once you set the Hourly Rate, it will remain in the system until the next time you change it.
Page 43
