4 Replacement Procedures
Figures |
|
|
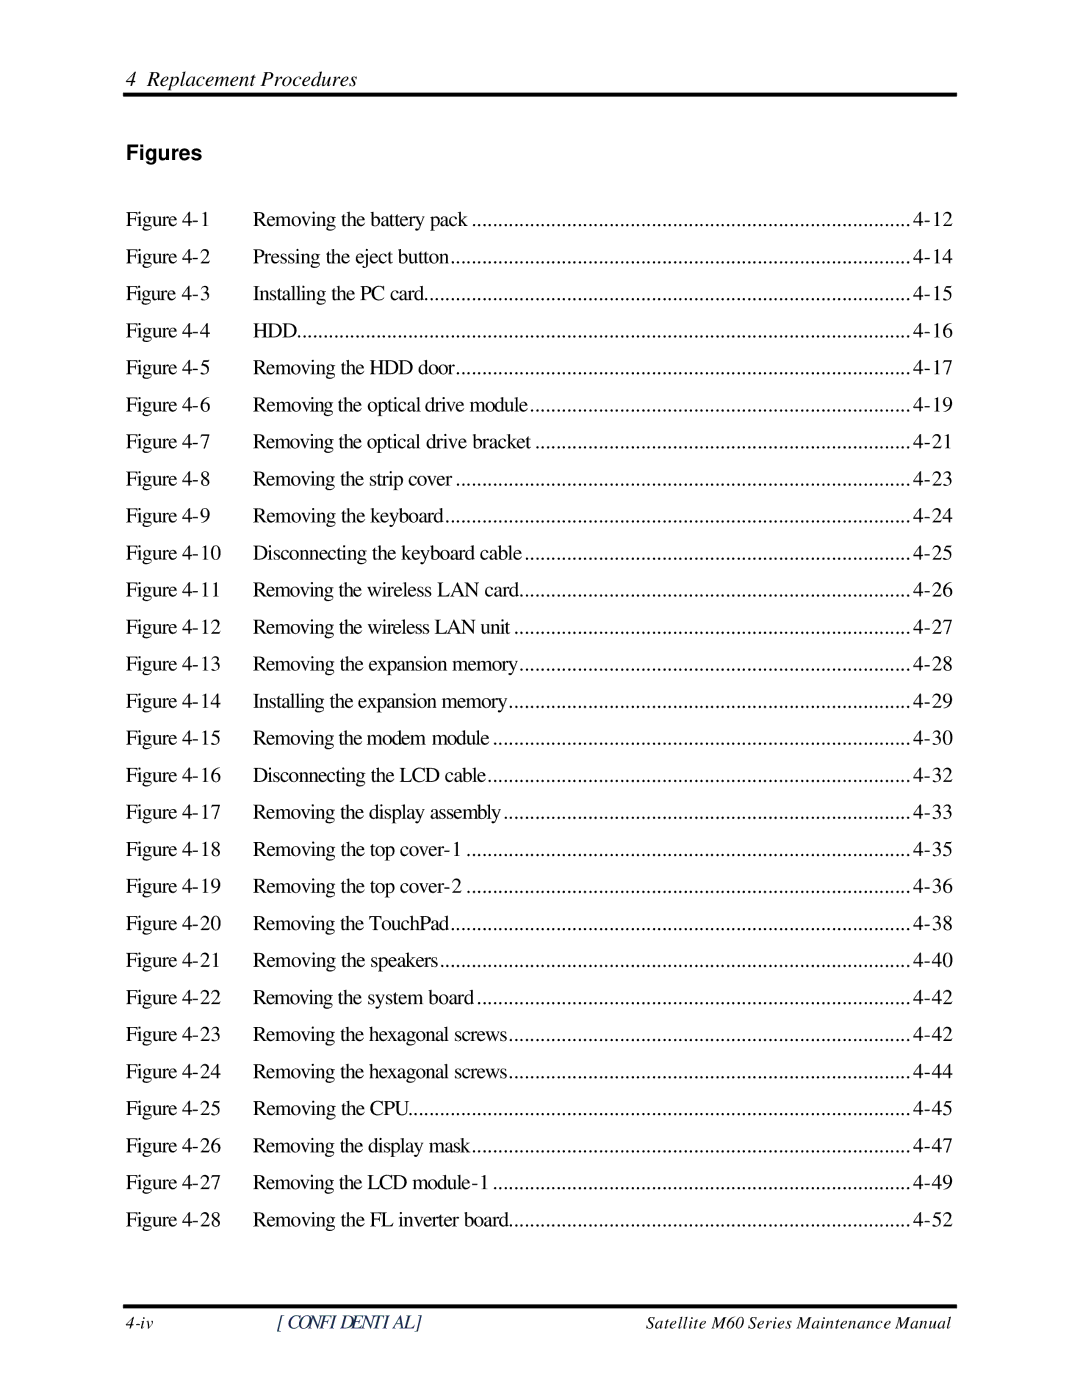
Figure | Removing the battery pack | |
Figure | Pressing the eject button | |
Figure | Installing the PC card | |
Figure | HDD | |
Figure | Removing the HDD door | |
Figure | Removing the optical drive module | |
Figure | Removing the optical drive bracket | |
Figure | Removing the strip cover | |
Figure | Removing the keyboard | |
Figure | Disconnecting the keyboard cable | |
Figure | Removing the wireless LAN card | |
Figure | Removing the wireless LAN unit | |
Figure | Removing the expansion memory | |
Figure | Installing the expansion memory | |
Figure | Removing the modem module | |
Figure | Disconnecting the LCD cable | |
Figure | Removing the display assembly | |
Figure | Removing the top | |
Figure | Removing the top | |
Figure | Removing the TouchPad | |
Figure | Removing the speakers | |
Figure | Removing the system board | |
Figure | Removing the hexagonal screws | |
Figure | Removing the hexagonal screws | |
Figure | Removing the CPU | |
Figure | Removing the display mask | |
Figure | Removing the LCD | |
Figure | Removing the FL inverter board |
[CONFIDENTIAL] | Satellite M60 Series Maintenance Manual |
