O W N E R ’ S M A N U A L • S 9 0
Slide bushing and the upper end of the left handlebar into the mount on the upper end of the vertical frame. Slide the lower end over the spacer. Secure the top of the handlebar with one M8x20 button head bolt and lock washer using the 5 mm hexagon key provided. Attach the right handlebar in the same manner.
TRIBAR
Slide the remaining mount bushings into the front mounts on the vertical frame. Insert the ends of the Tribar into the mount. Secure the Tribar with two M8x20 button head bolts and lock washers using the 5 mm hexagon key provided.
METER
Open the battery case cover on the back of the meter case and insert two 1.5 V
USE
Resistance is adjusted by turning the adjustment ring located on the hydraulic cylinders (12 different resistance levels). The arrow on the shock indicates the chosen resistance level.
Start with slow tempo, long step height and low resistance. Gradually increase tempo and resistance and shorten step height according to your own condition. Keep your head up and neck long in order to avoid stress on your neck, shoulders and back. Keep also your back straight. Make sure, that your feet are centered on the foot pedals and that your hips, knees, ankles and toes are facing forward. Keep your body weight centered over your lower body regardless of whether you lean forward or stand upright. By shifting your weight forward or back you can concentrate the workout toward different lower body muscles. Stop your workout by gradually decreasing tempo and resistance. Lengthen your step height until your heart rate has returned to normal. Don’t forget to stretch afterwards.
To strengthen cardiovascular system, maintain low resistance, but high tempo. Exercising with higher resistance and slow tempo strengthens correspondingly your back and hips.
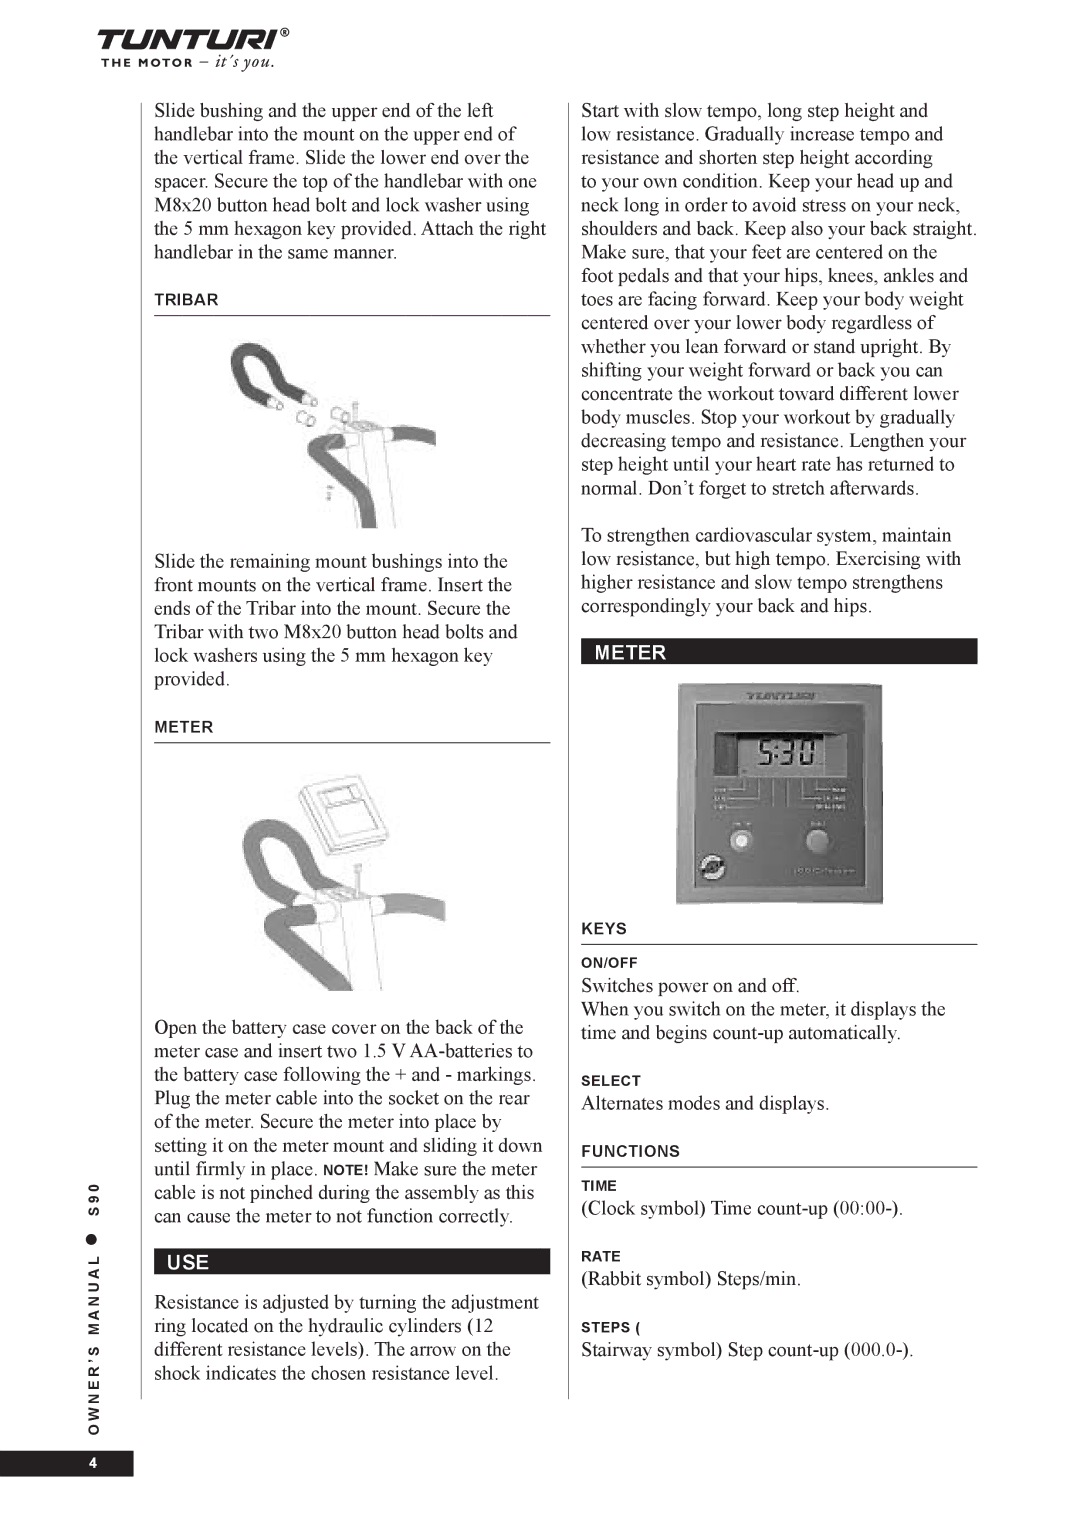
METER
KEYS
ON/OFF
Switches power on and off.
When you switch on the meter, it displays the time and begins
SELECT
Alternates modes and displays.
FUNCTIONS
TIME
(Clock symbol) Time
RATE
(Rabbit symbol) Steps/min.
STEPS (
Stairway symbol) Step
4