4.Remove the two screws securing the fixing brackets to the fan control board.
5.Remove the two fixing brackets as instructed for replacement of the fan control board.
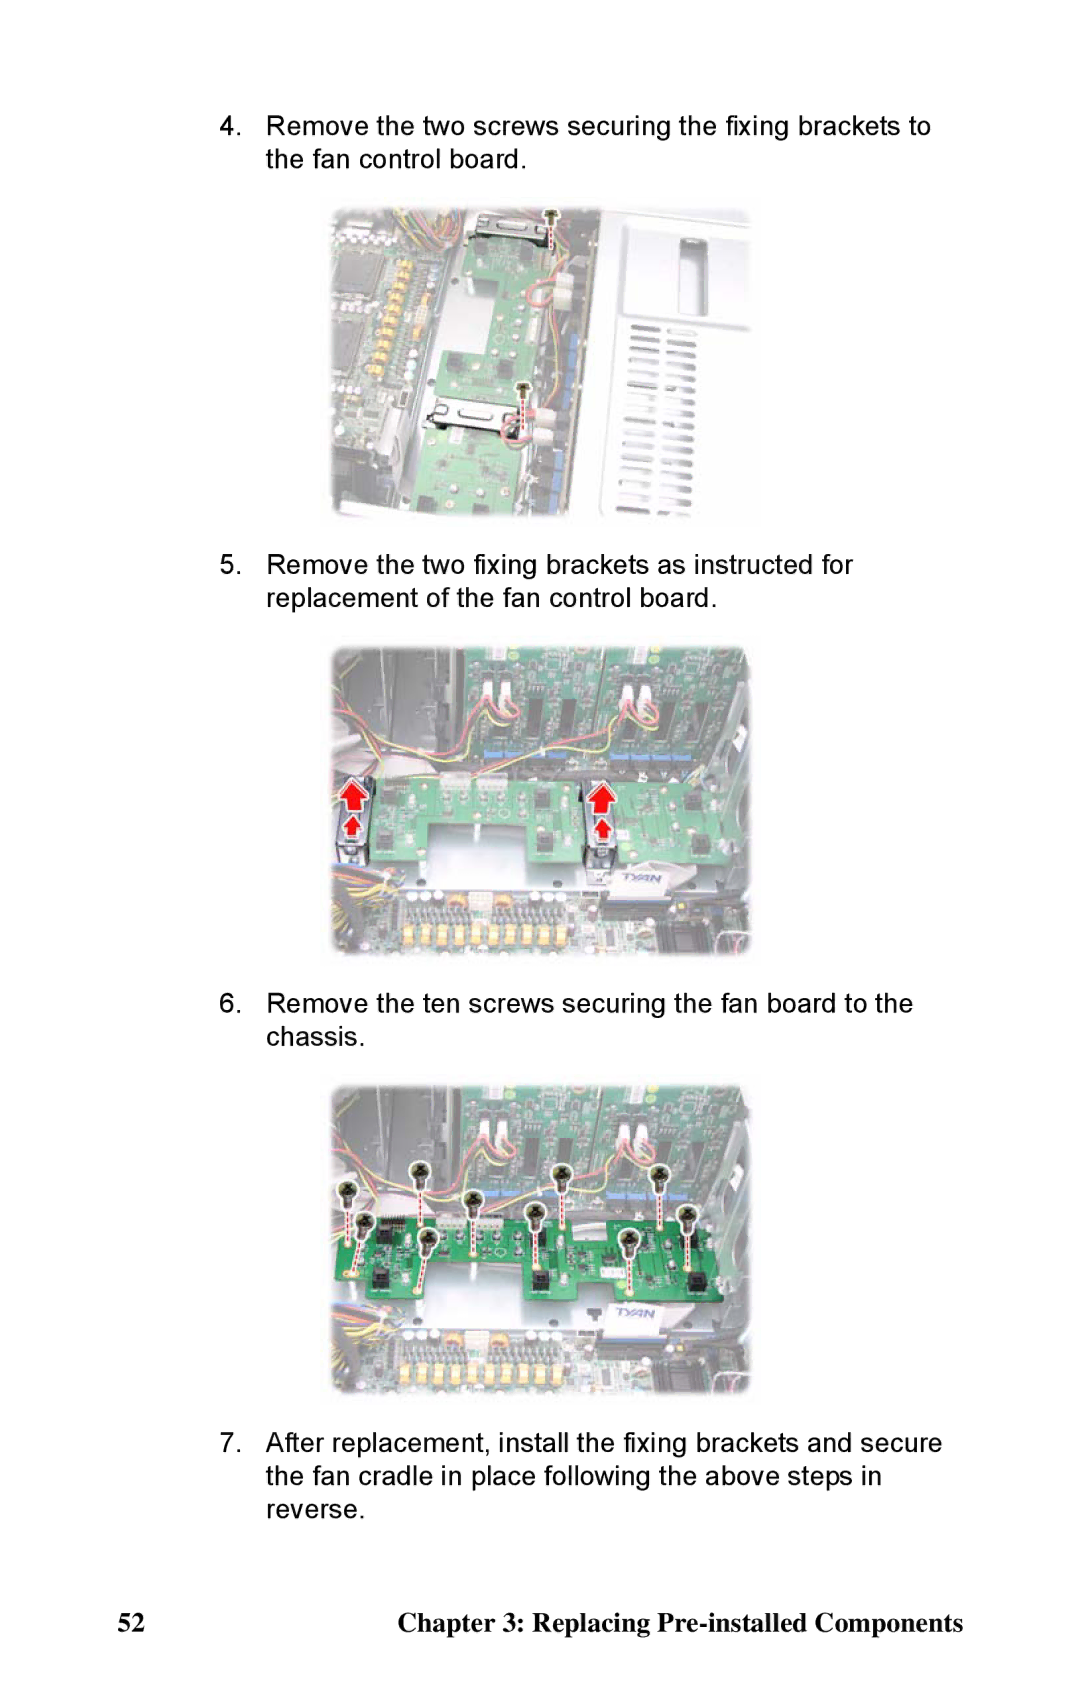
6.Remove the ten screws securing the fan board to the chassis.
7.After replacement, install the fixing brackets and secure the fan cradle in place following the above steps in reverse.
52 | Chapter 3: Replacing |