SCANNING FROM THE PAPERPORT SOFTWARE | 41 |
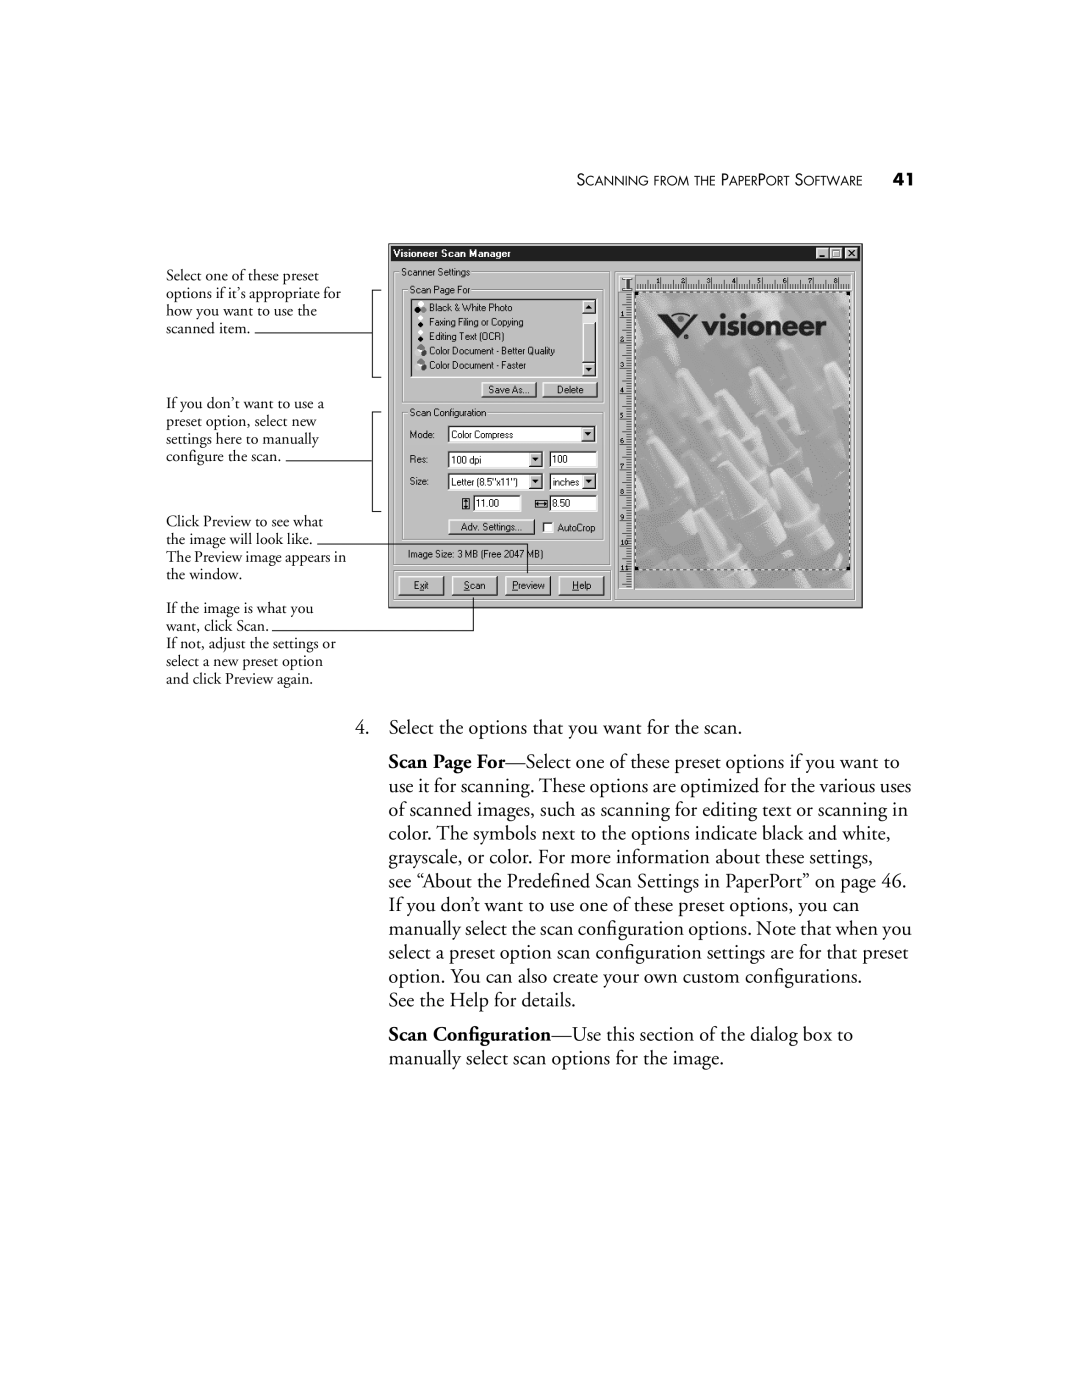
Select one of these preset options if it’s appropriate for how you want to use the scanned item.
If you don’t want to use a preset option, select new settings here to manually configure the scan.
Click Preview to see what the image will look like.
The Preview image appears in the window.
If the image is what you want, click Scan.
If not, adjust the settings or select a new preset option and click Preview again.
4.Select the options that you want for the scan.
Scan Page For—Select one of these preset options if you want to use it for scanning. These options are optimized for the various uses of scanned images, such as scanning for editing text or scanning in color. The symbols next to the options indicate black and white, grayscale, or color. For more information about these settings, see “About the Predefined Scan Settings in PaperPort” on page 46. If you don’t want to use one of these preset options, you can manually select the scan configuration options. Note that when you select a preset option scan configuration settings are for that preset option. You can also create your own custom configurations.
See the Help for details.
Scan Configuration—Use this section of the dialog box to manually select scan options for the image.