![]() If you are installing the HD Satellite Interface as an
If you are installing the HD Satellite Interface as an
Software Update with Clone Box for instructions.
3.2 Route Cables (If Necessary)
If your Winegard Satellite System on your roof came installed with the power/data cable, or if your coach was
If you are replacing the current power wire, remove the sealant and 8 screws from the roof top cable entry plate using the drill and 5/16” nut driver bit and discard. If not already done, remove the dome from the antenna by removing the eight dome screws with a Phil- lips head screwdriver. Do not lose dome screws!
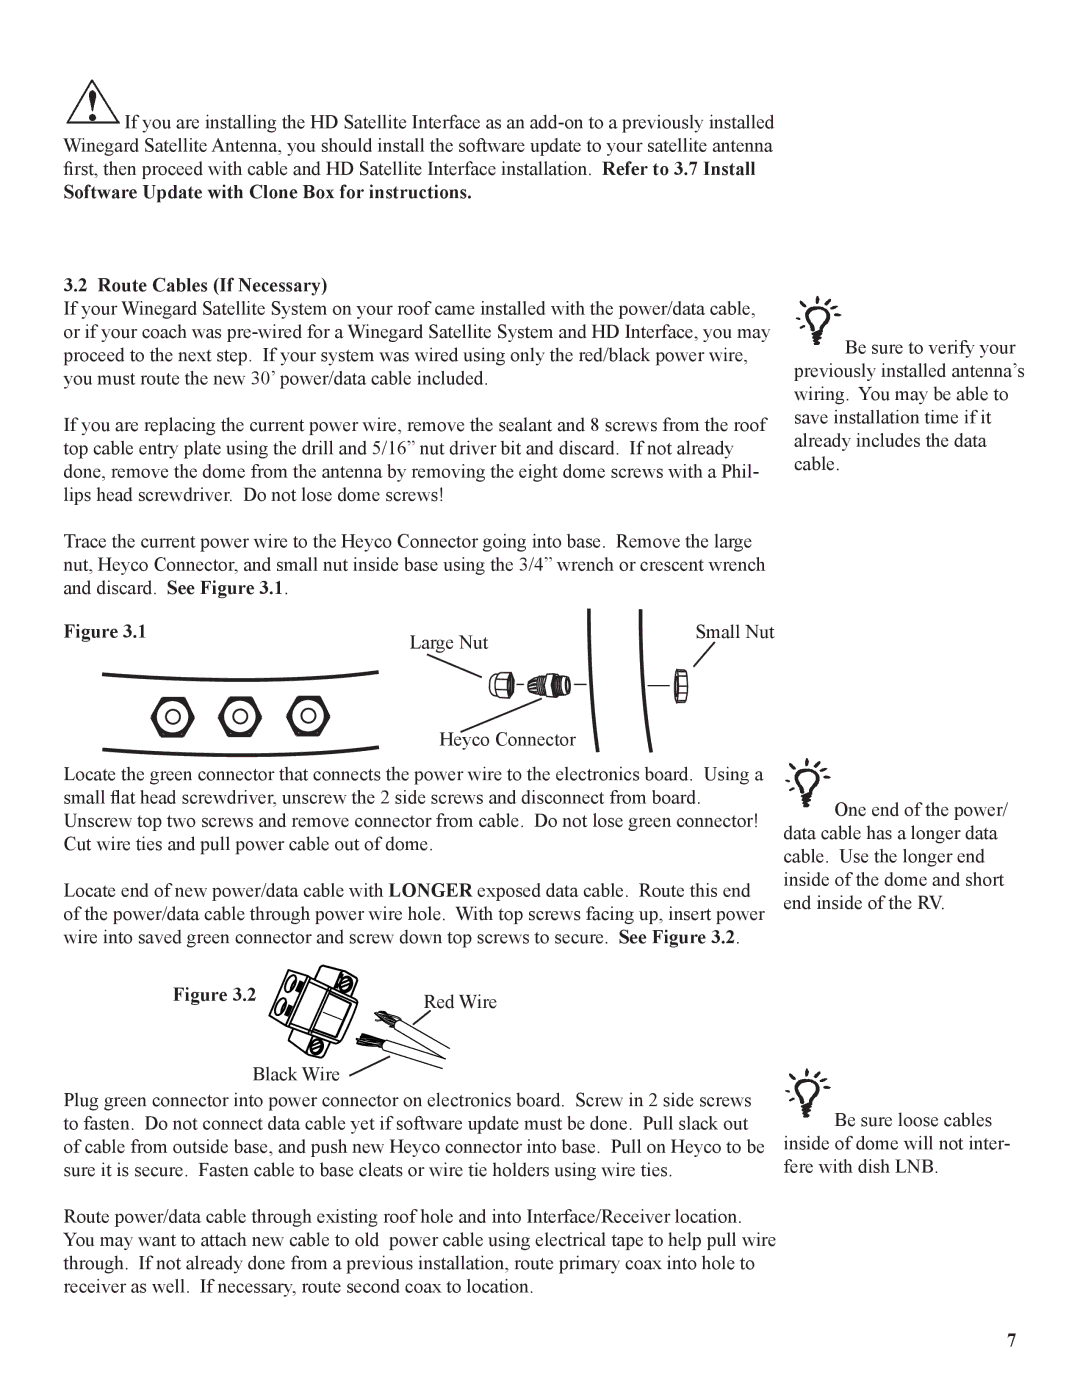
Trace the current power wire to the Heyco Connector going into base. Remove the large nut, Heyco Connector, and small nut inside base using the 3/4” wrench or crescent wrench and discard. See Figure 3.1.
![]() Be sure to verify your previously installed antenna’s wiring. You may be able to save installation time if it already includes the data cable.
Be sure to verify your previously installed antenna’s wiring. You may be able to save installation time if it already includes the data cable.
Figure 3.1 | Large Nut | Small Nut |
|
|
Heyco Connector
Locate the green connector that connects the power wire to the electronics board. Using a small flat head screwdriver, unscrew the 2 side screws and disconnect from board. Unscrew top two screws and remove connector from cable. Do not lose green connector! Cut wire ties and pull power cable out of dome.
Locate end of new power/data cable with LONGER exposed data cable. Route this end of the power/data cable through power wire hole. With top screws facing up, insert power wire into saved green connector and screw down top screws to secure. See Figure 3.2.
![]() One end of the power/ data cable has a longer data cable. Use the longer end inside of the dome and short end inside of the RV.
One end of the power/ data cable has a longer data cable. Use the longer end inside of the dome and short end inside of the RV.
Figure 3.2 | Red Wire |
|
Black Wire ![]()
Plug green connector into power connector on electronics board. Screw in 2 side screws to fasten. Do not connect data cable yet if software update must be done. Pull slack out of cable from outside base, and push new Heyco connector into base. Pull on Heyco to be sure it is secure. Fasten cable to base cleats or wire tie holders using wire ties.
Route power/data cable through existing roof hole and into Interface/Receiver location. You may want to attach new cable to old power cable using electrical tape to help pull wire through. If not already done from a previous installation, route primary coax into hole to receiver as well. If necessary, route second coax to location.
![]() Be sure loose cables inside of dome will not inter- fere with dish LNB.
Be sure loose cables inside of dome will not inter- fere with dish LNB.