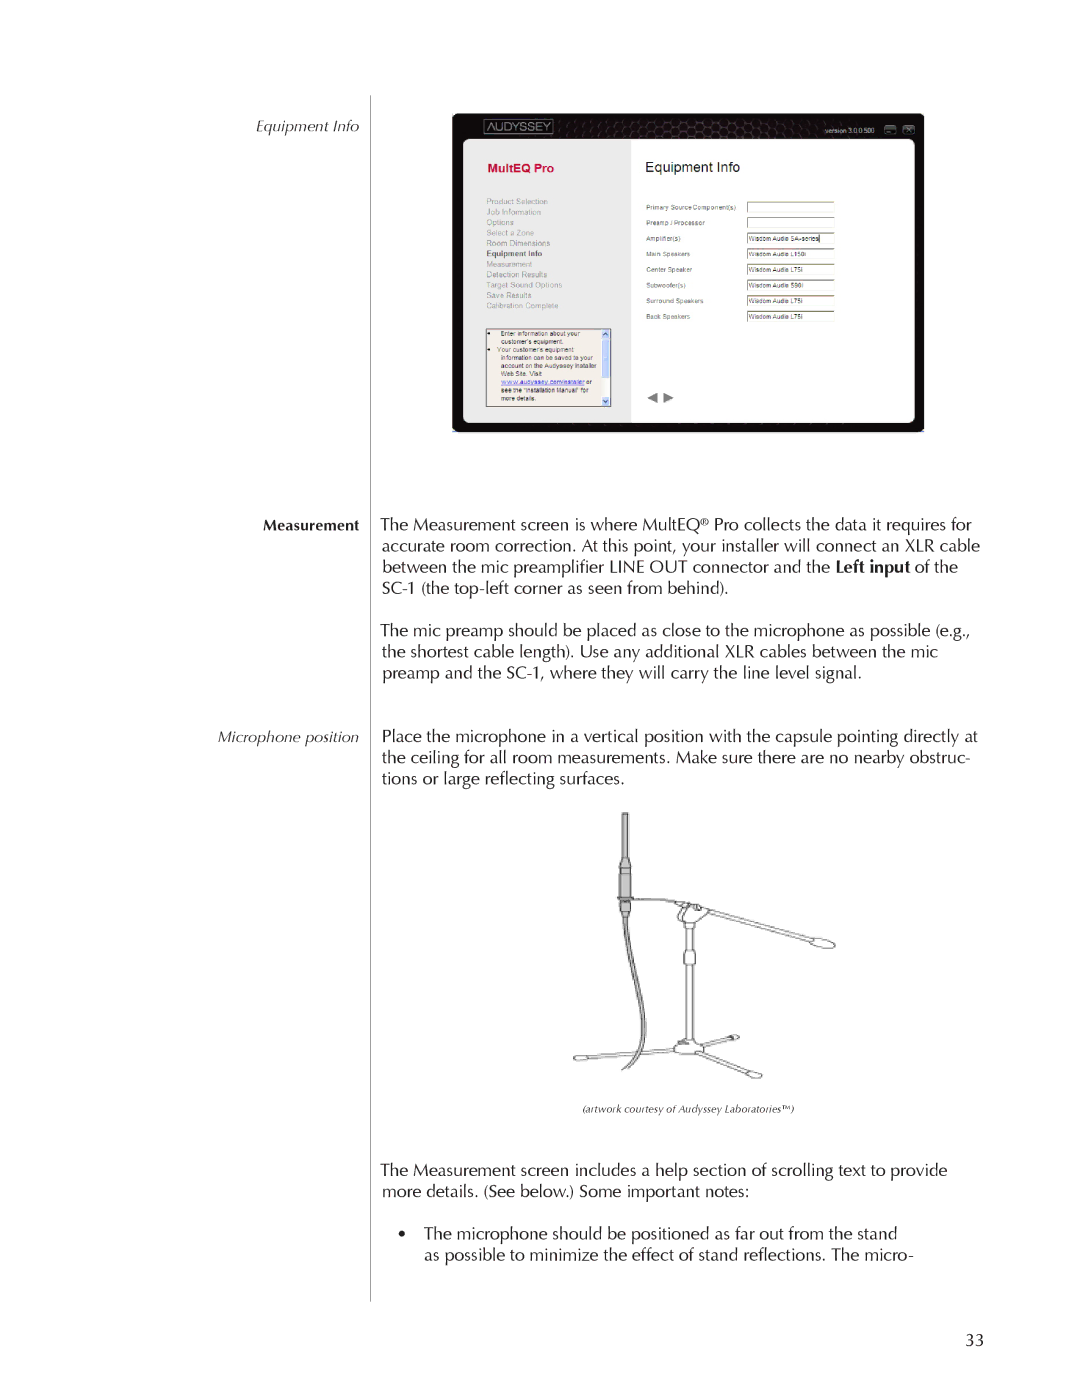
Equipment Info
Measurement
Microphone position
The Measurement screen is where MultEQ® Pro collects the data it requires for accurate room correction. At this point, your installer will connect an XLR cable between the mic preamplifier LINE OUT connector and the Left input of the
The mic preamp should be placed as close to the microphone as possible (e.g., the shortest cable length). Use any additional XLR cables between the mic preamp and the
Place the microphone in a vertical position with the capsule pointing directly at the ceiling for all room measurements. Make sure there are no nearby obstruc- tions or large reflecting surfaces.
(artwork courtesy of Audyssey Laboratories™)
The Measurement screen includes a help section of scrolling text to provide more details. (See below.) Some important notes:
•The microphone should be positioned as far out from the stand as possible to minimize the effect of stand reflections. The micro-
33