●Replace any safety decals that are missing or not readable (supplied free by your Woods dealer). See Safety Decals section for location drawing.
STORAGE
Block equipment securely for storage.
Keep children and bystanders away from stor- age area.
At the end of the season, the shredder should be thor- oughly inspected and prepared for storage. Repair or replace any worn or damage components to prevent unnecessary down time at the beginning of the next season.
To ensure a long,
1.Clear the area of bystanders, especially children.
2.Thoroughly wash the unit, using a pressure washer to remove all dirt, mud, debris, and residue. See Cleaning instructions on this page.
3.Inspect the flails and rotors for damage or entangled material. Remove entangled material. Repair or replace damaged parts.
4.Inspect all hydraulic hoses, lines, couplers, and fittings. Tighten all loose fittings. Replace any hose that is cut, nicked, abraded, or separating from the crimped end of a fitting.
5.Change gearbox oil.
6.Lubricate all grease fittings. Make sure all grease cavities have been filled with grease to remove any water residue from pressure washing.
7.Touch up all paint nicks and scratches to prevent rust.
8.Move to storage area. Select a dry area free of debris. Store in an area away from human activity.
9.Unhook from tractor (see Removing Shredder from Tractor, page 19).
10.Place safety stands or large blocks under the frame to take the load off the tires. NOTE: Do not deflate tires.
11.If the unit cannot be placed indoors, cover with a waterproof tarpaulin and tie securely. Store away from human activity.
12.Do not allow children to play on or around the stored unit.
OPTIONAL EQUIPMENT
RUBBER FLAPS
All units are equipped with front shield flaps (Figure 20) along the front of the frame. The shield flaps stop or deflect trash, stones, or other debris picked up by the flails.
Be sure the shield flaps are in good condition for opera- tion. Replace if damaged, torn, or missing.
ADDITIONAL REAR WHEELS
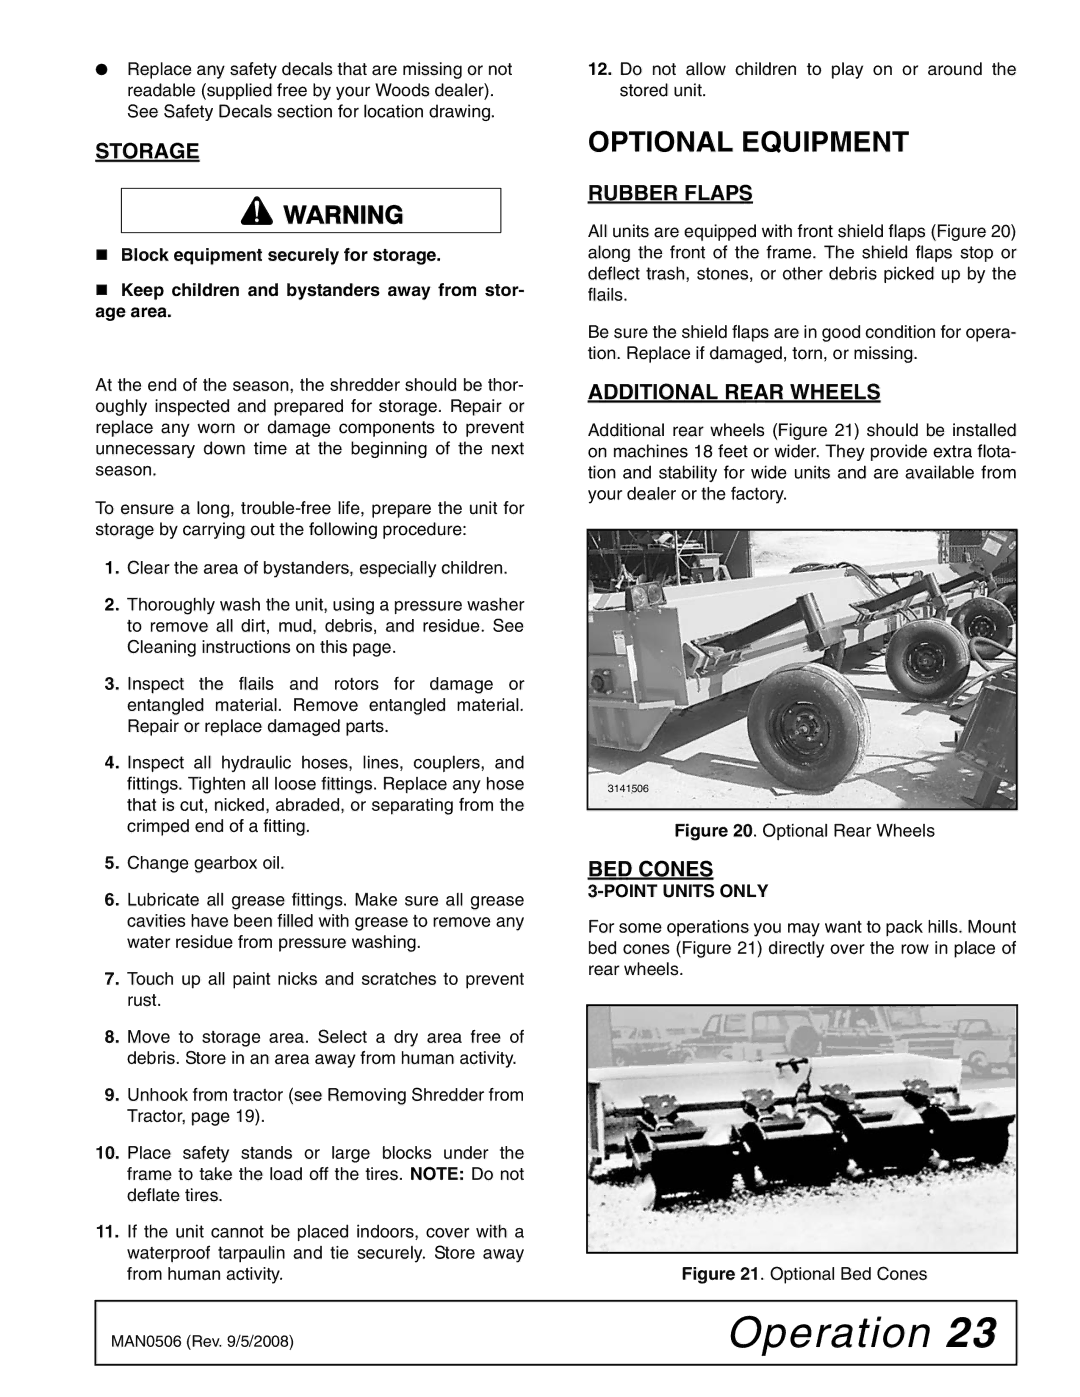
Additional rear wheels (Figure 21) should be installed on machines 18 feet or wider. They provide extra flota- tion and stability for wide units and are available from your dealer or the factory.
3141506
Figure 20. Optional Rear Wheels
BED CONES
3-POINT UNITS ONLY
For some operations you may want to pack hills. Mount bed cones (Figure 21) directly over the row in place of rear wheels.
Figure 21. Optional Bed Cones
MAN0506 (Rev. 9/5/2008) | Operation 23 |
|
|