Model W1829 (Mfg. Since 9/11)
SERVICE
Setting 45° Inward Stop
1.DISCONNECT JOINTER FROM POWER!
2.With the fence positioned over the bed and the sliding handle locked, loosen the fence tilting handle and release the limit tab.
3.Tilt the fence towards the table as far as it will go, then tighten the fence tilting handle.
Note: When you tilt the fence towards the table, it will stop when it hits the inward stop bolt.
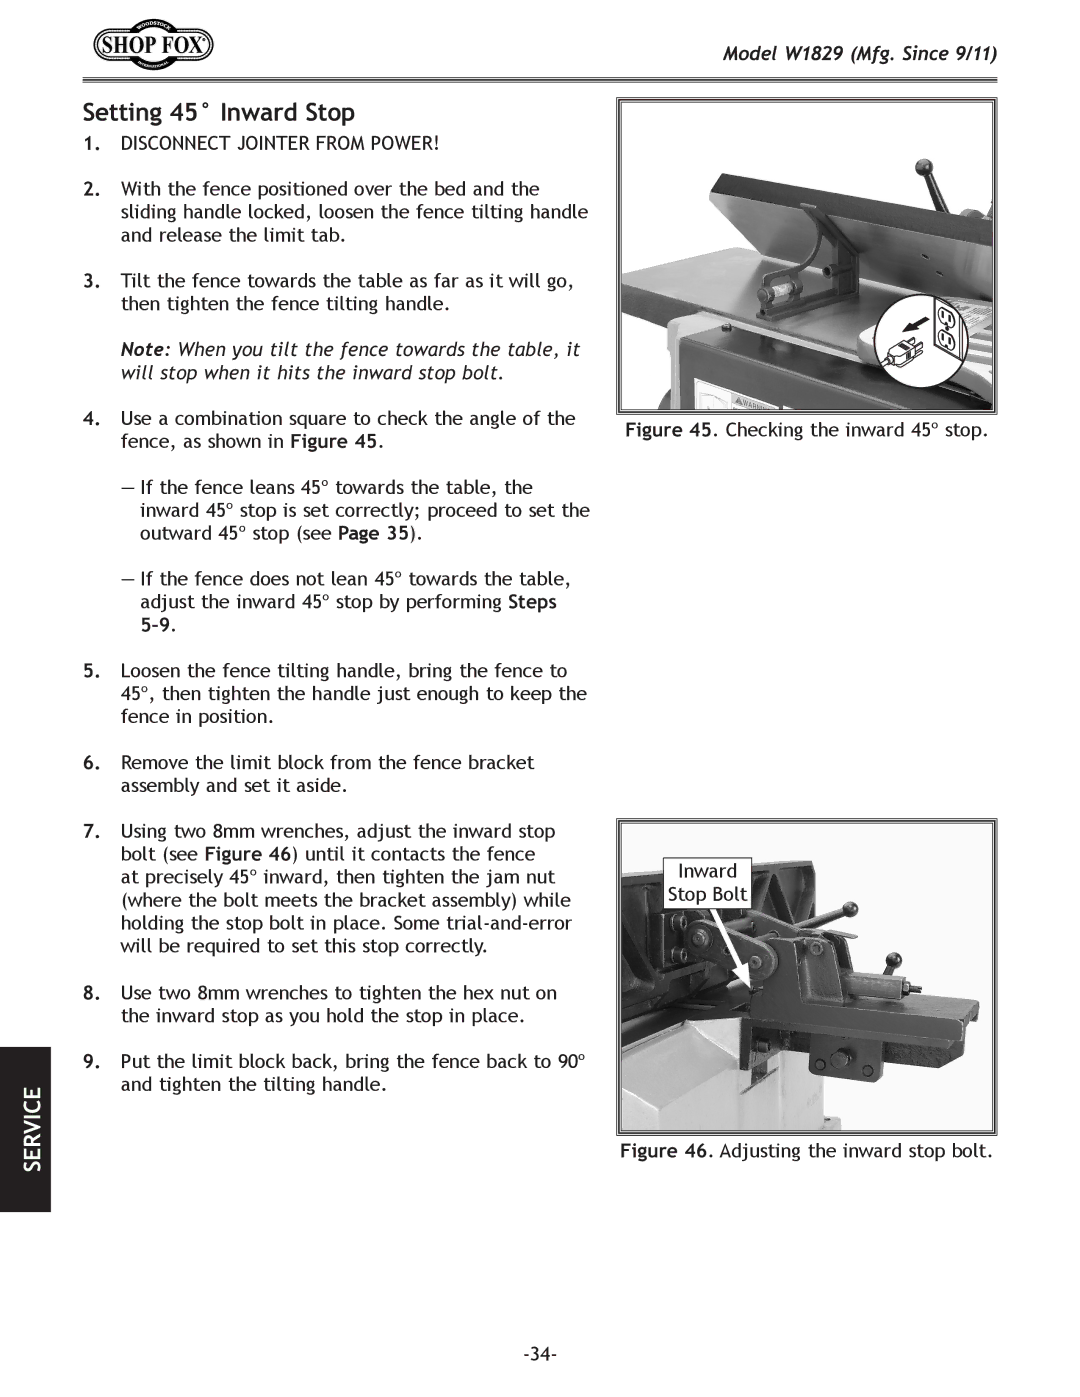
4.Use a combination square to check the angle of the fence, as shown in Figure 45.
—If the fence leans 45º towards the table, the inward 45º stop is set correctly; proceed to set the outward 45º stop (see Page 35).
—If the fence does not lean 45º towards the table, adjust the inward 45º stop by performing Steps
5.Loosen the fence tilting handle, bring the fence to 45º, then tighten the handle just enough to keep the fence in position.
6.Remove the limit block from the fence bracket assembly and set it aside.
7.Using two 8mm wrenches, adjust the inward stop bolt (see Figure 46) until it contacts the fence at precisely 45º inward, then tighten the jam nut (where the bolt meets the bracket assembly) while holding the stop bolt in place. Some
8.Use two 8mm wrenches to tighten the hex nut on the inward stop as you hold the stop in place.
9.Put the limit block back, bring the fence back to 90º and tighten the tilting handle.