CONNECTIONS
Connecting the power
■Connecting the AC power
After all other connections are complete, plug the power cord to an AC wall outlet.
■Memory back-up
The memory
Turning on the power
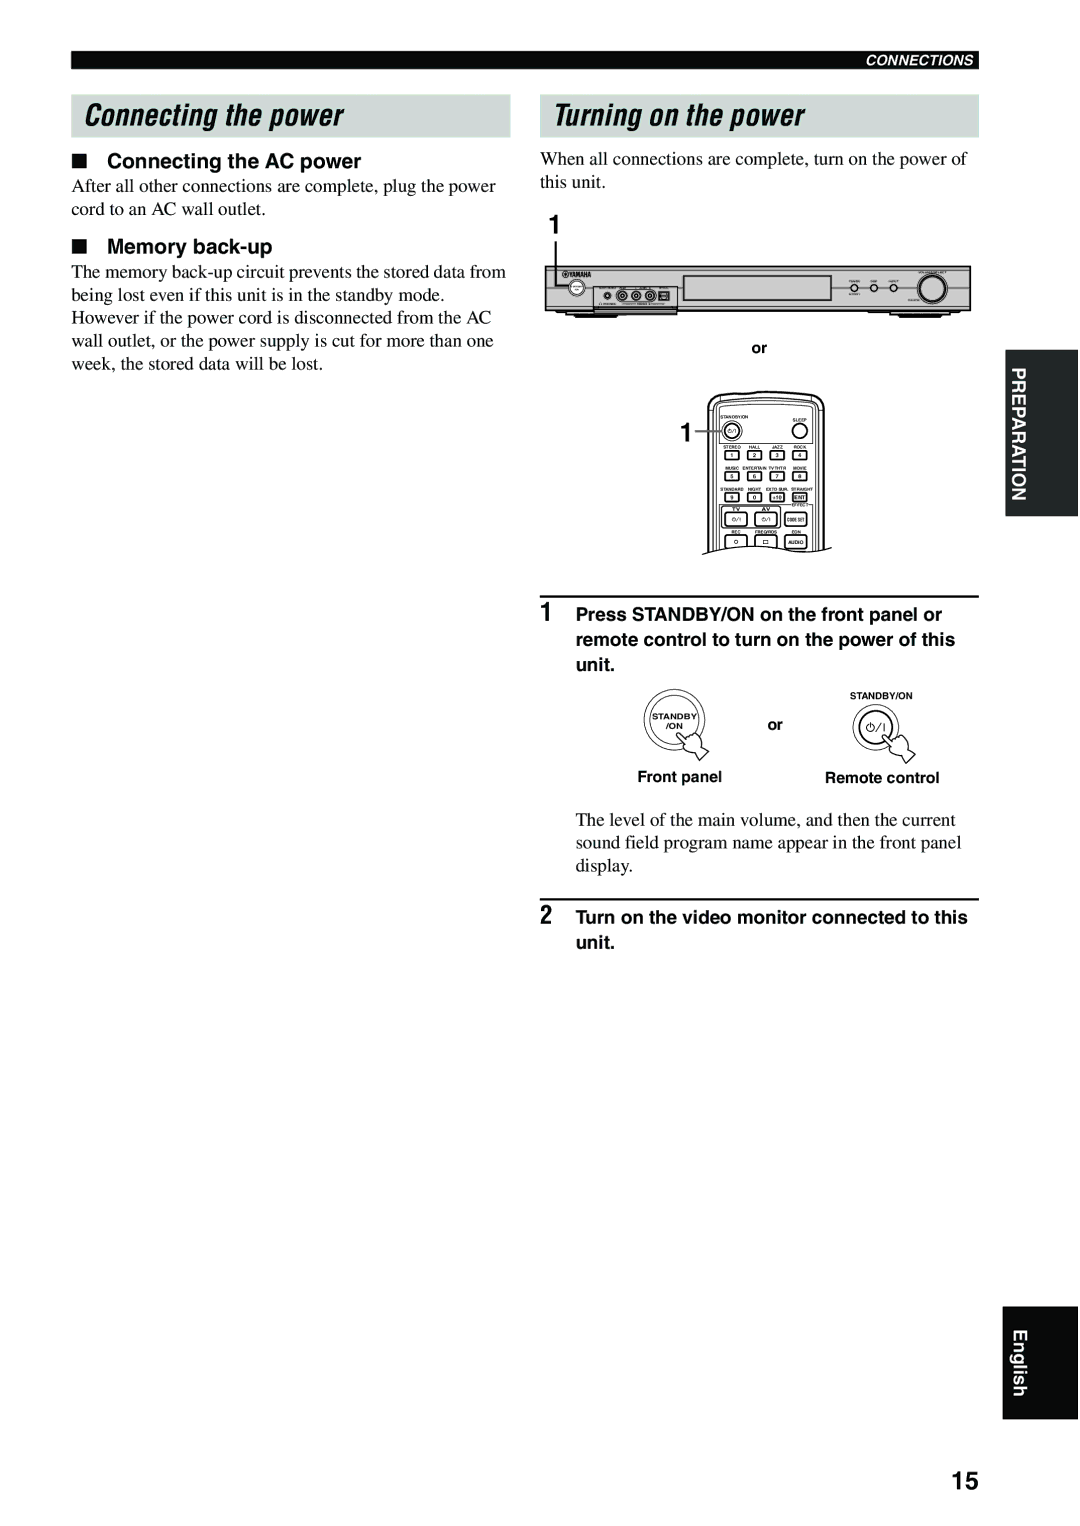
When all connections are complete, turn on the power of this unit.
1
|
|
|
|
|
|
| VOLUME/SELECT |
|
|
|
|
| TUNER | DSP | INPUT |
STANDBY | SILENT CINEMA | VIDEO | L | AUDIO R | OPTICAL |
|
|
/ON |
|
| |||||
|
|
|
|
| AUTO/MAN'L |
|
|
|
|
|
|
|
|
| |
| PHONES |
|
| VIDEO 2 |
|
|
|
or
STANDBY/ON
1 |
|
|
| SLEEP |
STEREO | HALL | JAZZ | ROCK | |
| 1 | 2 | 3 | 4 |
| MUSIC ENTERTAIN TV THTR | MOVIE | ||
| 5 | 6 | 7 | 8 |
| STANDARD | NIGHT | EXTD SUR. STRAIGHT | |
| 9 | 0 | +10 | ENT |
| TV |
| AV | EFFECT |
|
|
| ||
|
|
|
| CODE SET |
| REC | FREQ/RDS | EON | |
|
|
| s | AUDIO |
| DISC SKIP | MODE PTY SEEK START | ||
PREPARATION
1Press STANDBY/ON on the front panel or remote control to turn on the power of this unit.
STANDBY/ON
STANDBY
/ON
or
Front panel | Remote control |
The level of the main volume, and then the current sound field program name appear in the front panel display.
2Turn on the video monitor connected to this unit.
English
15
