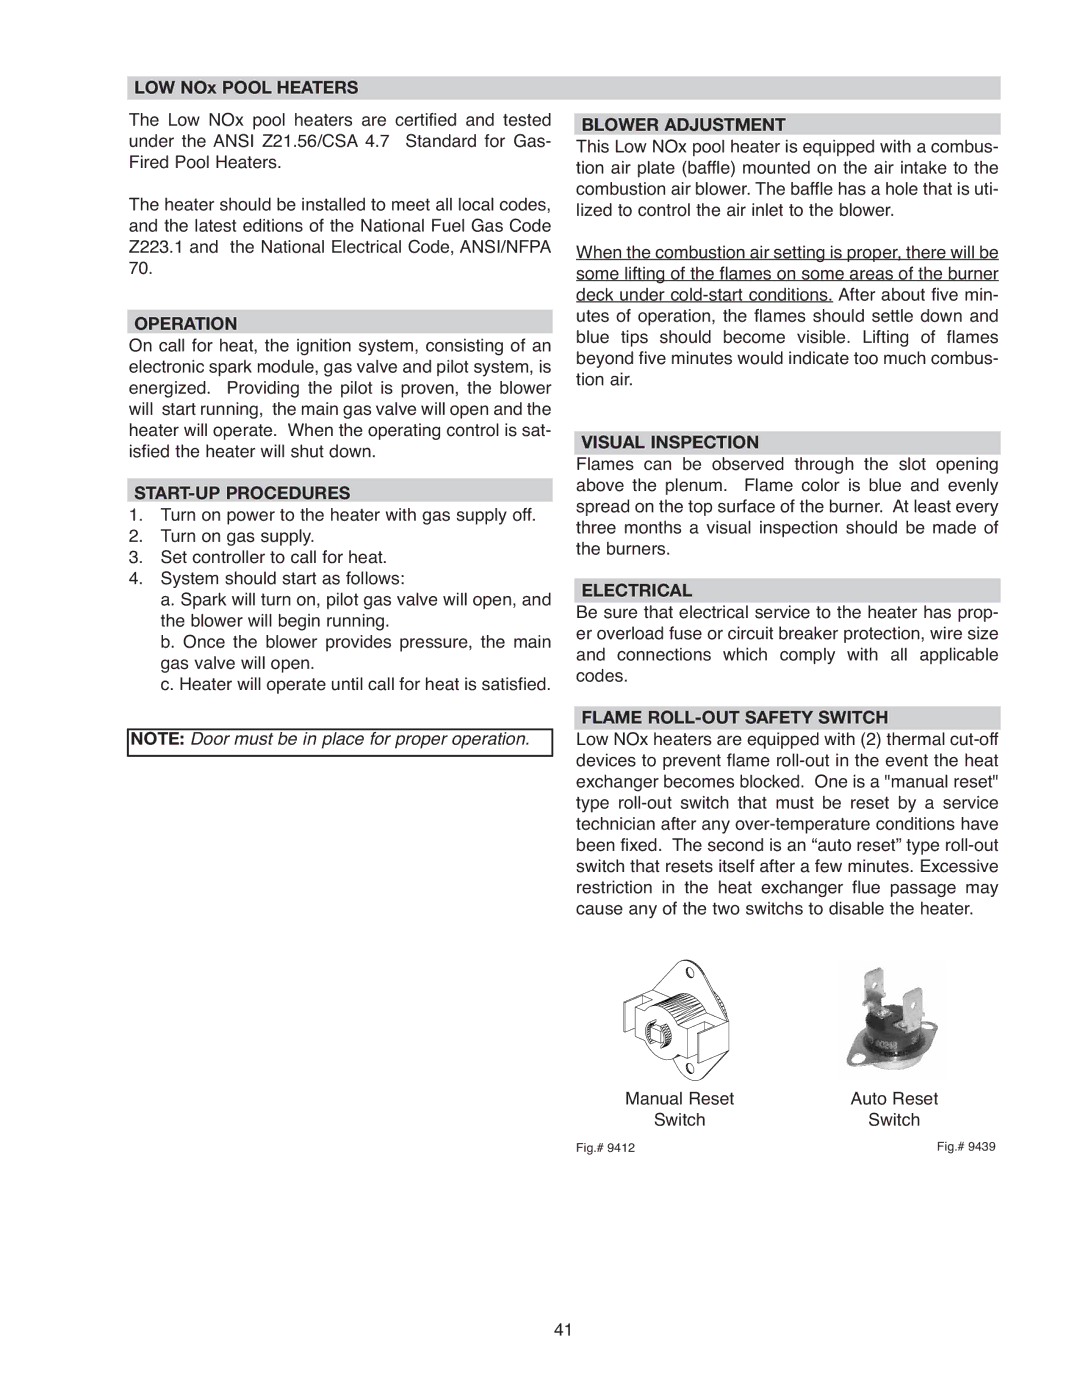
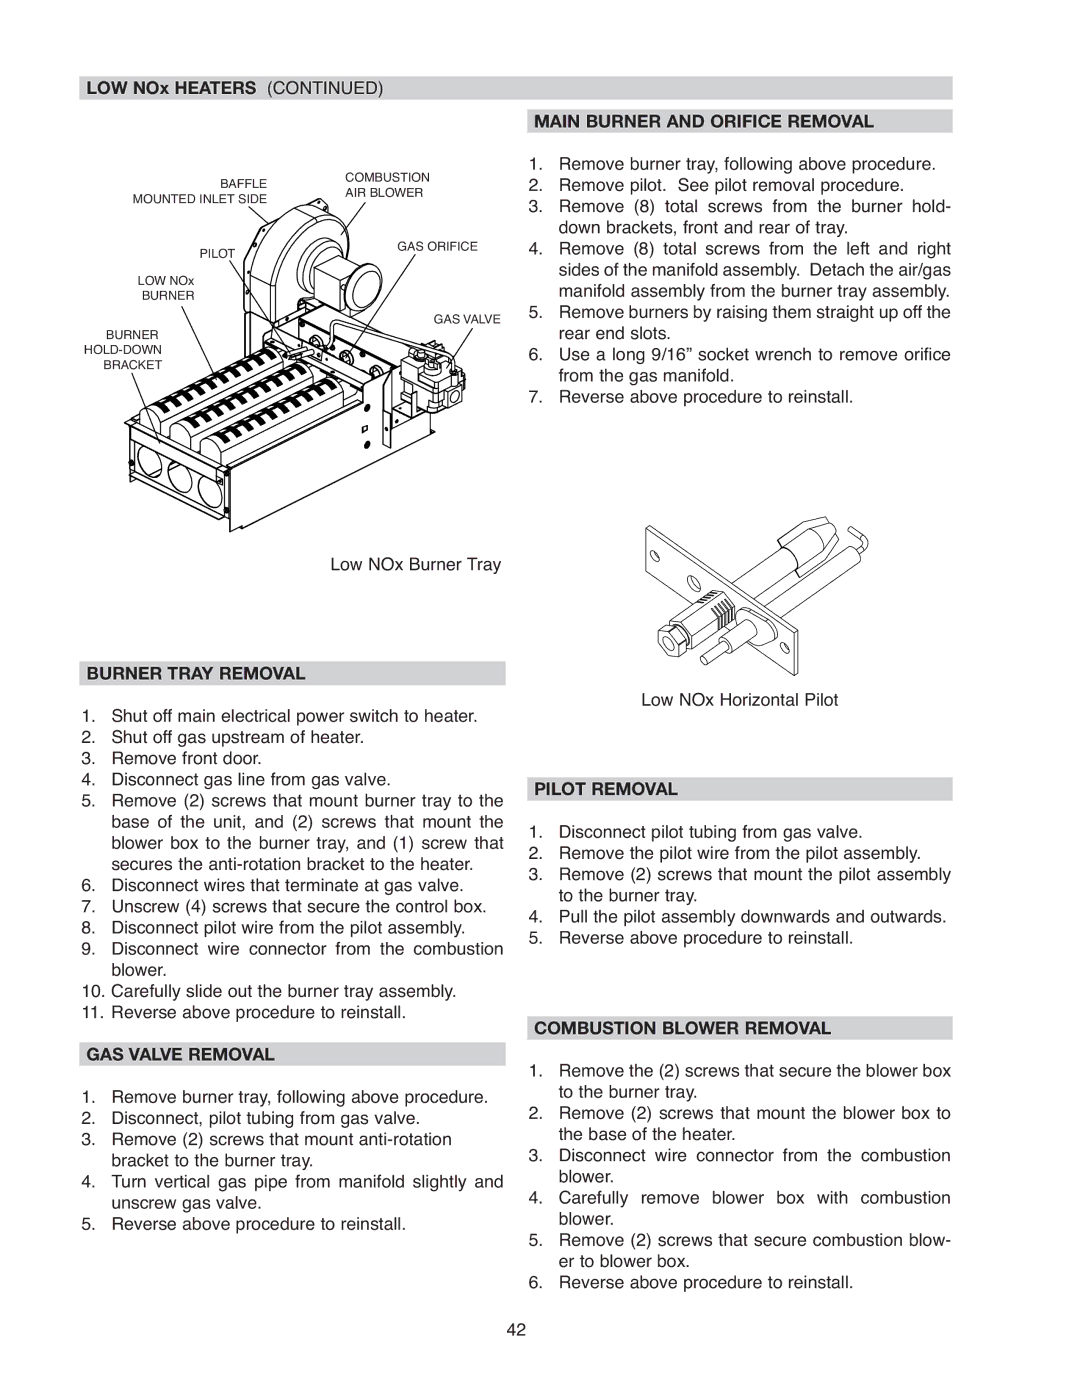
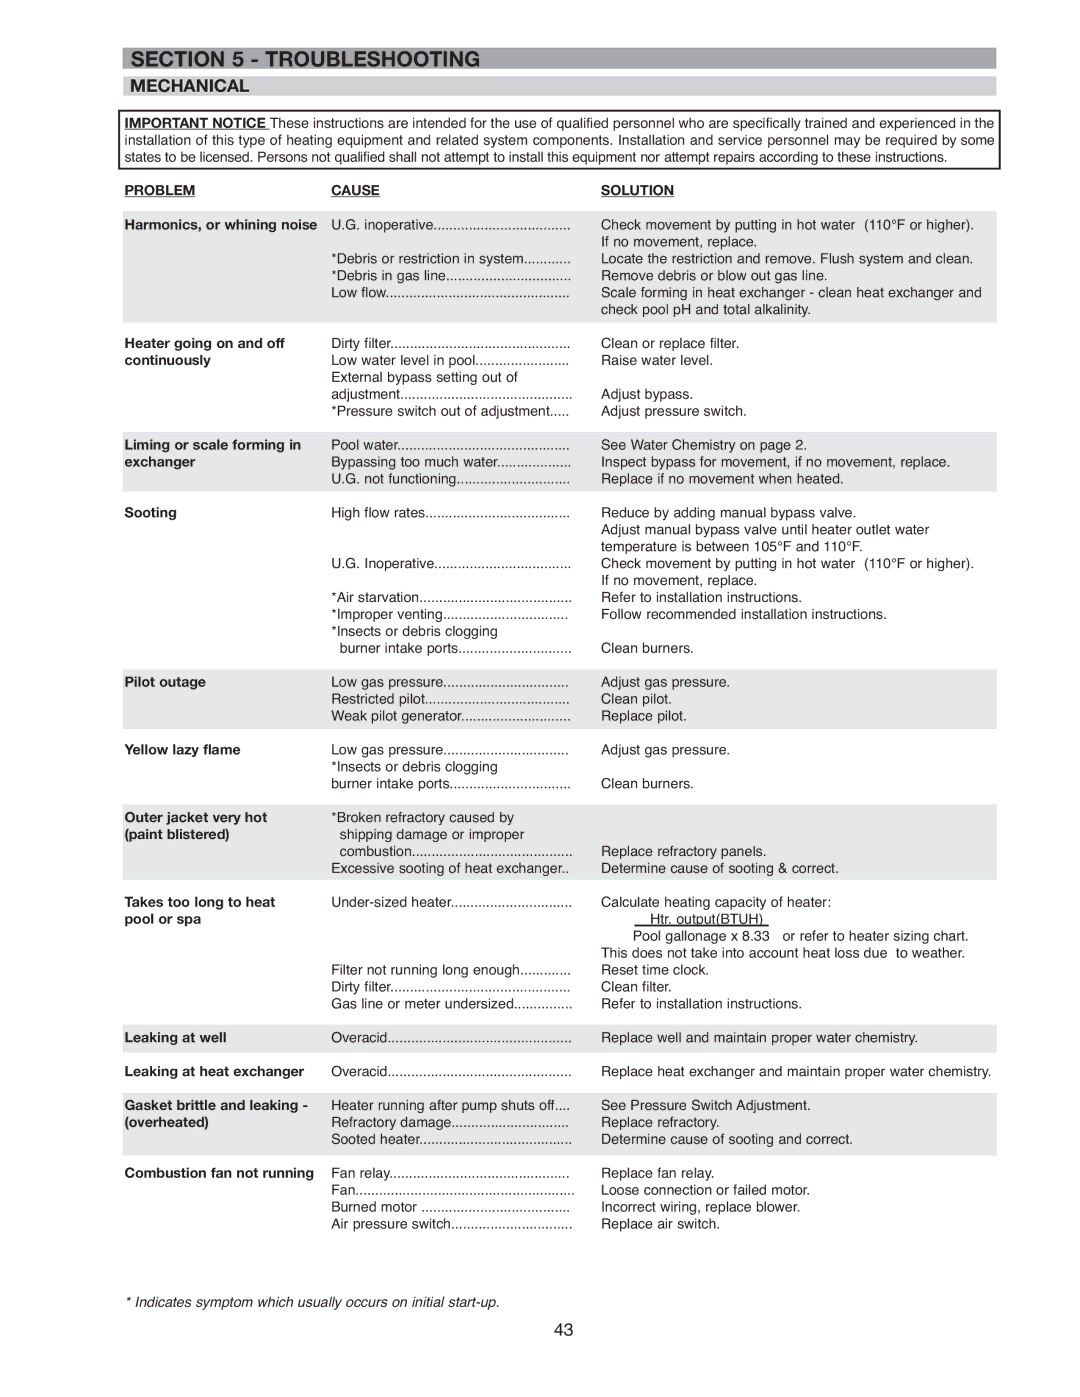
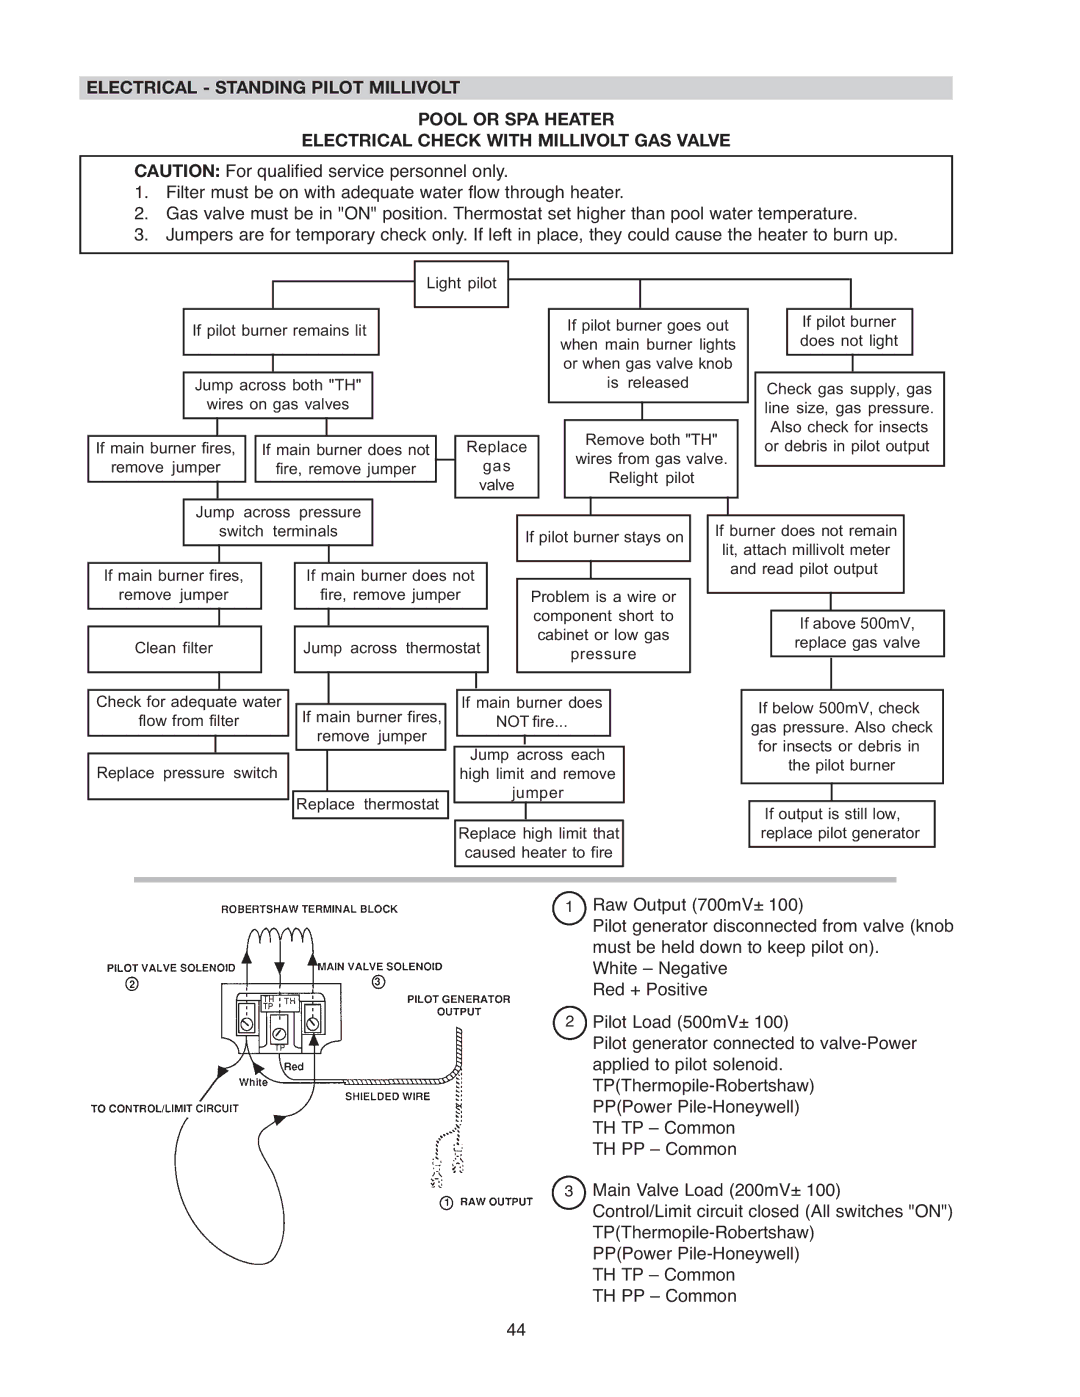
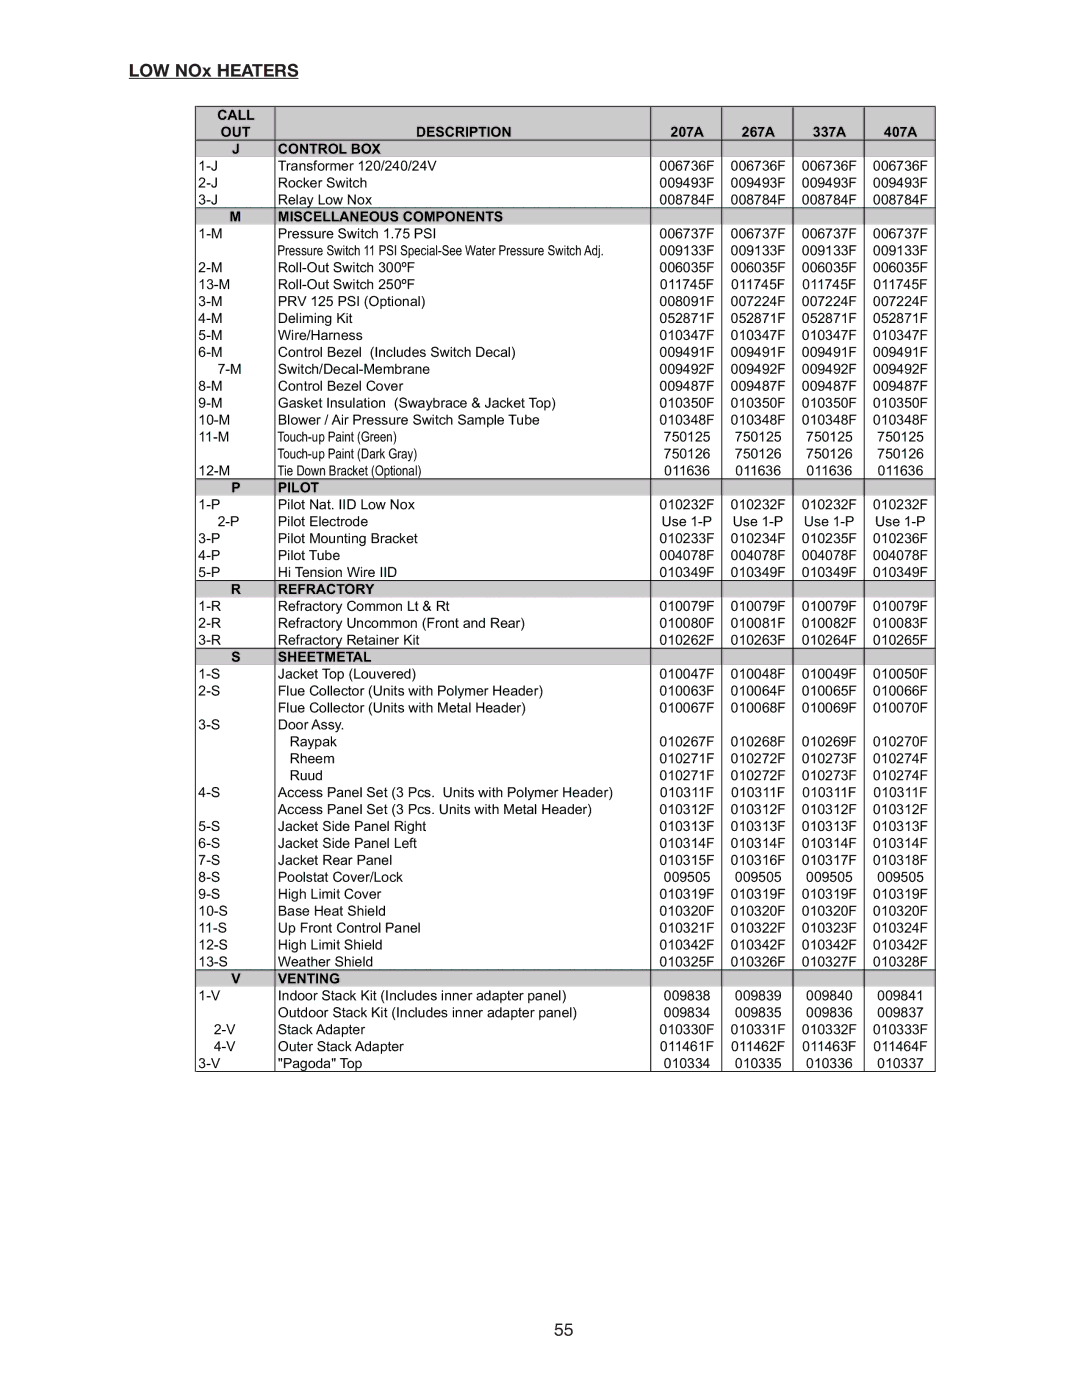
Raypak 267A, 406A, 206A, 407A, 337A, 336A, 207A, 266A Yes, Digital Control Logic Flow Chart

Page 46

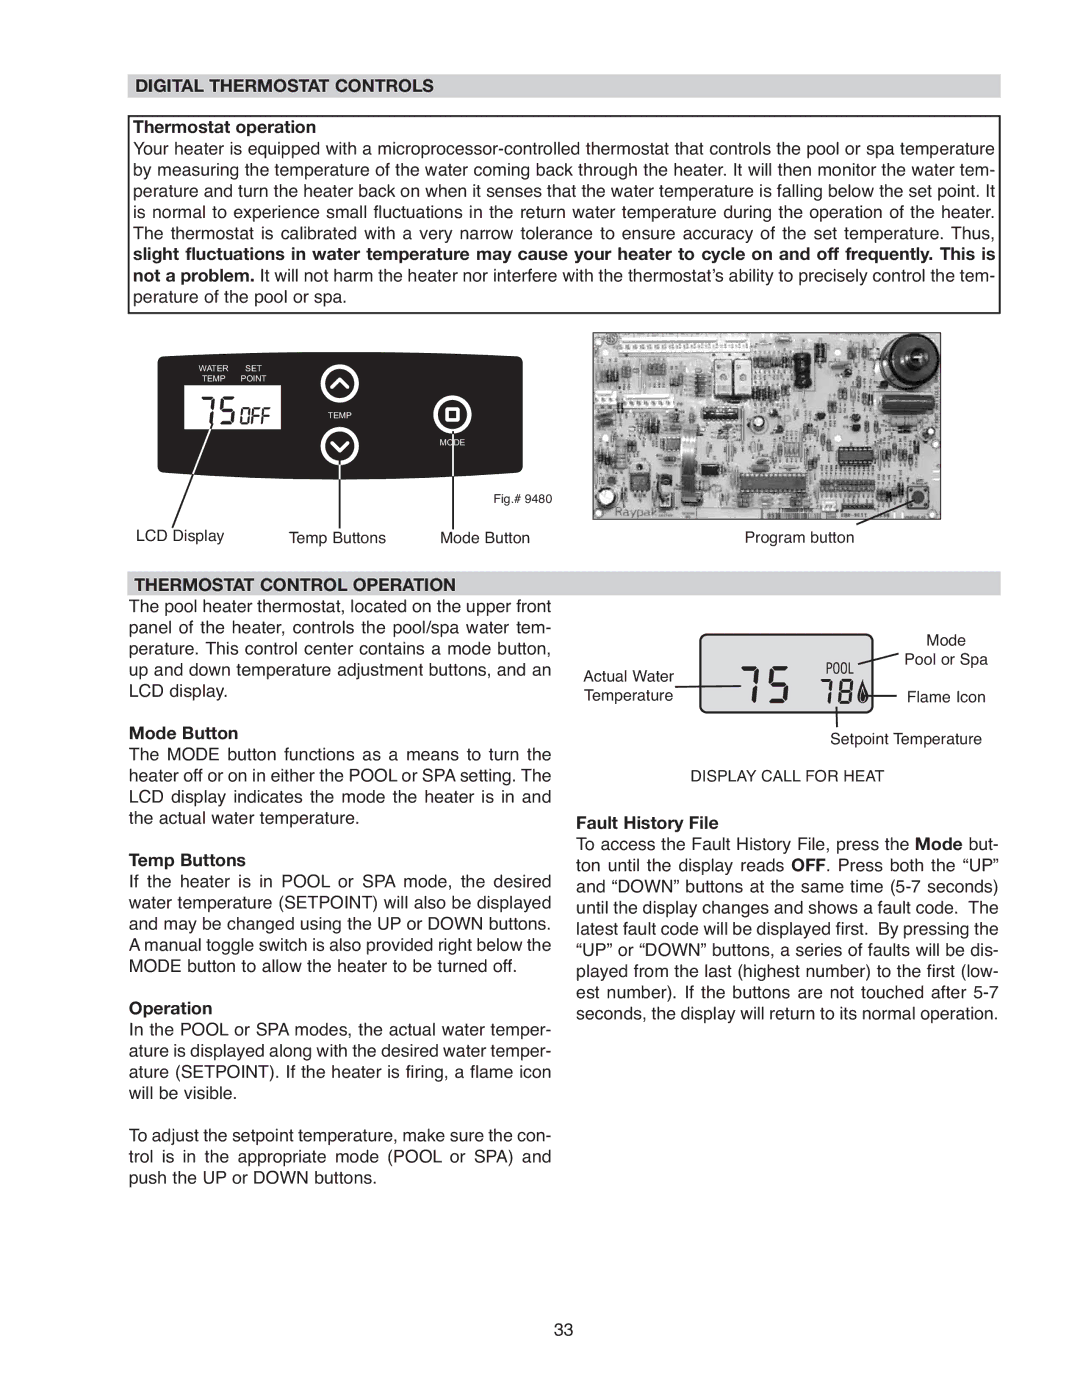
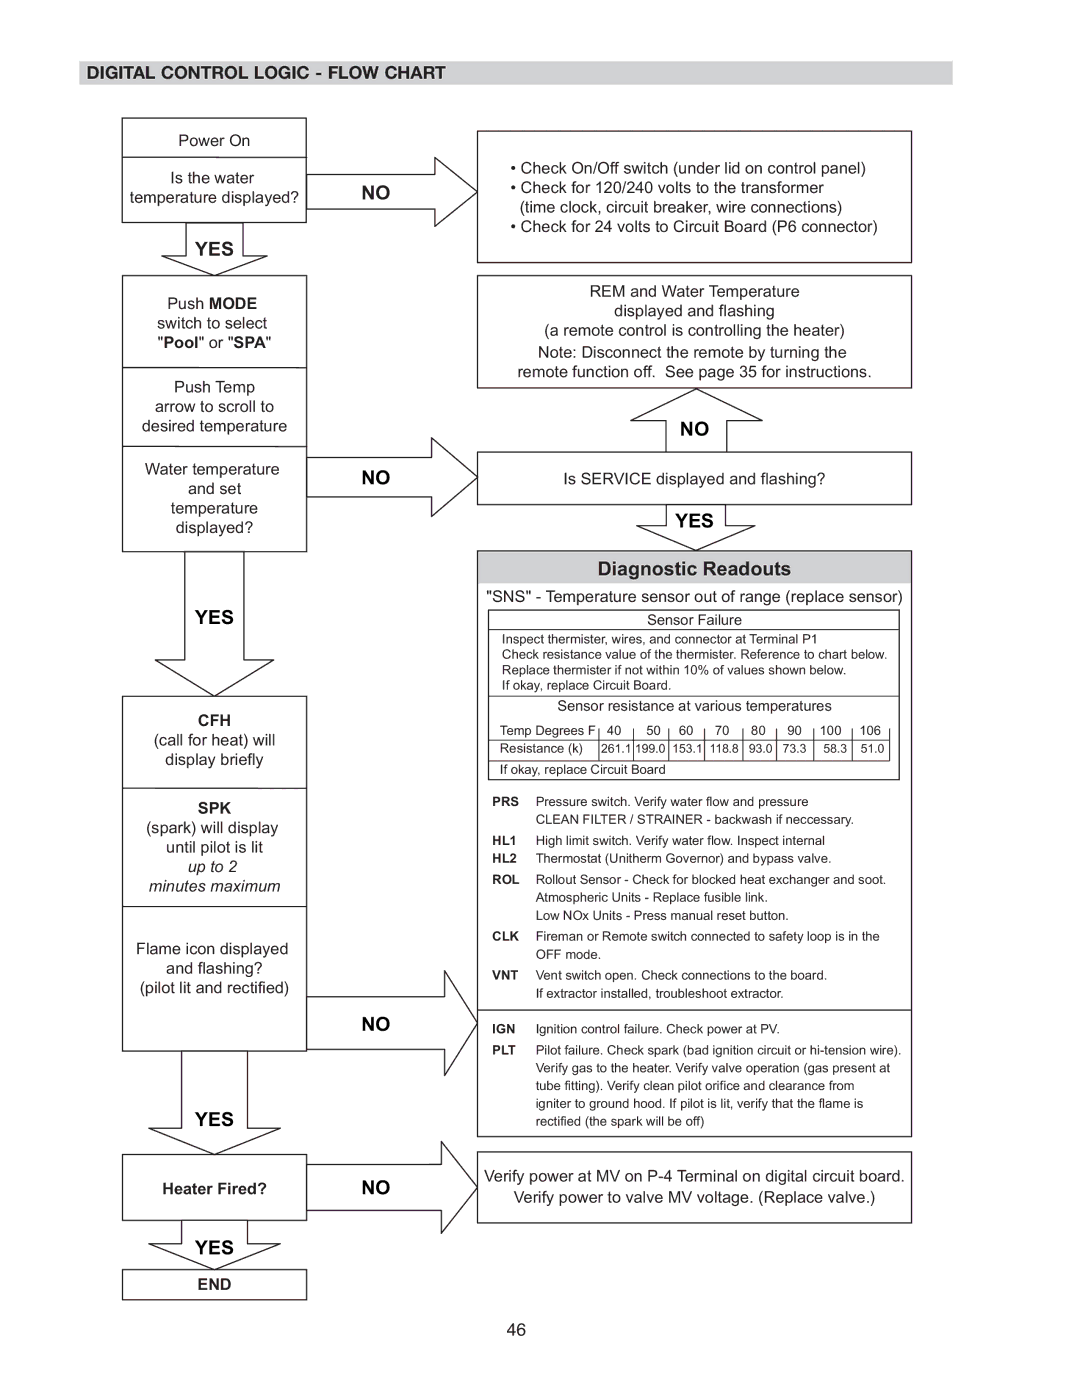
DIGITAL CONTROL LOGIC - FLOW CHART

Power On

Is the water temperature displayed?

YES

Push MODE

switch to select "Pool" or "SPA"

Push Temp

arrow to scroll to

desired temperature

Water temperature and set temperature displayed?

YES

CFH

(call for heat) will

display briefly

SPK

(spark) will display until pilot is lit up to 2

minutes maximum

Flame icon displayed and flashing?

(pilot lit and rectified)

YES

Heater Fired?

YES

END

NO

NO

NO

NO

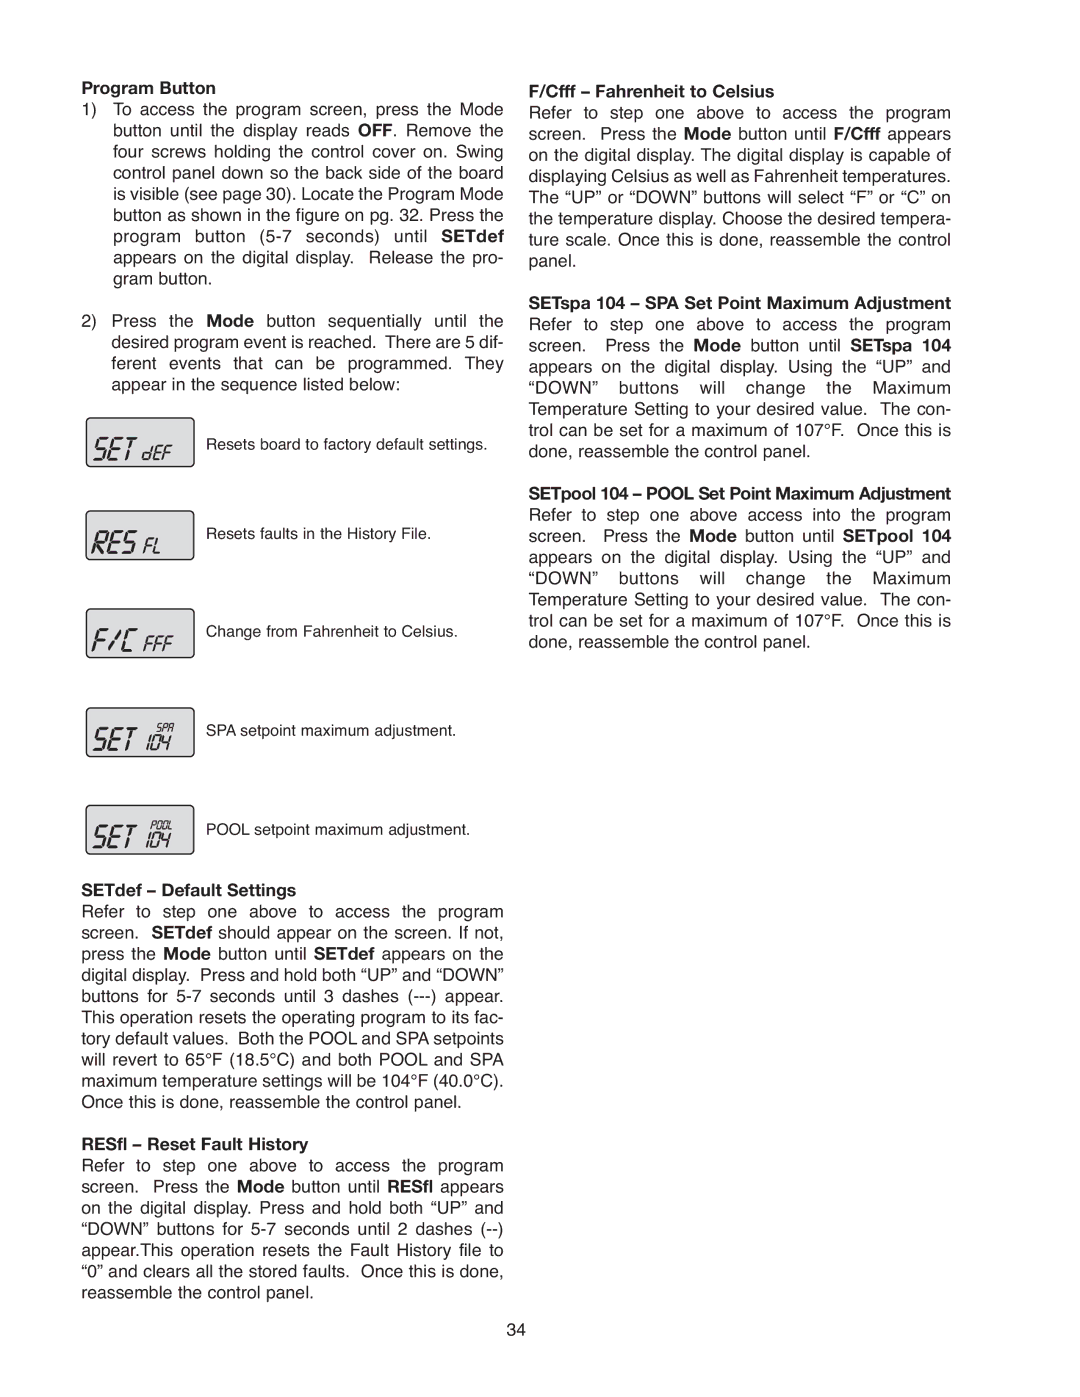
Check On/Off switch (under lid on control panel)

Check for 120/240 volts to the transformer (time clock, circuit breaker, wire connections)

Check for 24 volts to Circuit Board (P6 connector)

REM and Water Temperature

displayed and flashing

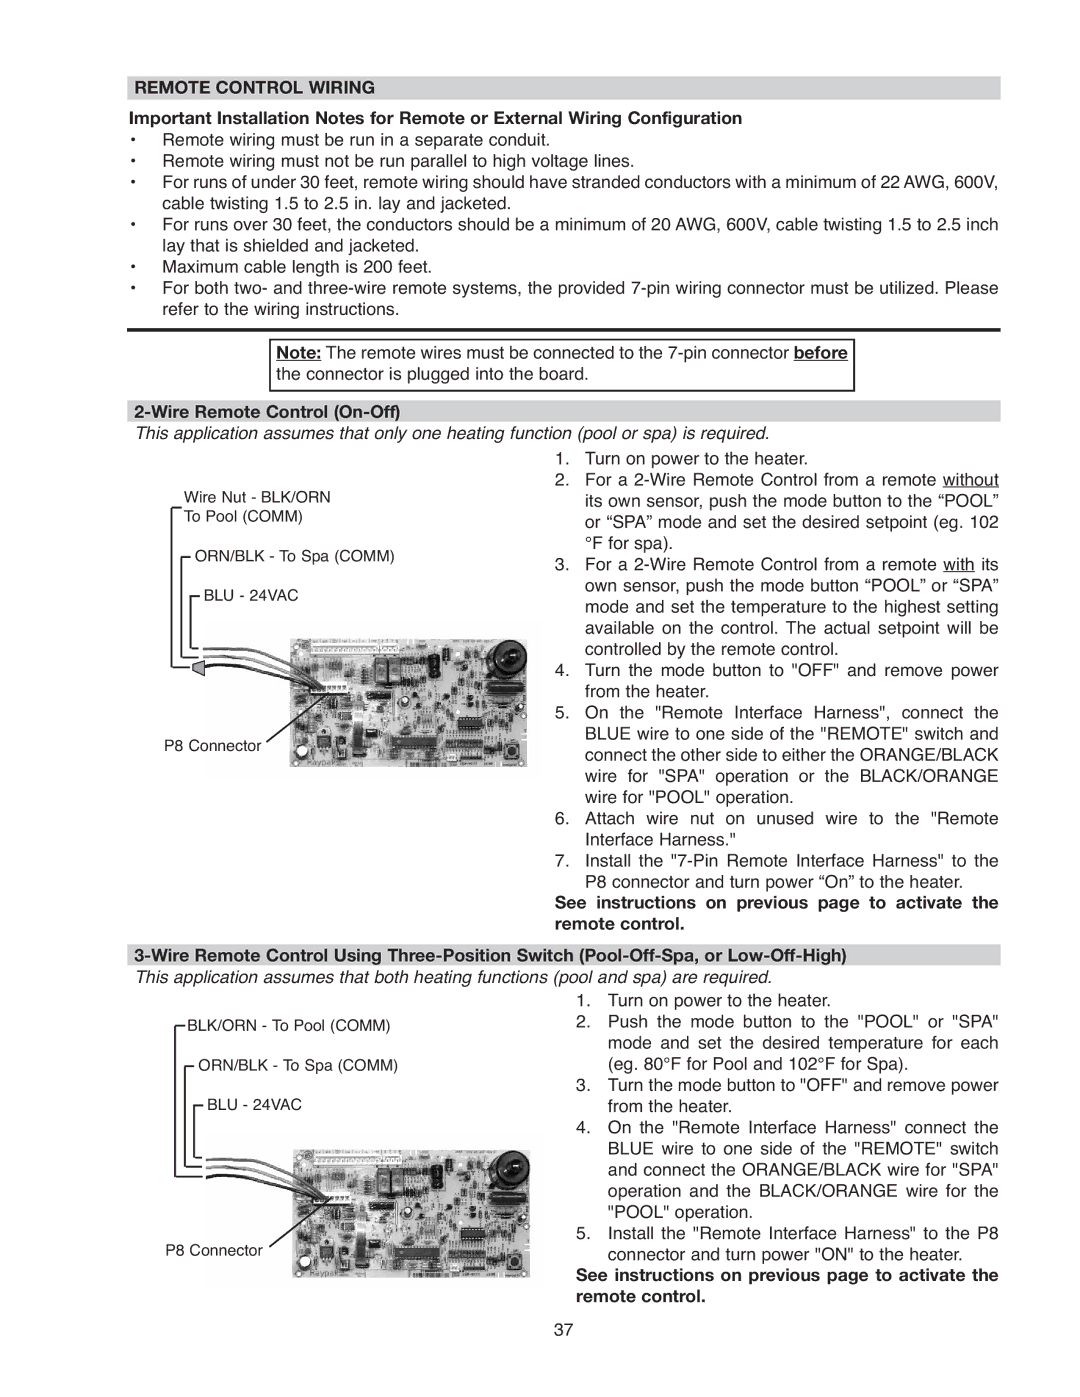
(a remote control is controlling the heater) Note: Disconnect the remote by turning the remote function off. See page 35 for instructions.

NO

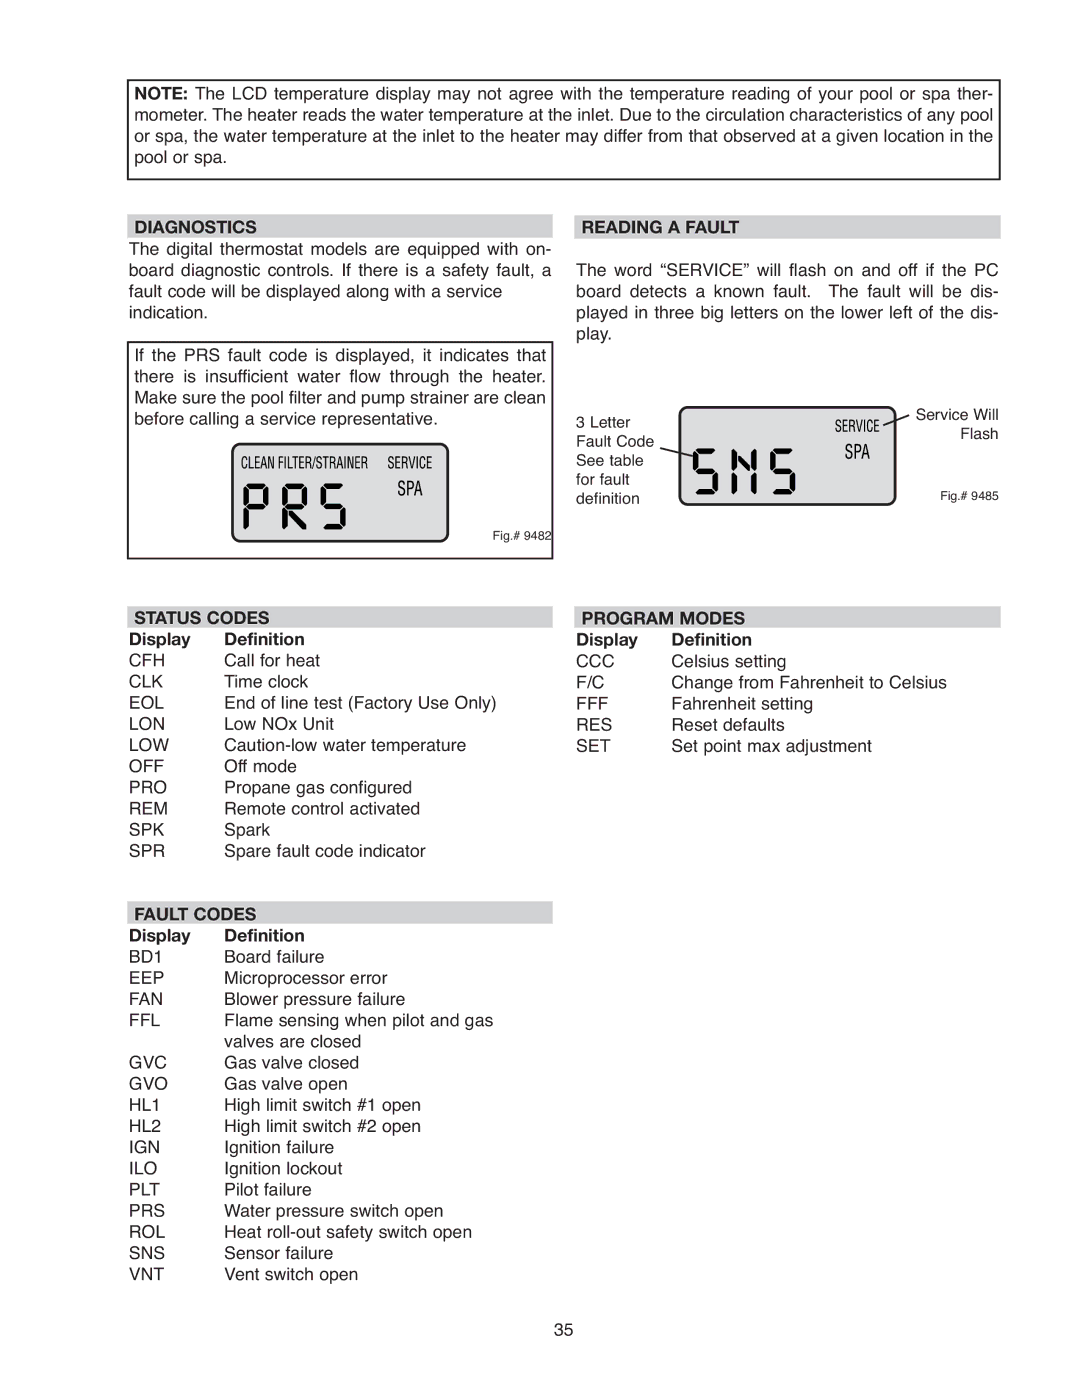
Is SERVICE displayed and flashing?

YES

Diagnostic Readouts

"SNS" - Temperature sensor out of range (replace sensor)

Sensor Failure

Inspect thermister, wires, and connector at Terminal P1

Check resistance value of the thermister. Reference to chart below. Replace thermister if not within 10% of values shown below.

If okay, replace Circuit Board.

Sensor resistance at various temperatures

Temp Degrees F


40


50


60


70


80


90


100


106


Resistance (k)


261.1


199.0


153.1


118.8


93.0


73.3


58.3


51.0


If okay, replace Circuit Board


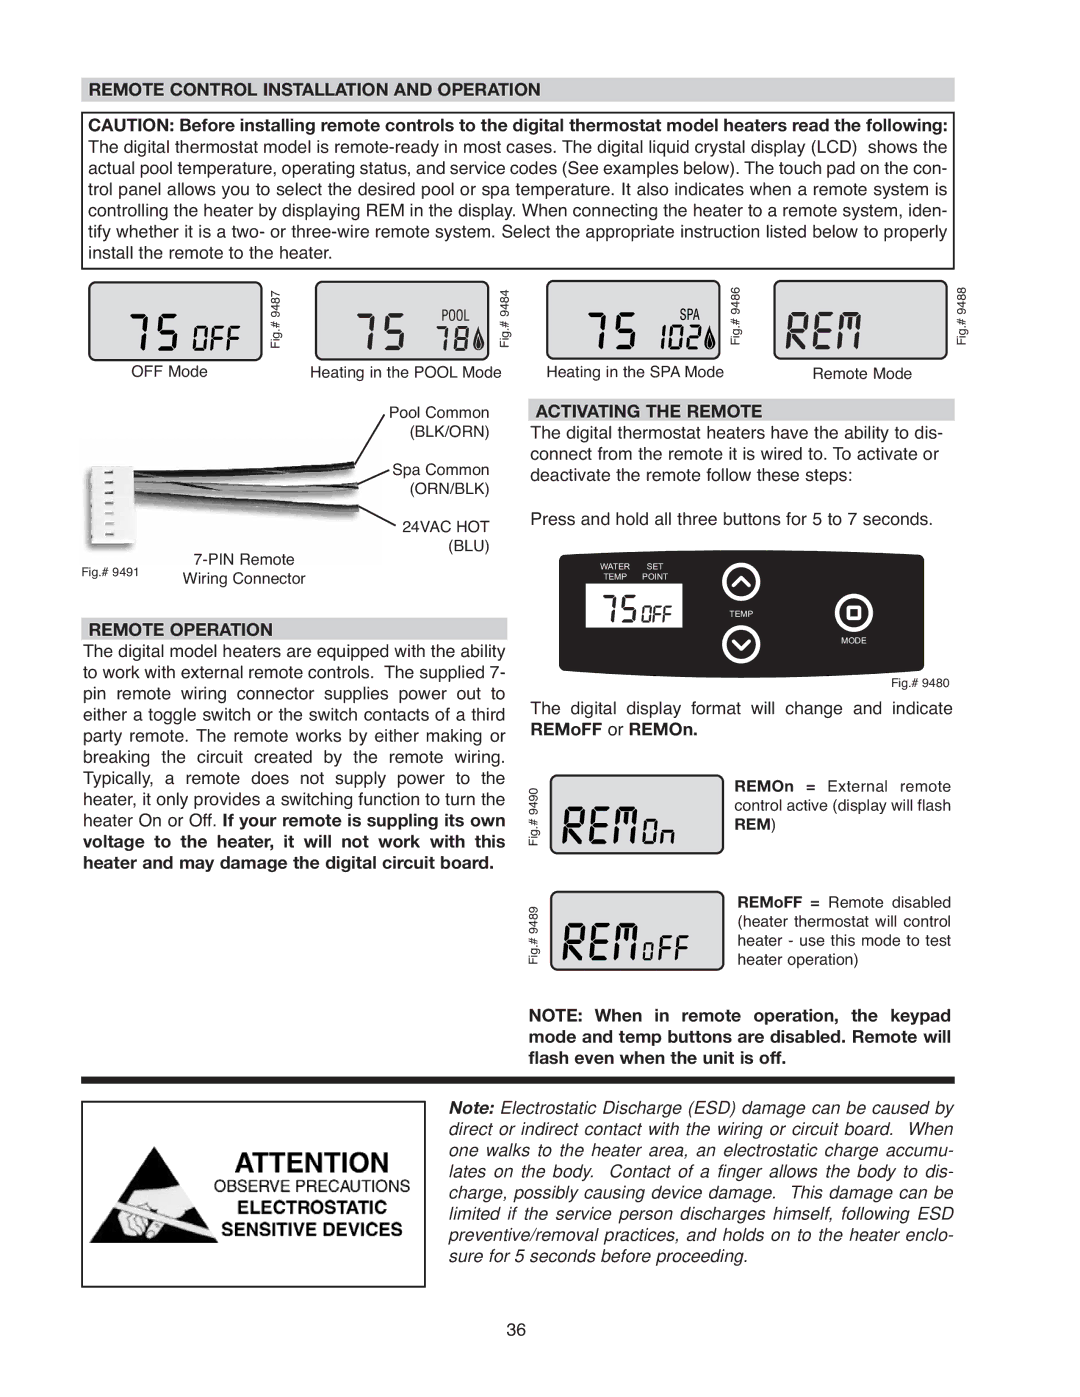
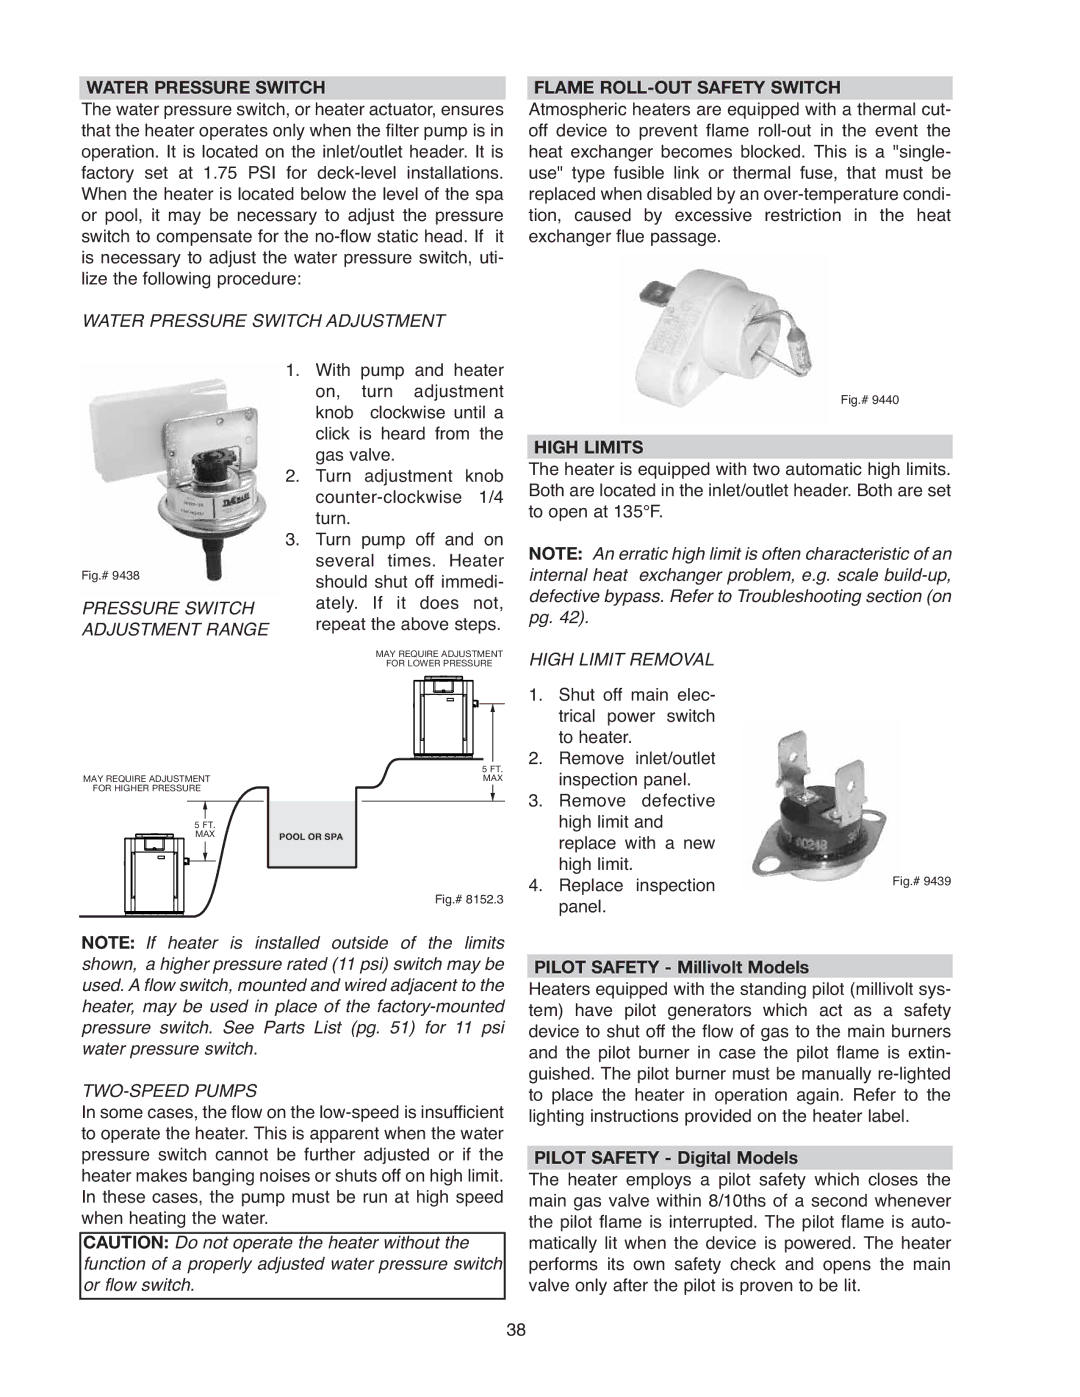
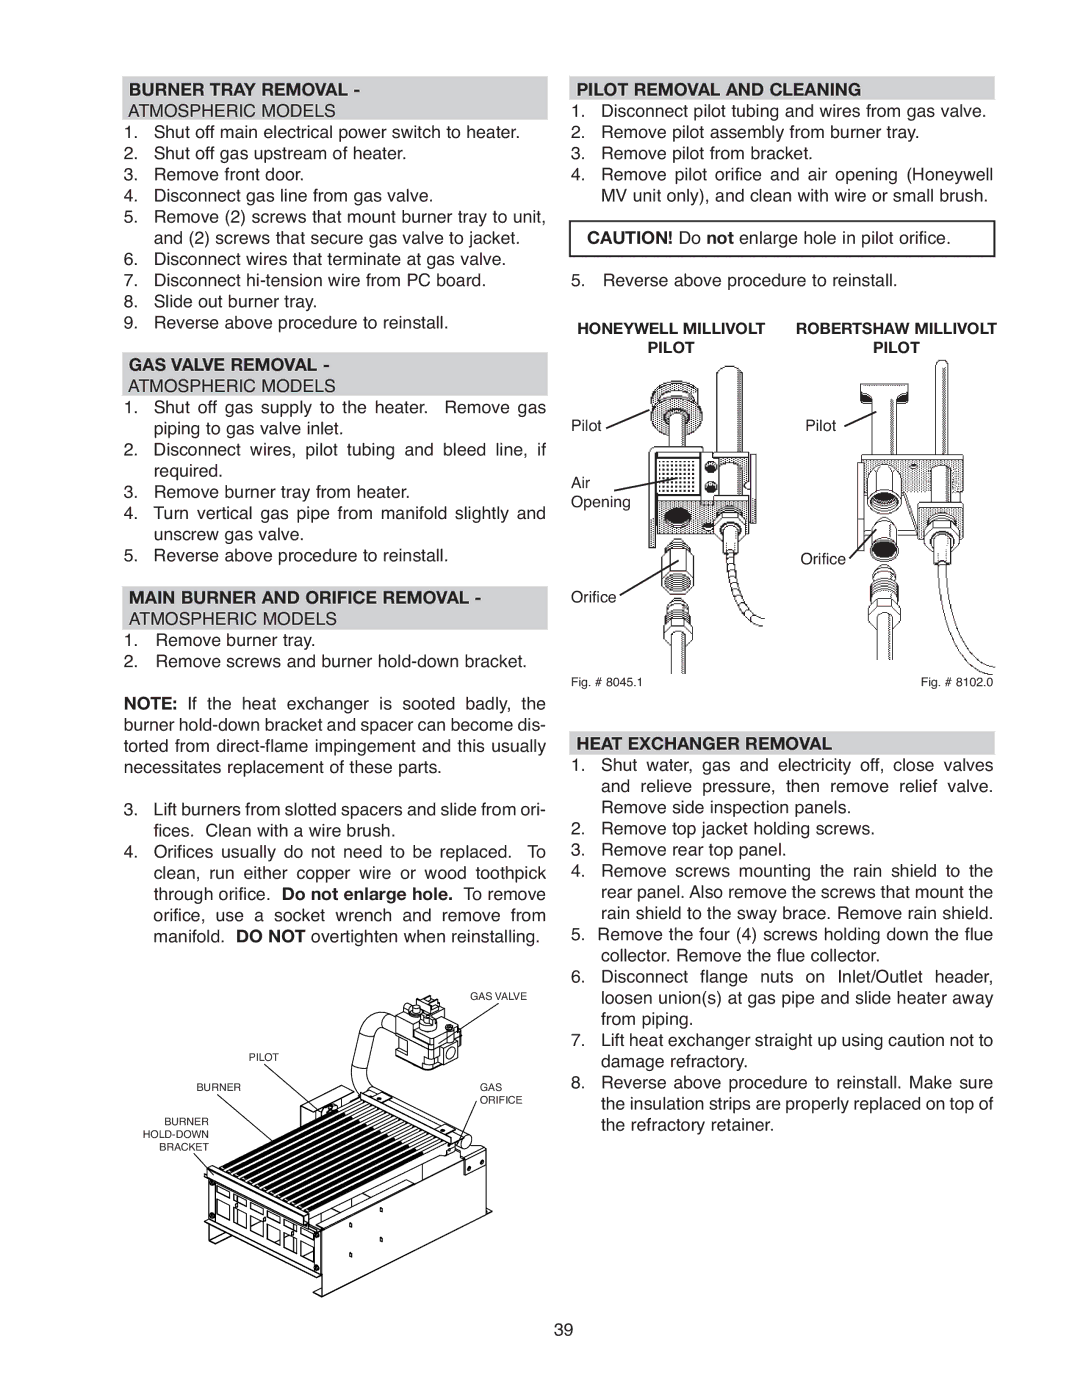
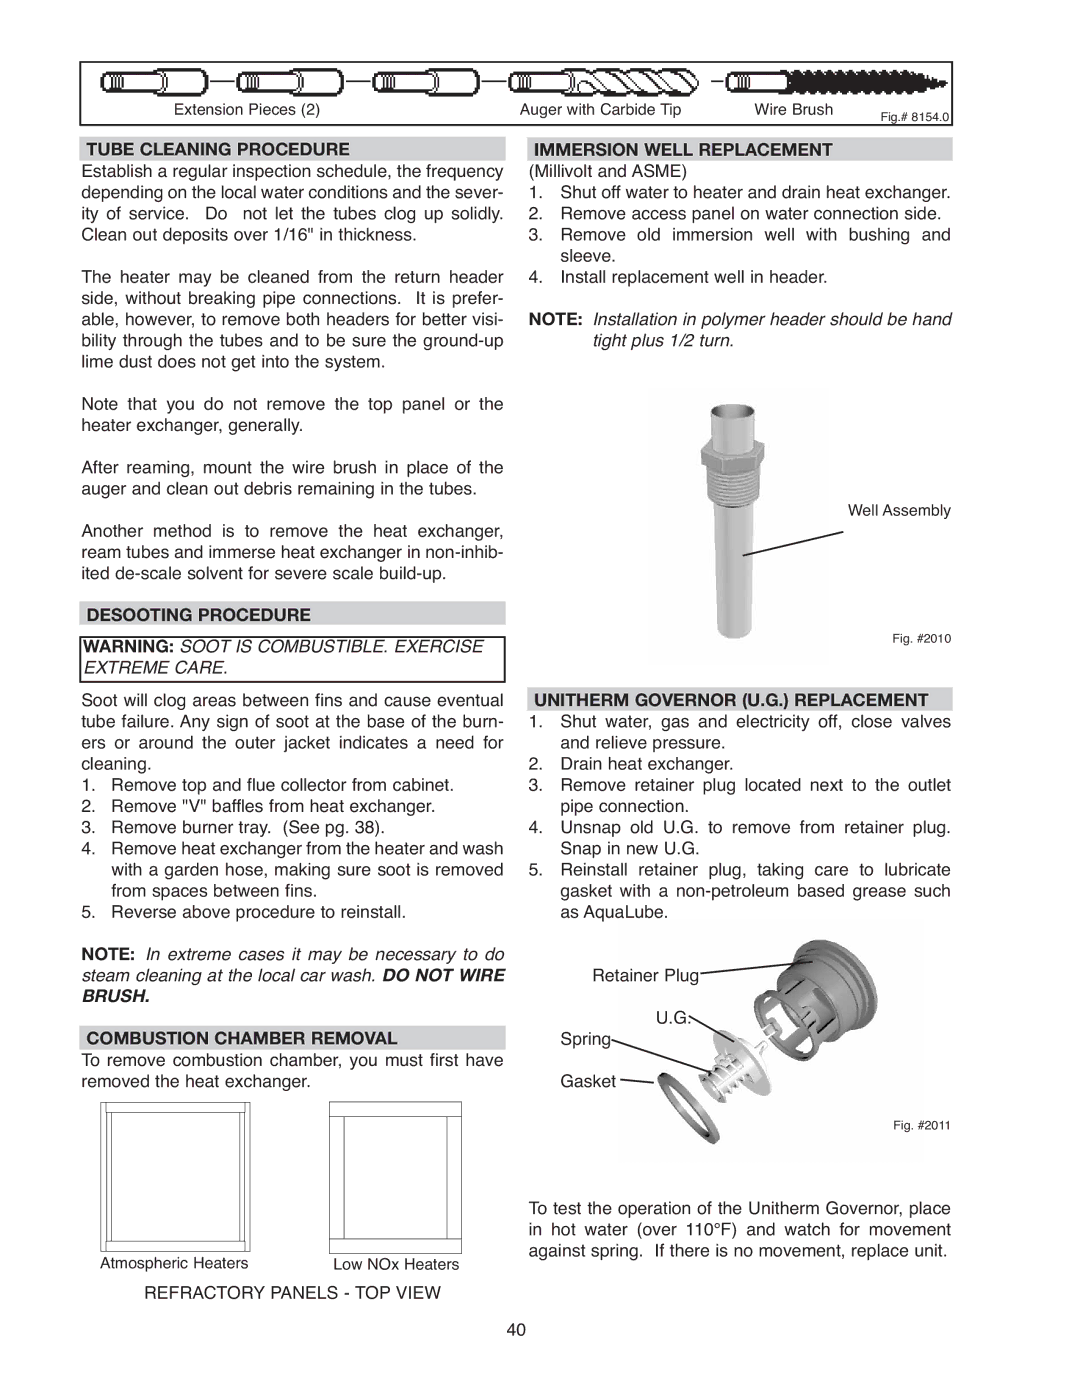
PRS Pressure switch. Verify water flow and pressure CLEAN FILTER / STRAINER - backwash if neccessary.

HL1 High limit switch. Verify water flow. Inspect internal HL2 Thermostat (Unitherm Governor) and bypass valve.

ROL Rollout Sensor - Check for blocked heat exchanger and soot. Atmospheric Units - Replace fusible link.

Low NOx Units - Press manual reset button.

CLK Fireman or Remote switch connected to safety loop is in the OFF mode.

VNT Vent switch open. Check connections to the board.

If extractor installed, troubleshoot extractor.

IGN Ignition control failure. Check power at PV.

PLT Pilot failure. Check spark (bad ignition circuit or hi-tension wire). Verify gas to the heater. Verify valve operation (gas present at tube fitting). Verify clean pilot orifice and clearance from igniter to ground hood. If pilot is lit, verify that the flame is rectified (the spark will be off)

Verify power at MV on P-4 Terminal on digital circuit board.

Verify power to valve MV voltage. (Replace valve.)

46
Image 46
Contents Installation and Operating Instructions What to do if YOU Smell GASWater Chemistry MaximumContents For Your Safety Read Before Operating START-UP ProceduresBefore START-UP Burners Water Millivolt System Electronic Ignition System Operating Instructions and SHUT-OFF ProceduresSHUT-OFF Procedures Automatically Lighted PilotAfter START-UP Water Pressure SwitchVisual Inspection Atmospheric Heaters If Heater will not Fire Maintenance and Care ProceduresSee plumbing diagram Pool & SPA Water ChemistryCold Weather Operation Important Freeze InformationWinterizing the Pool & SPA Heater Part TWO Installation and Service Instructions Receiving EquipmentImportant Notice General SpecificationsInstallation Instructions Code RequirementsClearances Outdoor InstallationOutdoor Heater Installation ALL Heaters10 ft Florida Building Code Wind Speed = 150 MPH, 3 Second Gust Exposure = CIndoor Heater Installation Outdoor Stack Indoor StackSpecifications and Dimensions Atmospheric UnitsLow NOx Units Model Square Inches Power Vent Kit Model Part NoCombustion and Ventilation AIR Indoor Units Only Vent PipingB149.1 and B149.2 GAS Supply ConnectionsGAS Pressure Regulator GAS Pressure Adjustment LocationsPipe Sizing for GAS Connections Flow Rates Plumbing for Water ConnectionsPolymer Headers Cast Iron Headers Asme INLET/OUTLET Header Asme INLET/OUTLET Header PolymerCast Iron Headers Asme Models Unitherm Governor OperationAuxiliary Bypass Valve Adjustment External Auxiliary Bypass ValveCast Iron Header Asme Models Heat Exchanger Reversal Procedure Standard Models Fig. #4Digital Models Electrical WiringMillivolt Models Atmospheric120V Atmospheric Heater Transformer Wiring VAC Wiring240V Atmospheric Heater Wiring Diagram Millivolt Mechanical Thermostat Wiring Diagram Digital Models Atmospheric Wiring Diagram Digital Models LOW NOx General Location of Controls Atmospheric Servicing InstructionsLOW NOx Control Adjustments Millivolt Models Control Adjustments Digital ModelsControl Panel Removal Digital Thermostat Controls Thermostat Control OperationProgram Button SETdef Default SettingsRESfl Reset Fault History Cfff Fahrenheit to CelsiusStatus Codes Program Modes Diagnostics Reading a FaultFault Codes Display DefinitionRemote Operation Remote Control Installation and OperationActivating the Remote Remote Control Wiring Wire Remote Control On-OffPilot Safety Digital Models Flame ROLL-OUT Safety SwitchPilot Safety Millivolt Models High LimitsGAS Valve Removal Pilot Removal and CleaningBurner Tray Removal Main Burner and Orifice RemovalImmersion Well Replacement Tube Cleaning ProcedureDesooting Procedure Unitherm Governor U.G. ReplacementOperation Blower AdjustmentLOW NOx Pool Heaters Visual InspectionPilot Removal Combustion Blower RemovalTroubleshooting MechanicalPage Electrical Electronic Ignition IID For qualified technicians onlyDigital Control Logic Flow Chart YESManufacturer Replacement PartsEastman Avenue OXNARD, CA Atmospheric Heaters LOW NOx Heaters IID LOW NOx Pilot Call OUT Description Call OUT Description Sheetmetal Call OUT Description 267A