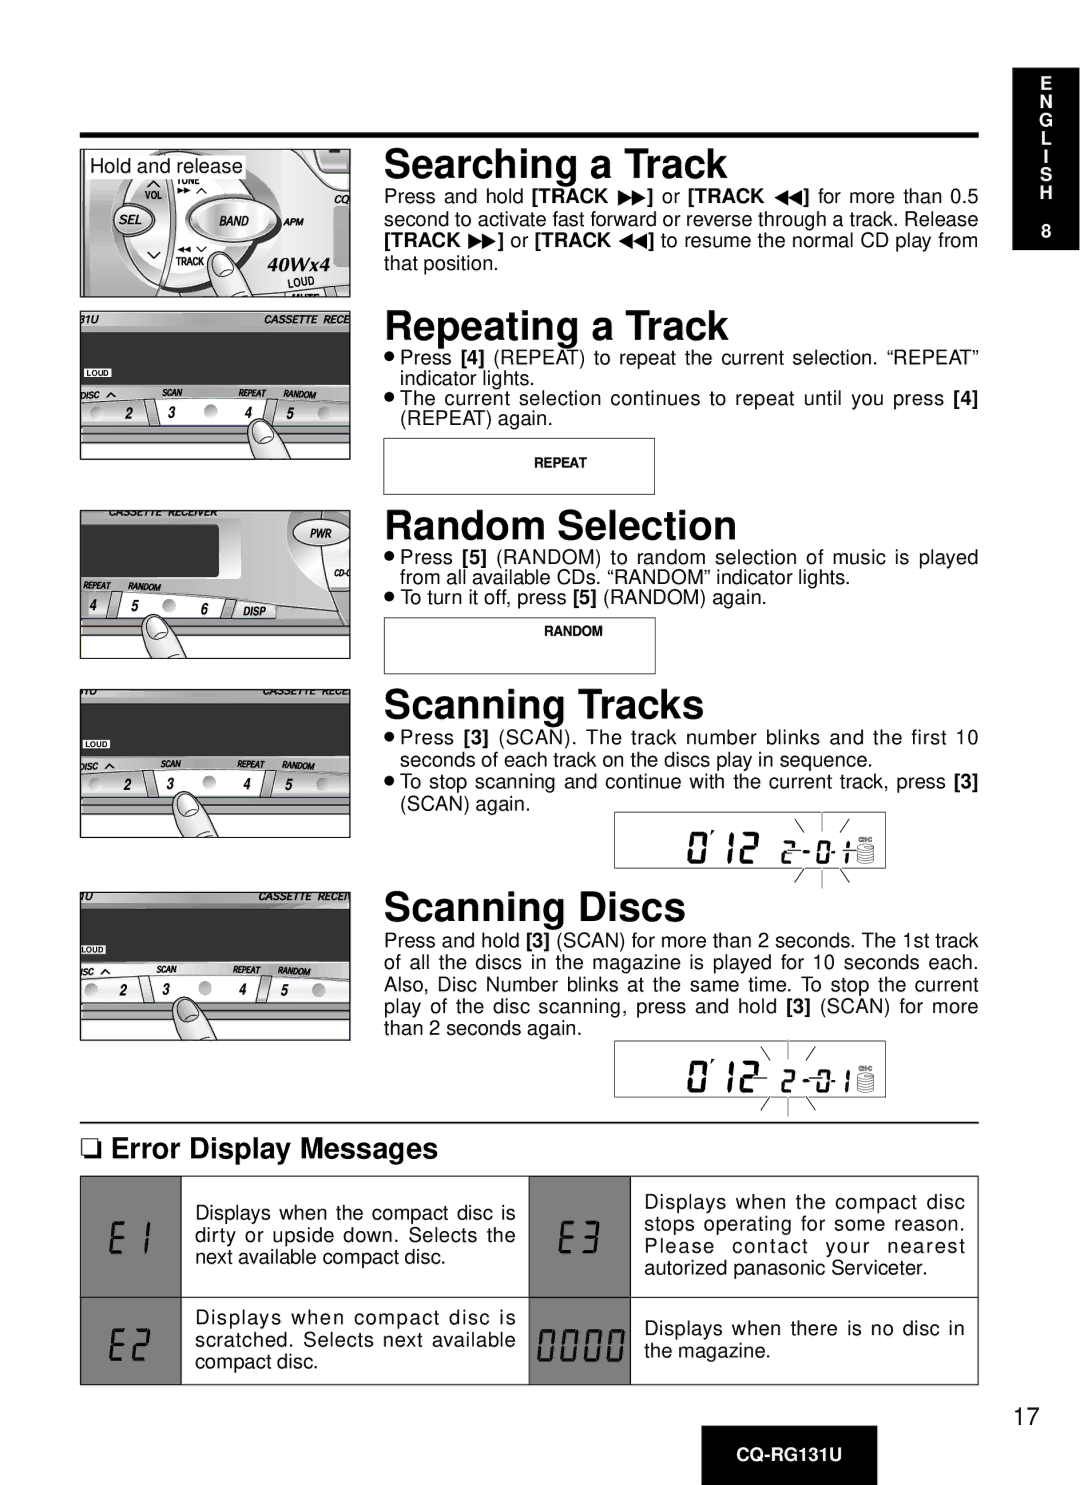
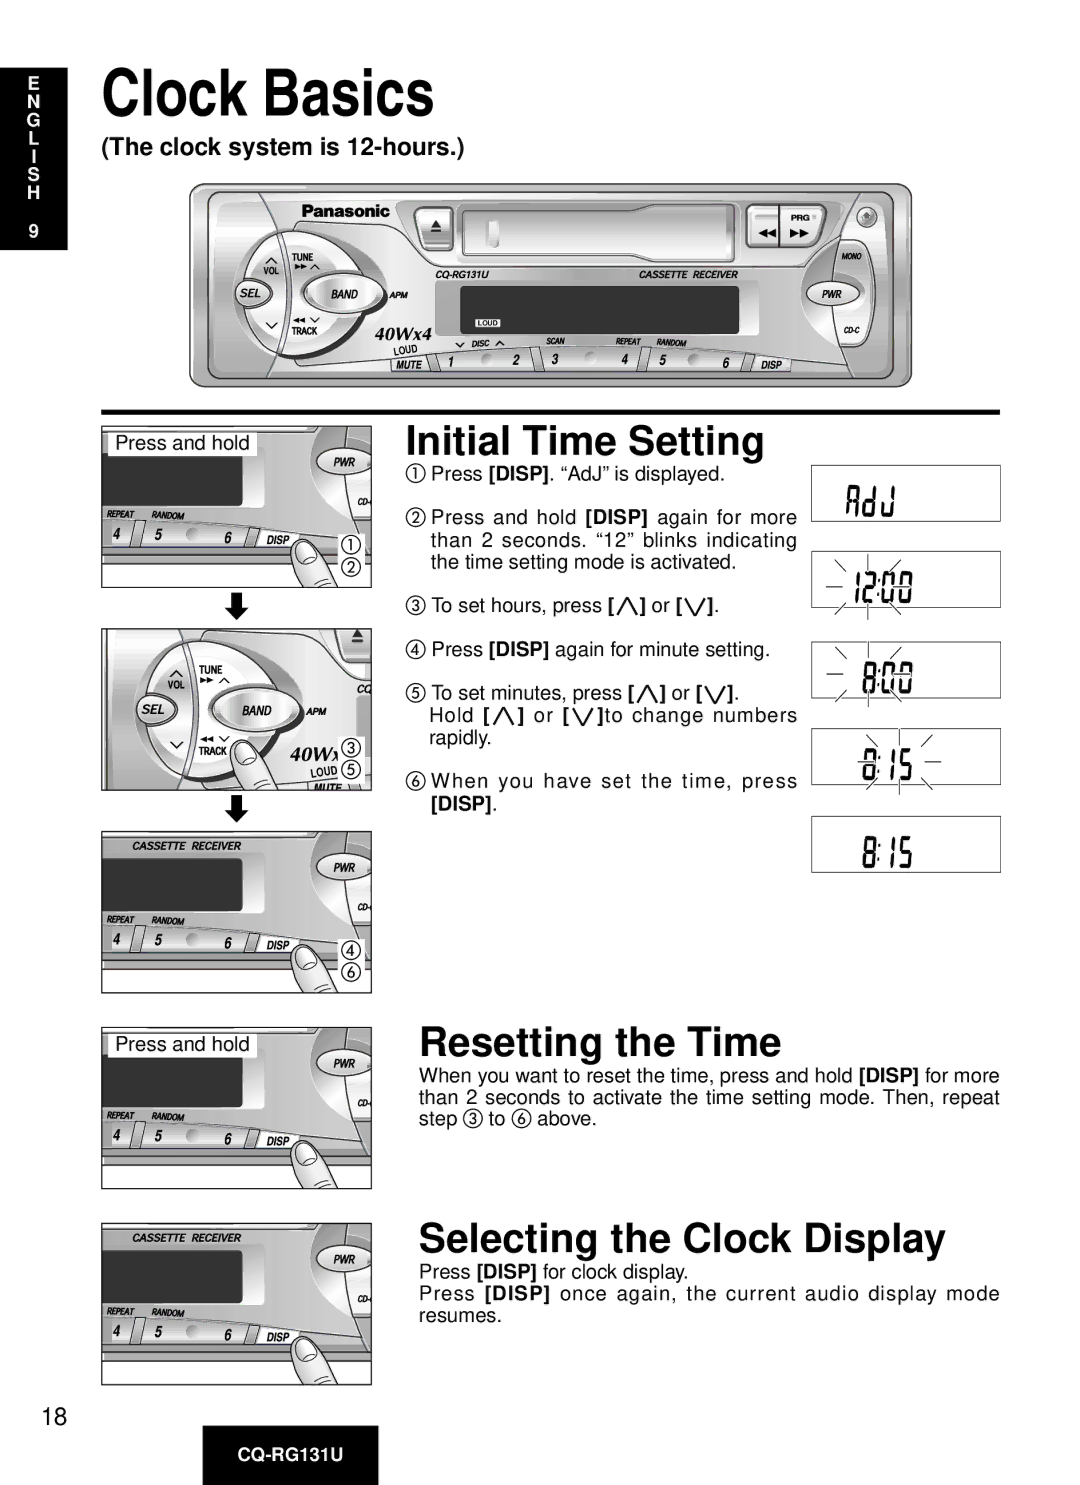
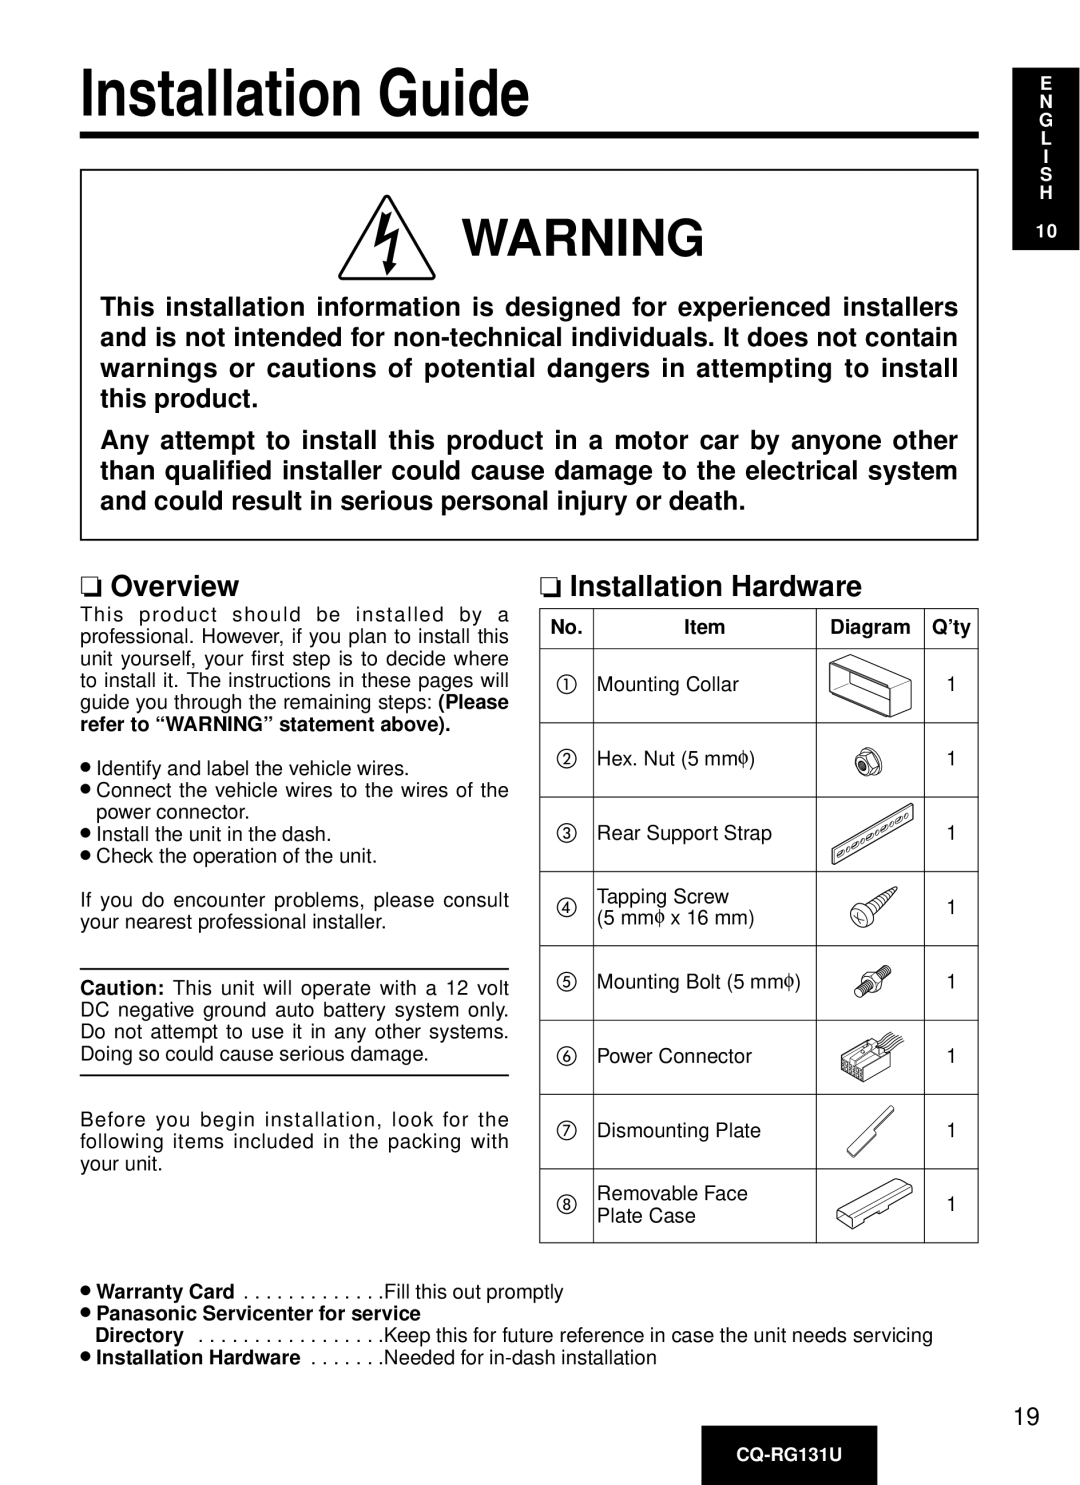
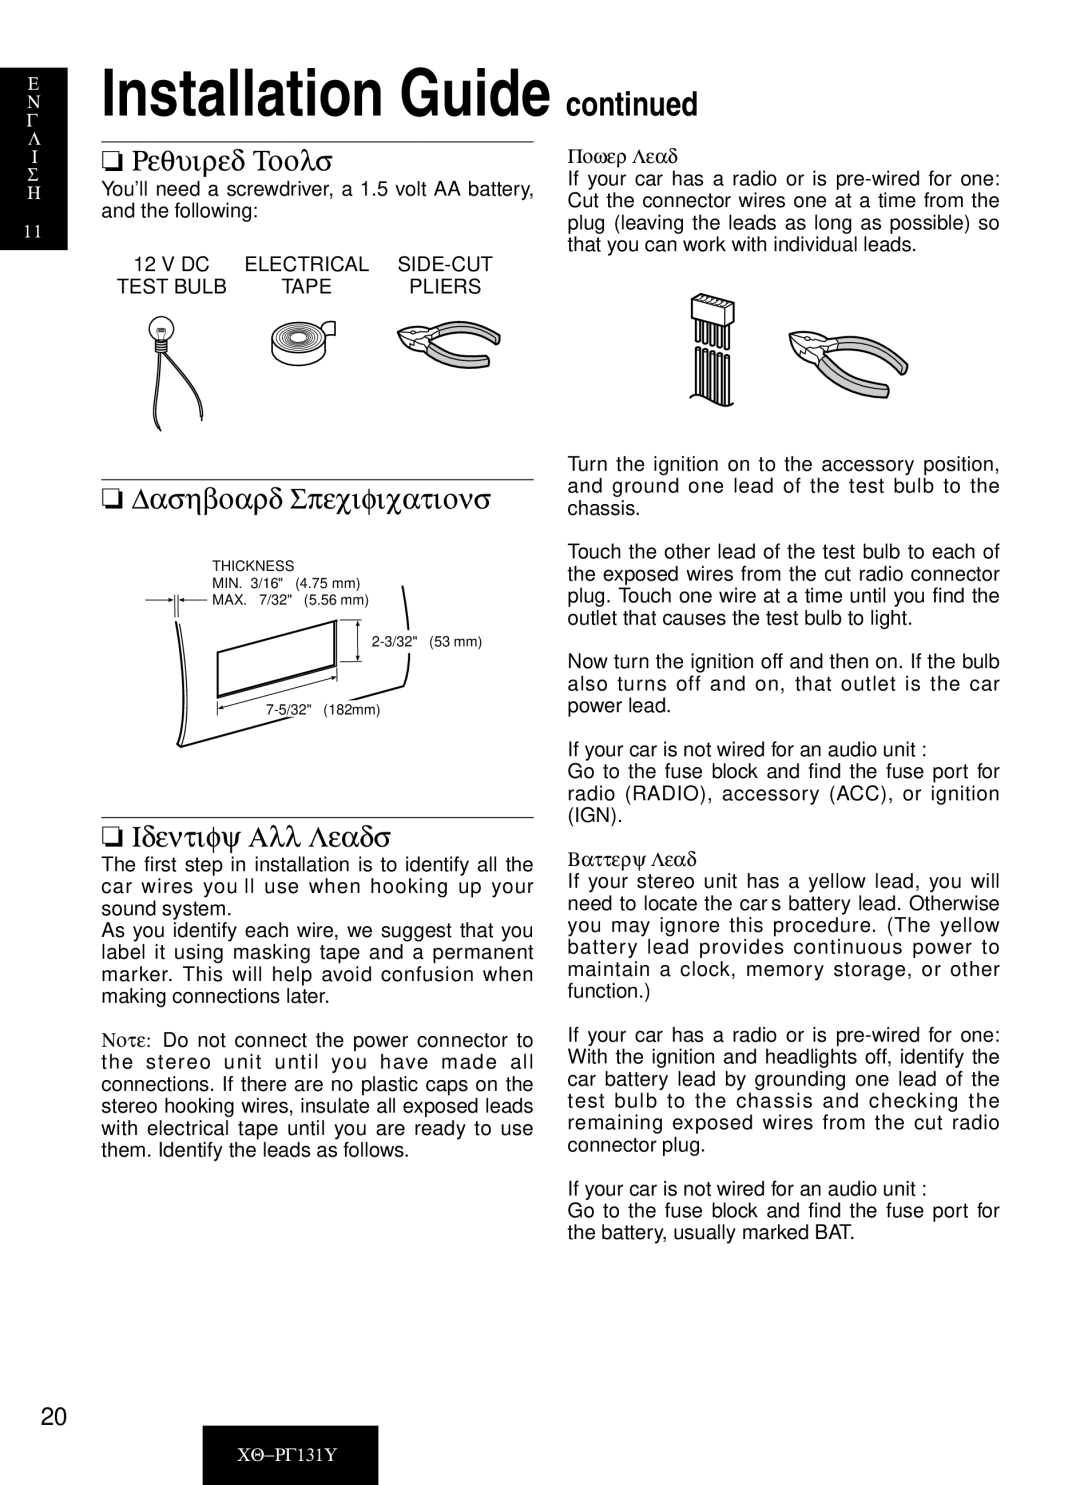
Panasonic CQ-RG131U manual Use This Product Safely

Page 4

E

N

G

L

I

S

H

4

Panasonic welcomes you to our ever growing family of electronic product owners. We know that this product will bring you many hours of enjoyment. Our reputation is built on precise electronic and mechanical engineering, manufactured with carefully selected components and assembled by people who take pride in their work. Once you discover the quality, reliability, and value we have built into this product, you too will be proud to be a member of our family.

Use This Product Safely

When Driving

Keep the volume level low enough product to be aware of road and traffic conditions.

When Car Washing

Do not expose the product, including the speakers and tapes, to water or excessive moisture. This could cause electrical shorts, fire, or other damage.

When Parked

Parking in direct sunlight can produce very high temperatures inside your car. Give the interior a chance to cool down before switching the unit on.

Use the Proper Power Supply

This product is designed to operate of a 12 volt, negative ground battery system (the normal system in a North American car.)

Protect the Tape Mechanism

Keep magnets, screwdrivers, or other metallic objects away from the tape mechanism and tape head to prevent poor performance or malfunctions.

Use Authorized Servicenters

Do not attempt to disassemble or adjust this precision product. Please refer to the Servicenter list included with this product for service assistance.
CQ-RG131U

Image 4
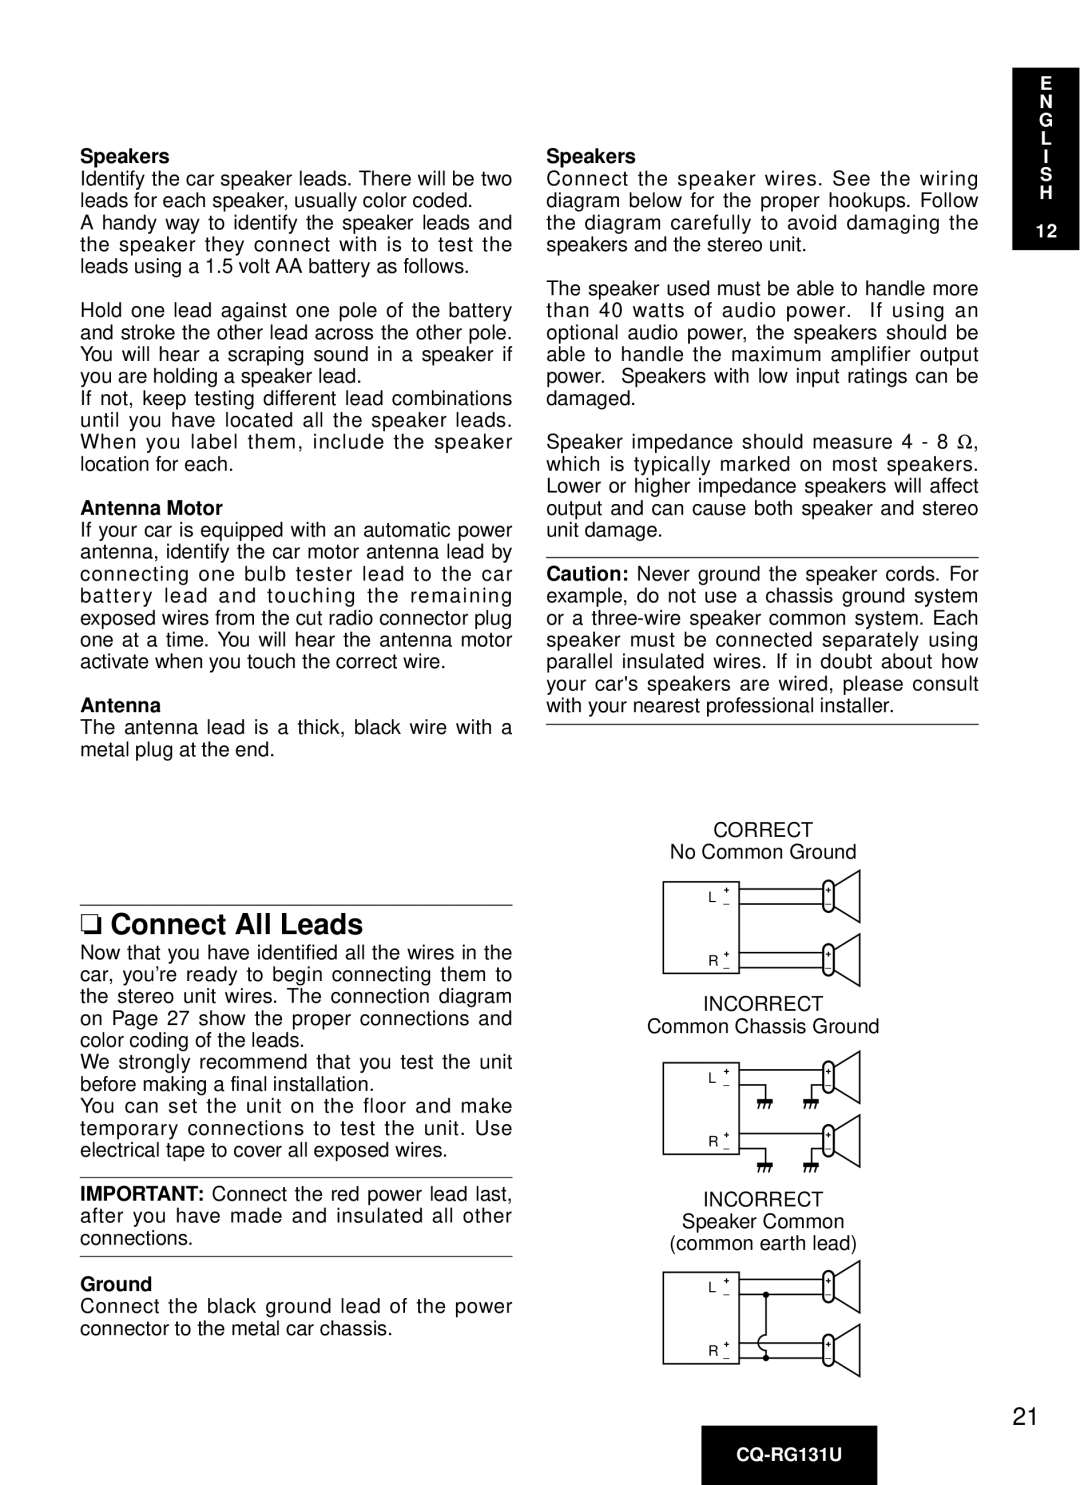
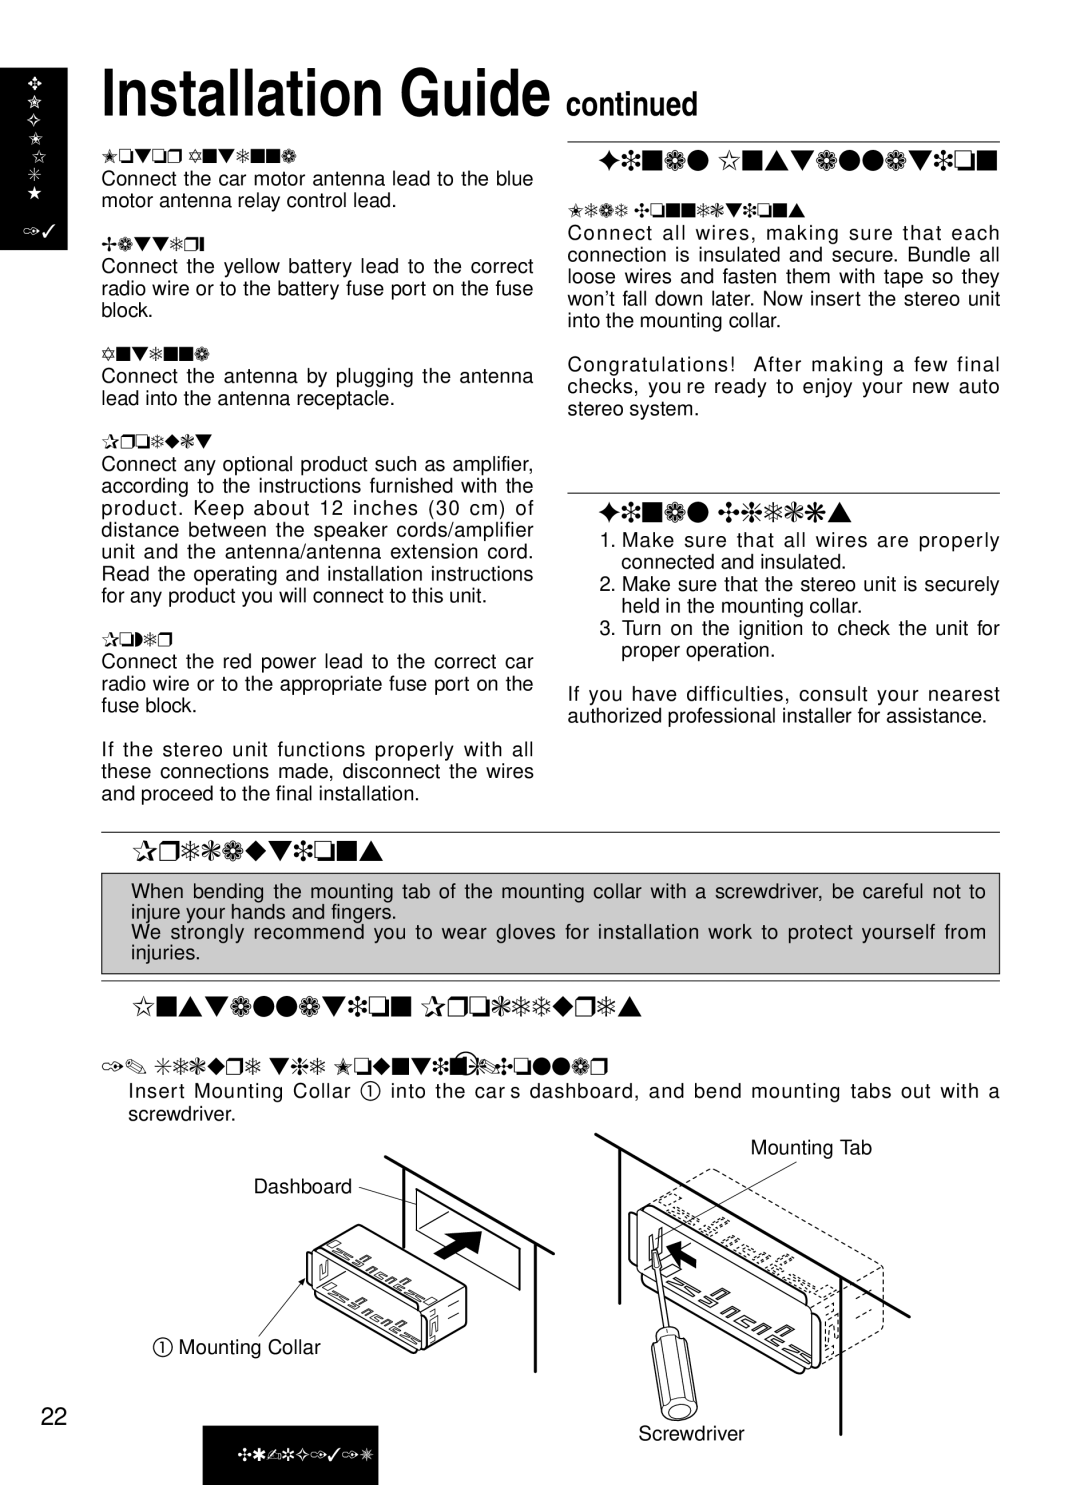
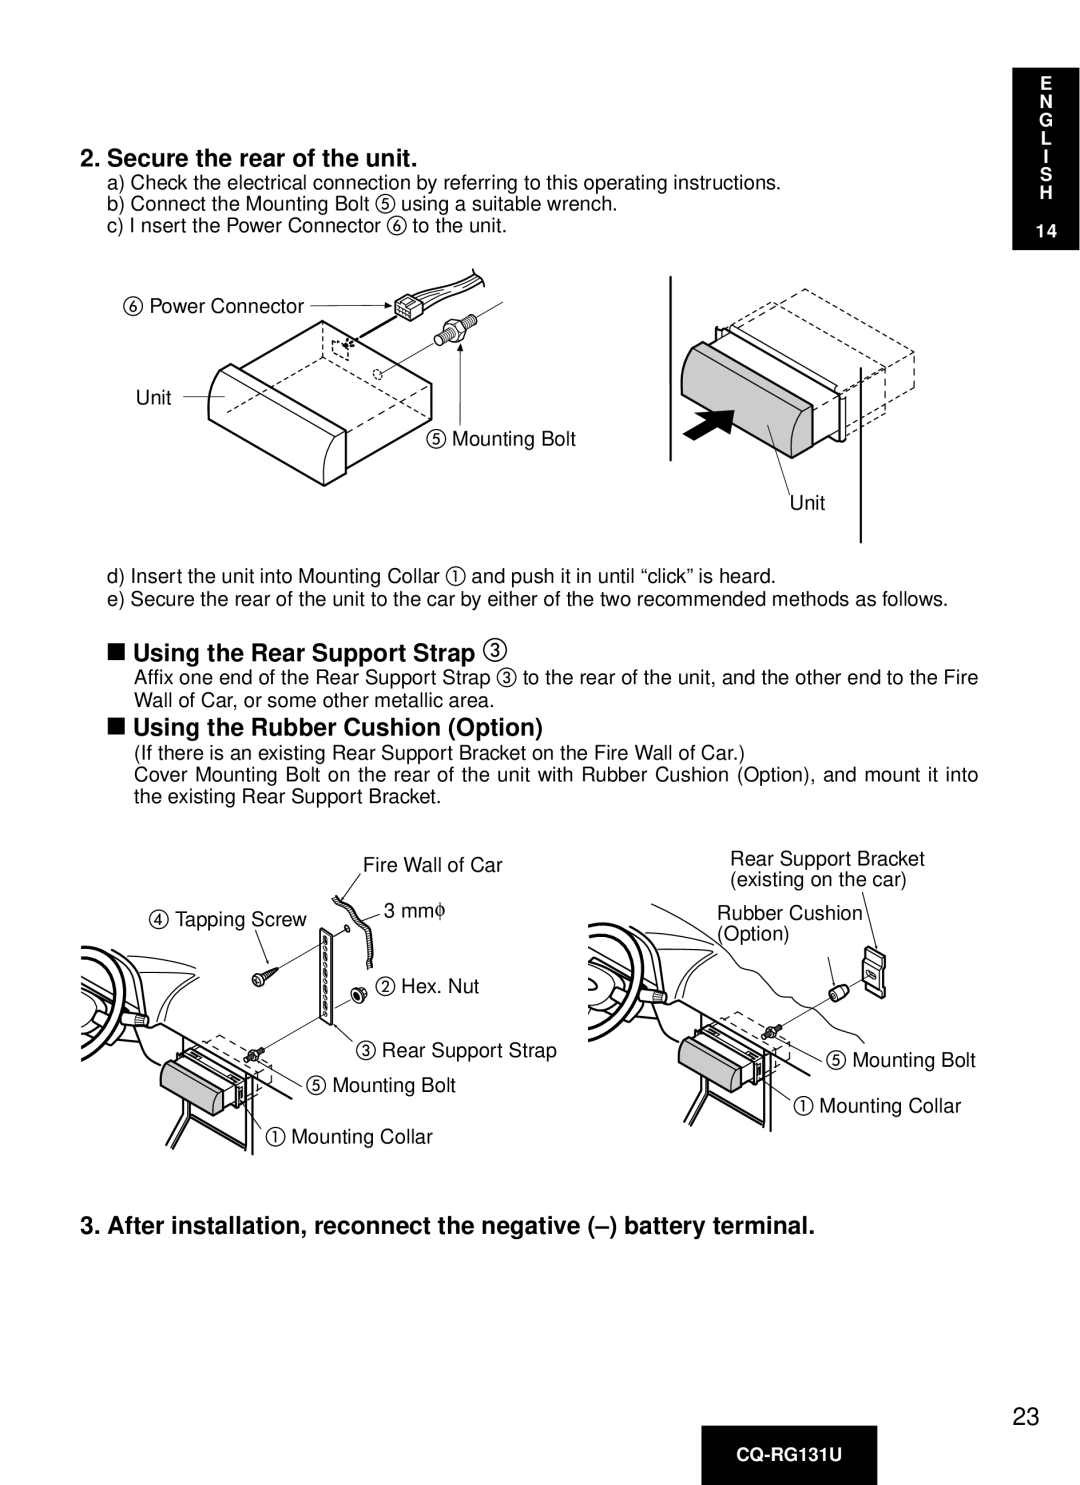
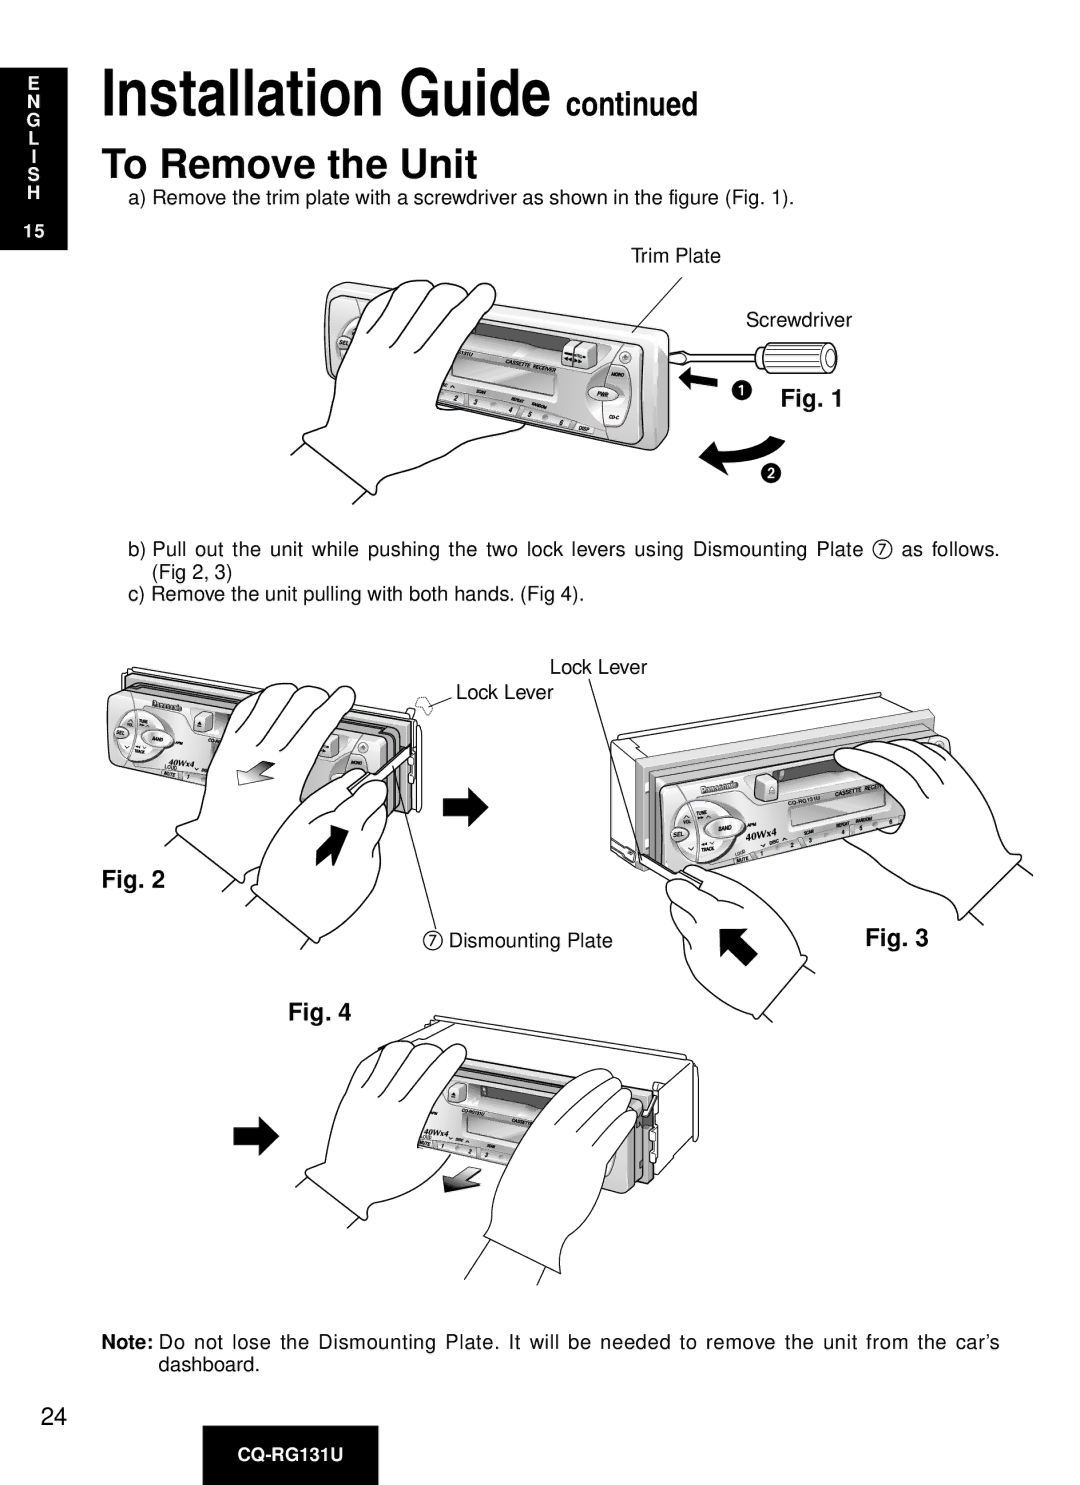
Contents CQ-RG131U Safety Information Applies only in U.S.AFCC Warning For CanadaConsignes de sécurité Información para seguridad Use This Product Safely Contents Précautions à prendre Guide d’installation RemarqueEn cas de difficulté Données techniquesUse este equipo de manera segura Indice EspecificacionesPower and Sound Controls PowerVolume MuteChanging Audio Modes Bass and TrebleBalance FaderChange to the tuner mode Manual TuningSeek Tuning Radio BasicsPreset Station Setting Manual Station PresetAuto Preset Memory Tuning in a Preset StationCassette Tape Player Basics Loading a CassetteRewind and Fast Forward Changing SidesStopping and Ejecting the Tape To Changer mode CD Changer BasicsSelecting a Disc Selecting a TrackSearching a Track Repeating a TrackRandom Selection Scanning TracksResetting the Time Initial Time SettingSelecting the Clock Display Installation Guide Installation HardwareDiagram Q’ty Panasonic Servicenter for serviceDashboard Specifications Power LeadBattery Lead Required ToolsConnect All Leads SpeakersAntenna Motor AntennaFinal Installation PrecautionsInstallation Procedures Final ChecksUsing the Rear Support Strap Using the Rubber Cushion OptionAfter installation, reconnect the negative battery terminal Secure the rear of the unitTo Remove the Unit To Remove the Removable Face Plate Anti-Theft SystemPress To install the Removable Face Plate Electrical Connection CX-DP88UTroubleshooting Specifications GeneralMute Assourdissement InterrupteurCompensateur physiologique Commutation des modes de ré glage audio Graves et aigusQuilibre Quilibre avant-arriè reFonctionnement de la radio Mise en mé moire des stations Syntonisation d’une station en mé moireMaintenir EnfoncéeRebobinage/avance accé lé ré e Chargement de la cassetteInversion Propos des cassettes Arrê t et é jection de la cassetteRemarques Sé lection du disque Mode lecteur-changeurSé lection de la plage Recherche d’un passage au sein d’une plage Lecture en reprise d’une plageSé quence de lecture alé atoire Balayage des disquesFonctionnement de l’horloge Ré glage de l’heureRemise à l’heure Sé lection de l’affichage de l’horlogeQuincaillerie pour Pinstallation Guide d’installationGé né ralité s Guide d’installation suite Outils requisDé gagement requis dans le tableau de bord Identification des filsRaccorder tous les fils Haut-parleursMoteur de l’antenne Fil d’antenneInstallation finale InstallationVé rifications finales Mesures de pré cautionUtilisation de la plaque de support arriè re Fixer l’arriè re de l’appareilUtilisation du coussinet en caoutchouc facultatif Pour retirer l’appareil Systè me antivol Retrait du panneau avant amovibleInstallation du panneau avant amovible Connexions é lectriques Pré cautionsEn cas de difficulté Données techniques DiversRadio AM Radio FM sté ré oVolumen Alimentació nSilenciamiento Intensificació n del tonoCó mo Cambiar los Modos de AudioGraves y Agudos EquilibrioOperación básica del radio Para cambiar el modo del sintonizadorCó mo Elegir una Banda Sintonía ManualPresintonía de estaciones Presintonía Manual de las EstacionesMemoria de presintonizació n automá tica Có mo Llamar una Estació n PresintonizadaRebobinado y Avance Rá pido Có mo Cargar un CassetteCó mo Cambiar el Lado Có mo Parar y Eyectar la Cinta Notas sobre las cintas cassetteNota NotasSelecció n de una disco Có mo cambiar el modoCó mo Elegir una Pista Có mo Buscar una Pista Repetició n de una canció nSelecció n al Azar Exploració n de pistasOperación básica del reloj Ajuste de la hora inicialReajuste de la hora Selecció n de la visualizació n del relojGuía de instalación Instrucciones generalesHerrajes Suministradas Advertencia arribaGuía de instalación continuación Herramientas necesariasEspecificaciones del tablero de instrumentos Identificar todos los alambresConecte todos los alambres AltavocesMotor de la antena AntenaInstalació n final Verificaciones finalesPrecauciones Procedimente de instalació nUsando la tira de soporte trasero Asga la parte trasera del aparatoUsando el cojín de goma Opcional Para quitar el aparato Sistema antirrobo Como Quitar la Placa Frontal RemovibleCó mo Instalar la Placa Frontal Removible Precaució nesConexiones eléctricas PrecauciónesLocalización de avería Especificaciones GeneralidadesRadio MW Radio FM estié reoMemo Page Electric Corporation of America Puerto Rico, Inc. PSC