Vision Fitness E3200, R2250 manual Assembly, Moving, Placement in Your Home

Page 10

ALL BIKES

ASSEMBLY

It is recommended, when possible, that an authorized VISION FITNESS retailer assemble your Bike. If you have elected to assemble this product yourself, for your safety, please read and follow each of the steps in the enclosed assembly instructions. If you have any questions regarding any component or function of your Bike, contact your retailer.

MOVING

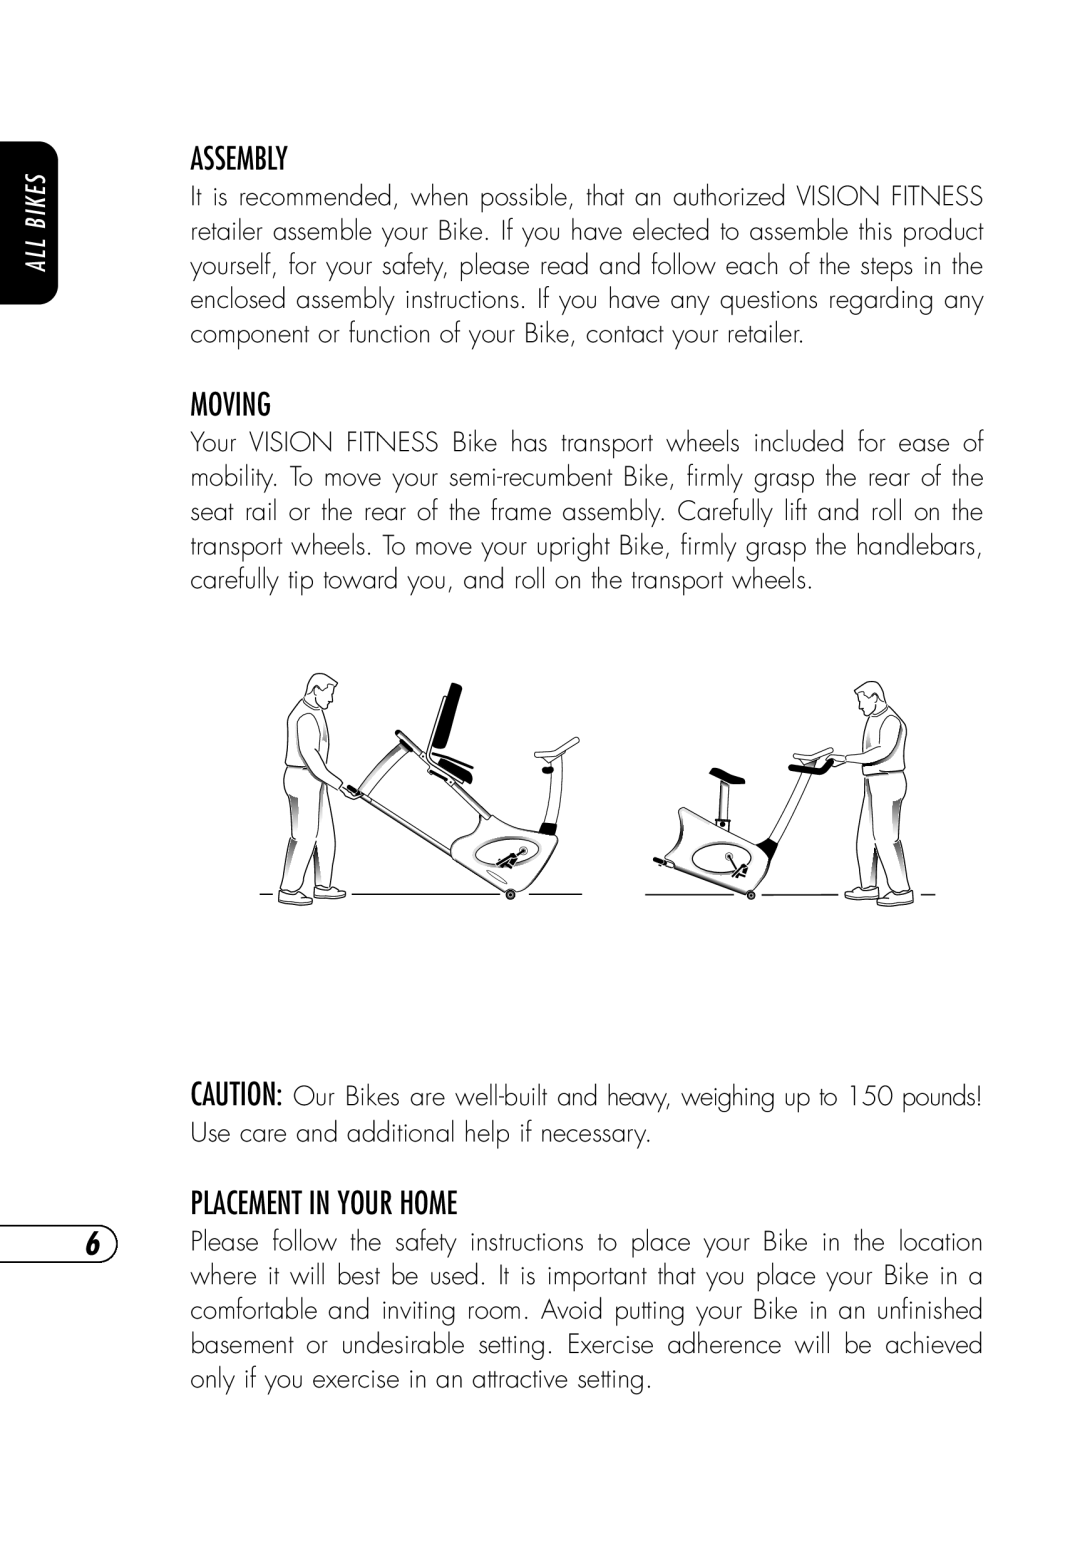
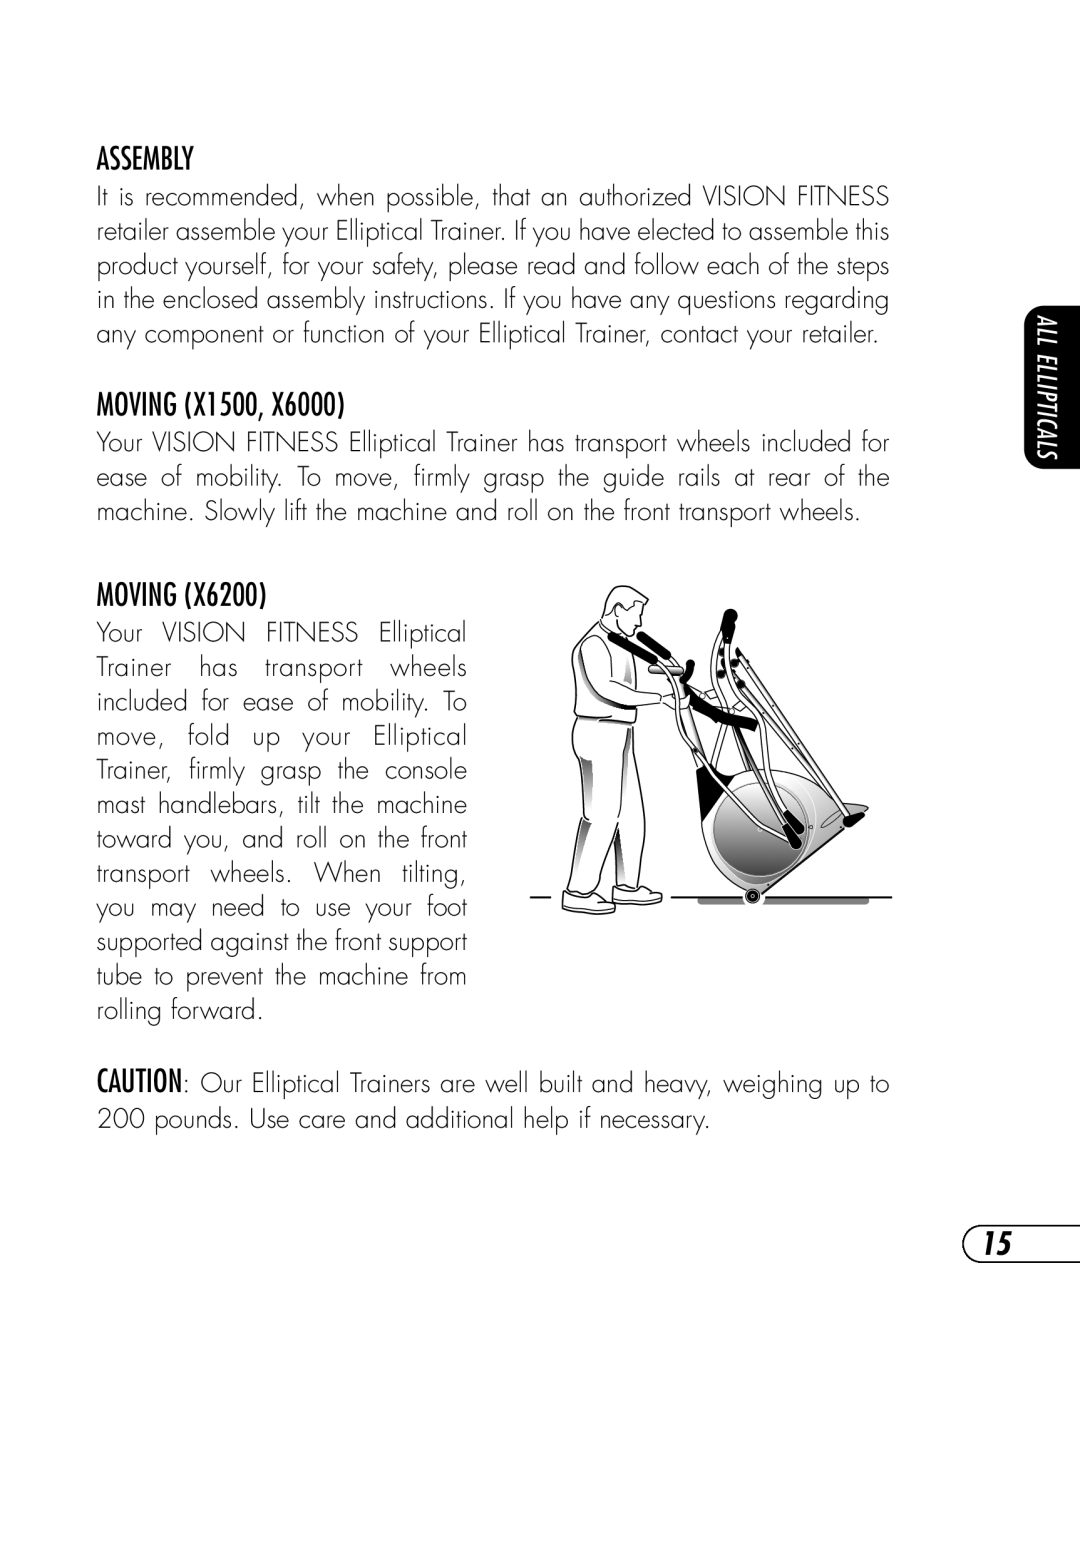
Your VISION FITNESS Bike has transport wheels included for ease of mobility. To move your semi-recumbent Bike, firmly grasp the rear of the seat rail or the rear of the frame assembly. Carefully lift and roll on the transport wheels. To move your upright Bike, firmly grasp the handlebars, carefully tip toward you, and roll on the transport wheels.

CAUTION: Our Bikes are well-built and heavy, weighing up to 150 pounds! Use care and additional help if necessary.

PLACEMENT IN YOUR HOME

6Please follow the safety instructions to place your Bike in the location where it will best be used. It is important that you place your Bike in a comfortable and inviting room. Avoid putting your Bike in an unfinished basement or undesirable setting. Exercise adherence will be achieved only if you exercise in an attractive setting.

Image 10
Contents OWNER’S Page Page Vision Fitness Table of Contents Important Safety Instructions Save These Instructions Cleaning Contact Heart Rate Hand Pulse Heart Rate Sensors Available Console Options Placement in Your Home AssemblyMoving Stabilizing Thebike Seat PositioningUpright Seat Adjustment SEMI-RECUMBENT Seat AdjustmentTilting Mesh Seat Back Pedal Strap Adjustment Power SupplyService and Troubleshooting Preventative Maintenance Tips Preventative Maintenance ScheduleTroubleshooting R2250 only L I P T I C a L T R a I N E R S Moving X1500 Stabilizing the Elliptical Trainer Folding Your Elliptical Trainer ALL Ellipticals ALL Ellipticals ALL Bolts and Hardware Troubleshooting Simple Console Display Console Overview START/PAUSE/HOLD to Reset KEY Console Hardware Descriptions Power SwitchMILES/KILOMETER Switch Enter KEYSimple Console Simple Console Display Descriptions Profile Display Feedback DisplayChoosing Exercise Time Using the Simple Console Quick StartChoosing a Program Choosing Resistance LevelM P L E Engineering Mode Entering and Using Engineering ModePage Deluxe Console Display Console Overview Deluxe Console Display Descriptions Power Switch Message BARUP KEY START/PAUSE/HOLD Toreset KEYDown KEY Deluxe Console Programs Workout Overview Quick Start L U X E Using the Sprint 8 Program Using the Programs Selecting Quick Start Entering AGEEntering Time Entering WeightStarting P5 Default Page Premier Console Display Console Overview Arrow Keys Premier Console Display Descriptions START/HOLD to ResetENTER/HOLD to Change Feedback Display Program KeysMESSAGE/SCROLLING Text BAR E M I E R Selecting a Program Enteringtime EnteringweightEnteringresistancelevel Premier Console Programs Workout Overview Quick Start E M I E R Using the Sprint 8 Program Using Custom Programs Goal Programs HRT Hill HRT ProgramsHRT Interval Adjusting Targetheartrate ALL HRT ProgramsUsing Heart Rate Training What is Heart Rate TRAINING? Hand Pulse Heart Rate SensorsStrap Placement Troubleshooting Your Heart Rate Monitor Chest Strap Optionalsettings T T I N G D E S C R I P T I O NPage X1500, E1500, R1500 Limited Home USE Warranty Limited Home USE Warranty X6000, R2050, X6200, E3200, R2250 Limited Home USE Warranty Limited Home USE Warranty Limited Corporate Warranty Up to 3 hours use per dayLimited Corporate Warranty Achieving Your Fitness Goals Developing a Fitness ProgramTrack Your Progress Exercise Guidelines Exercise Duration Exercise IntensityTarget Heart Rate ExamplePage S i o n