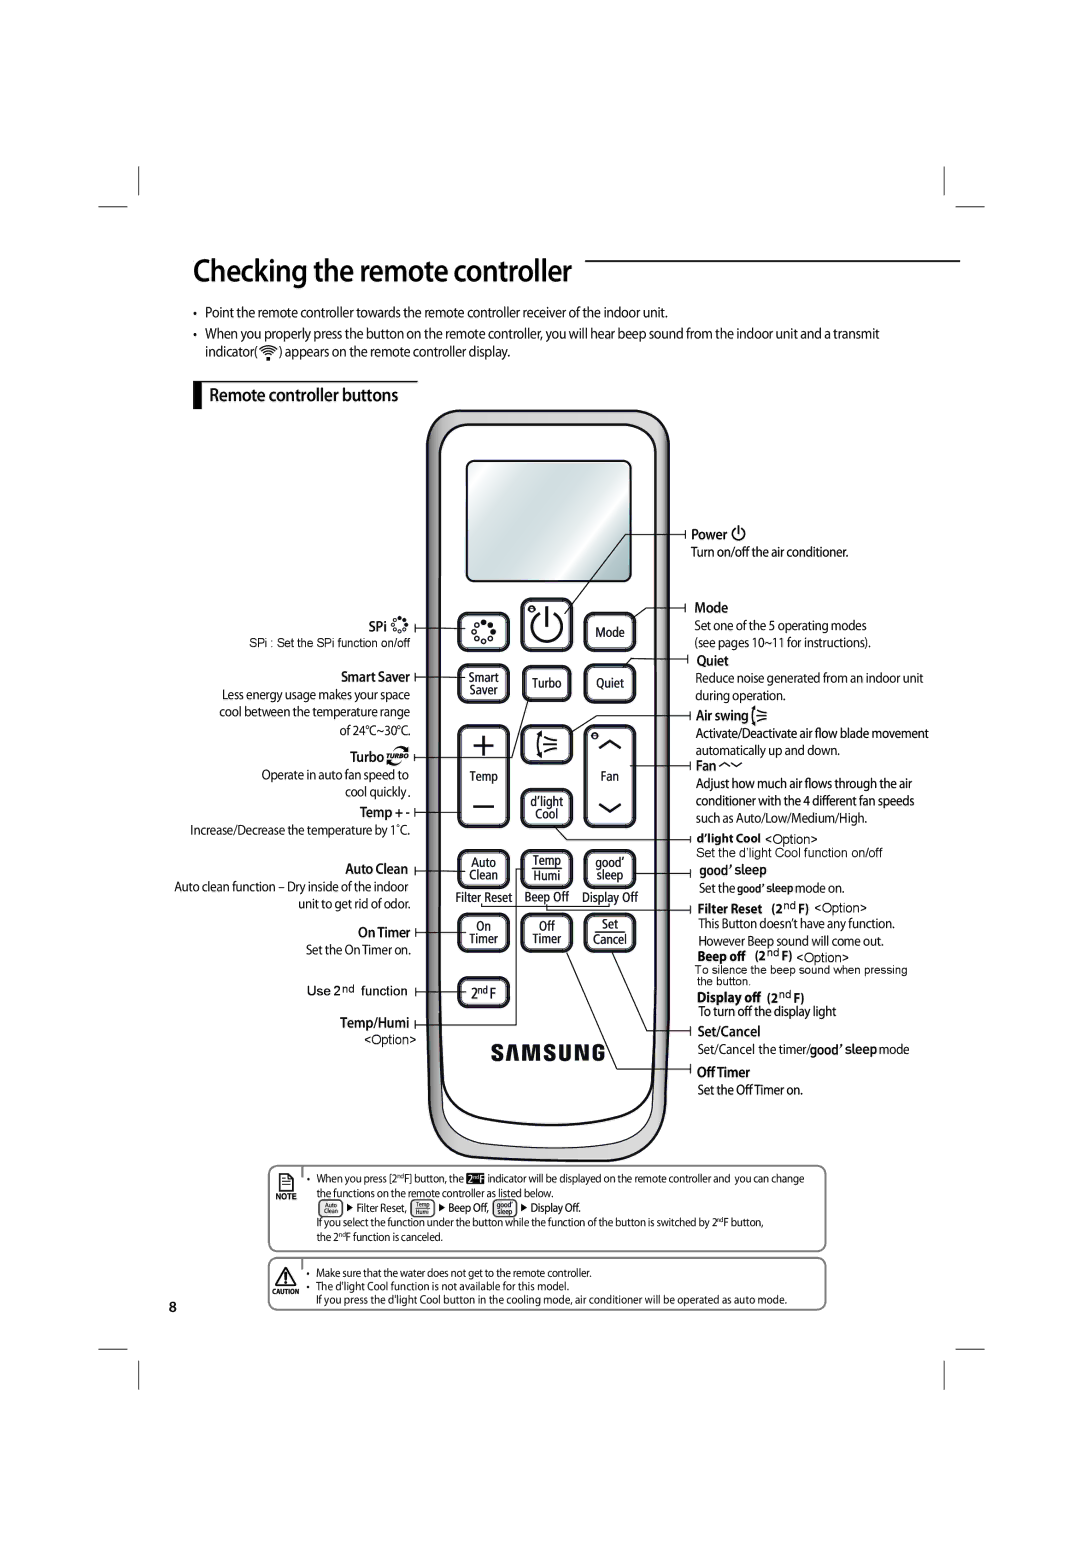
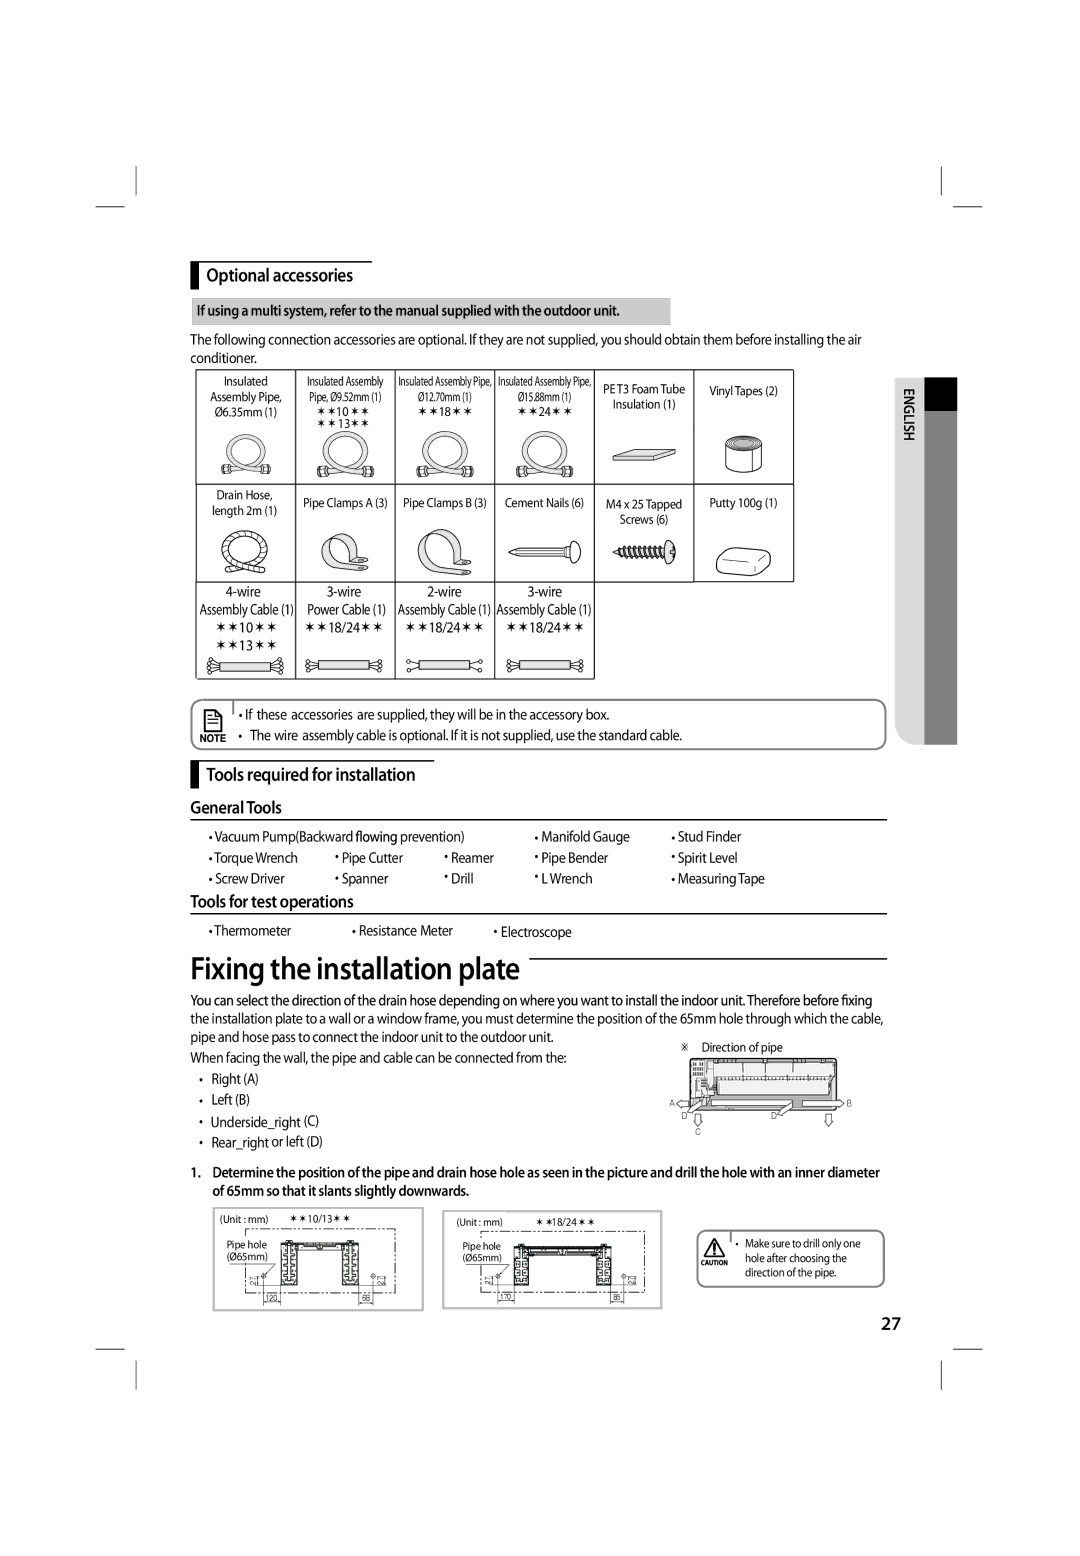
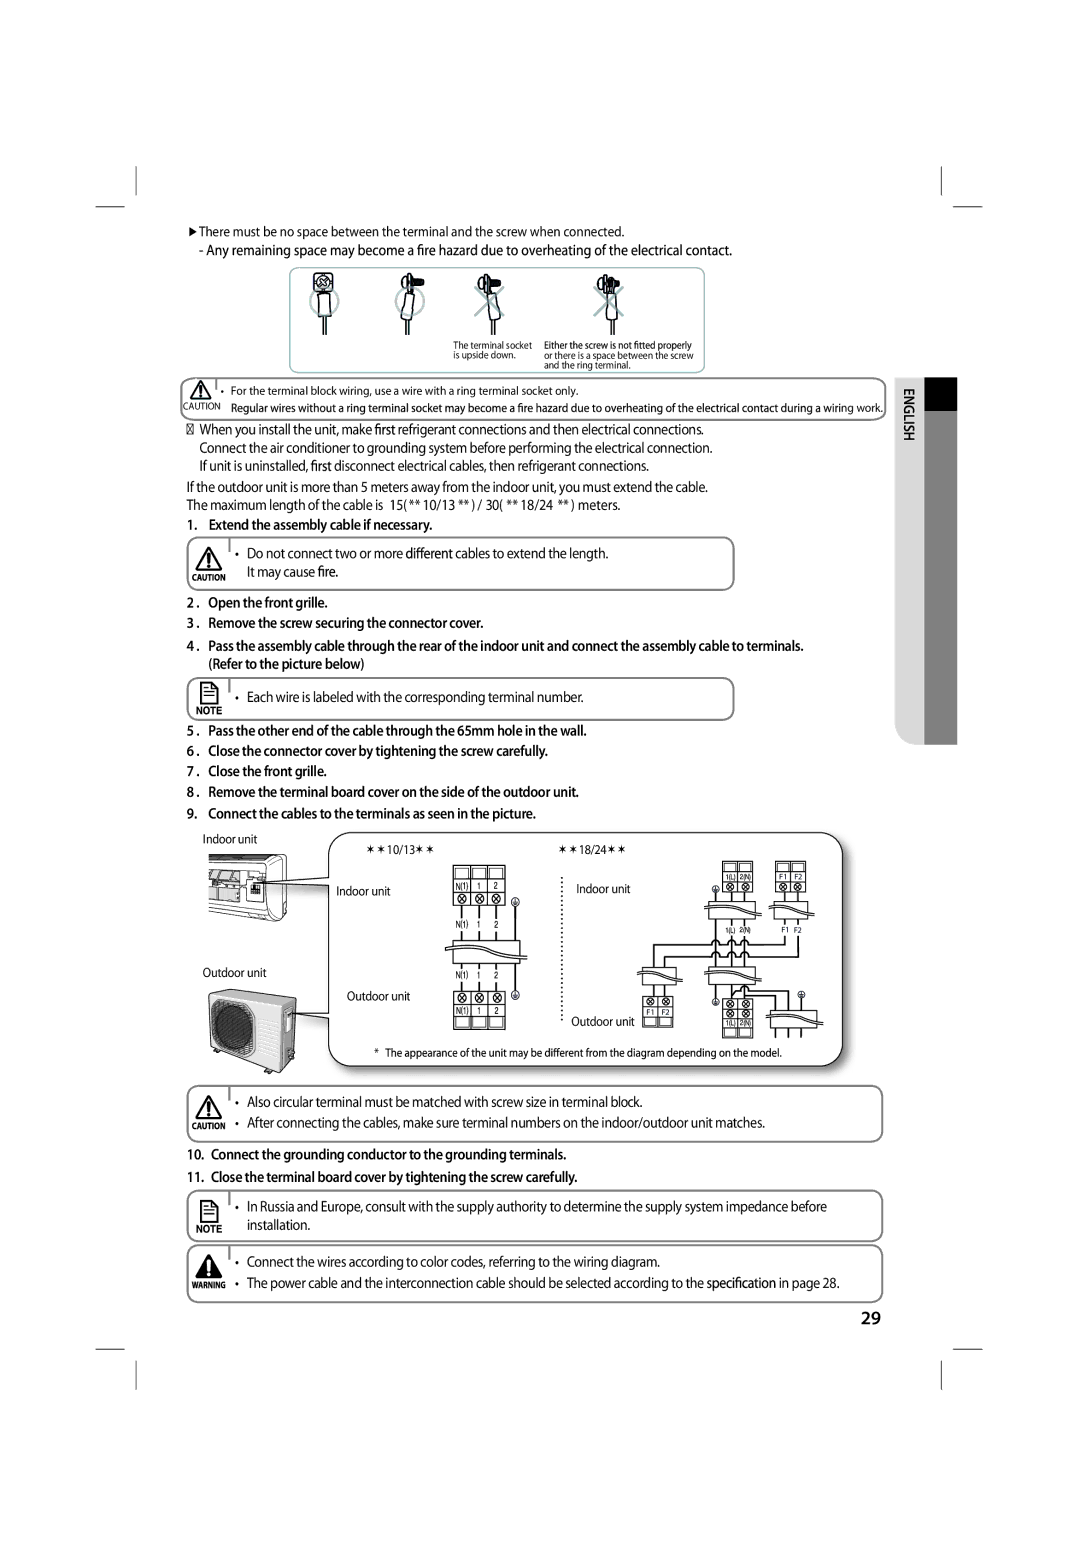
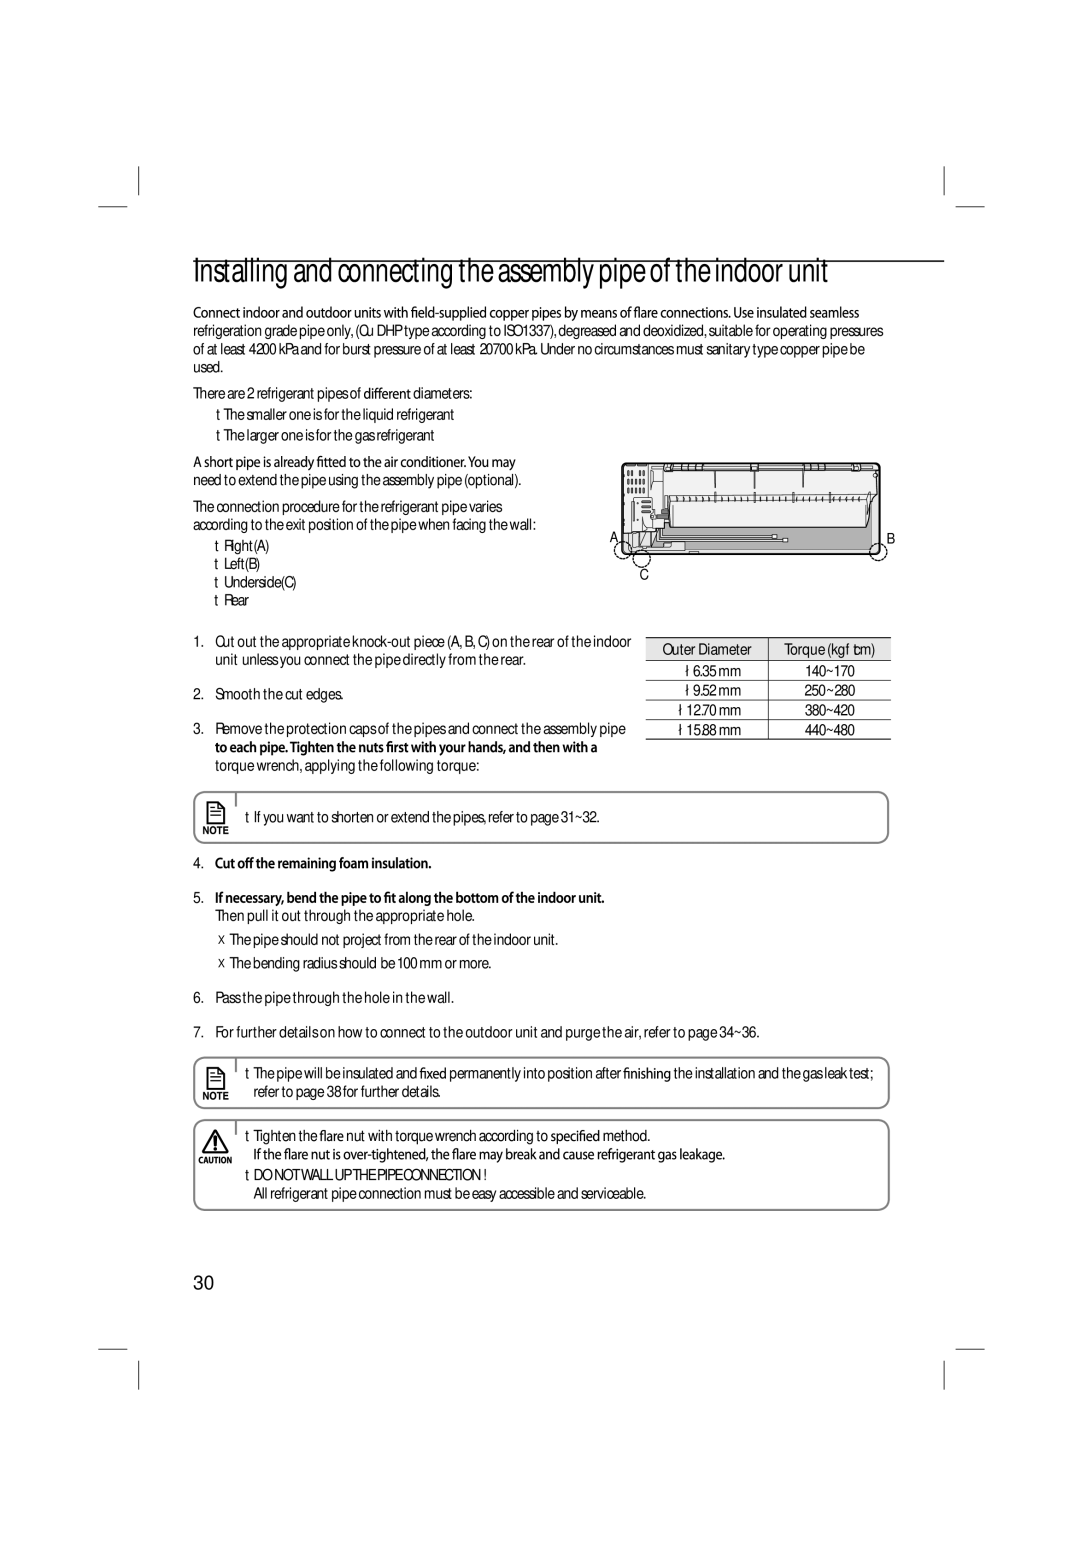
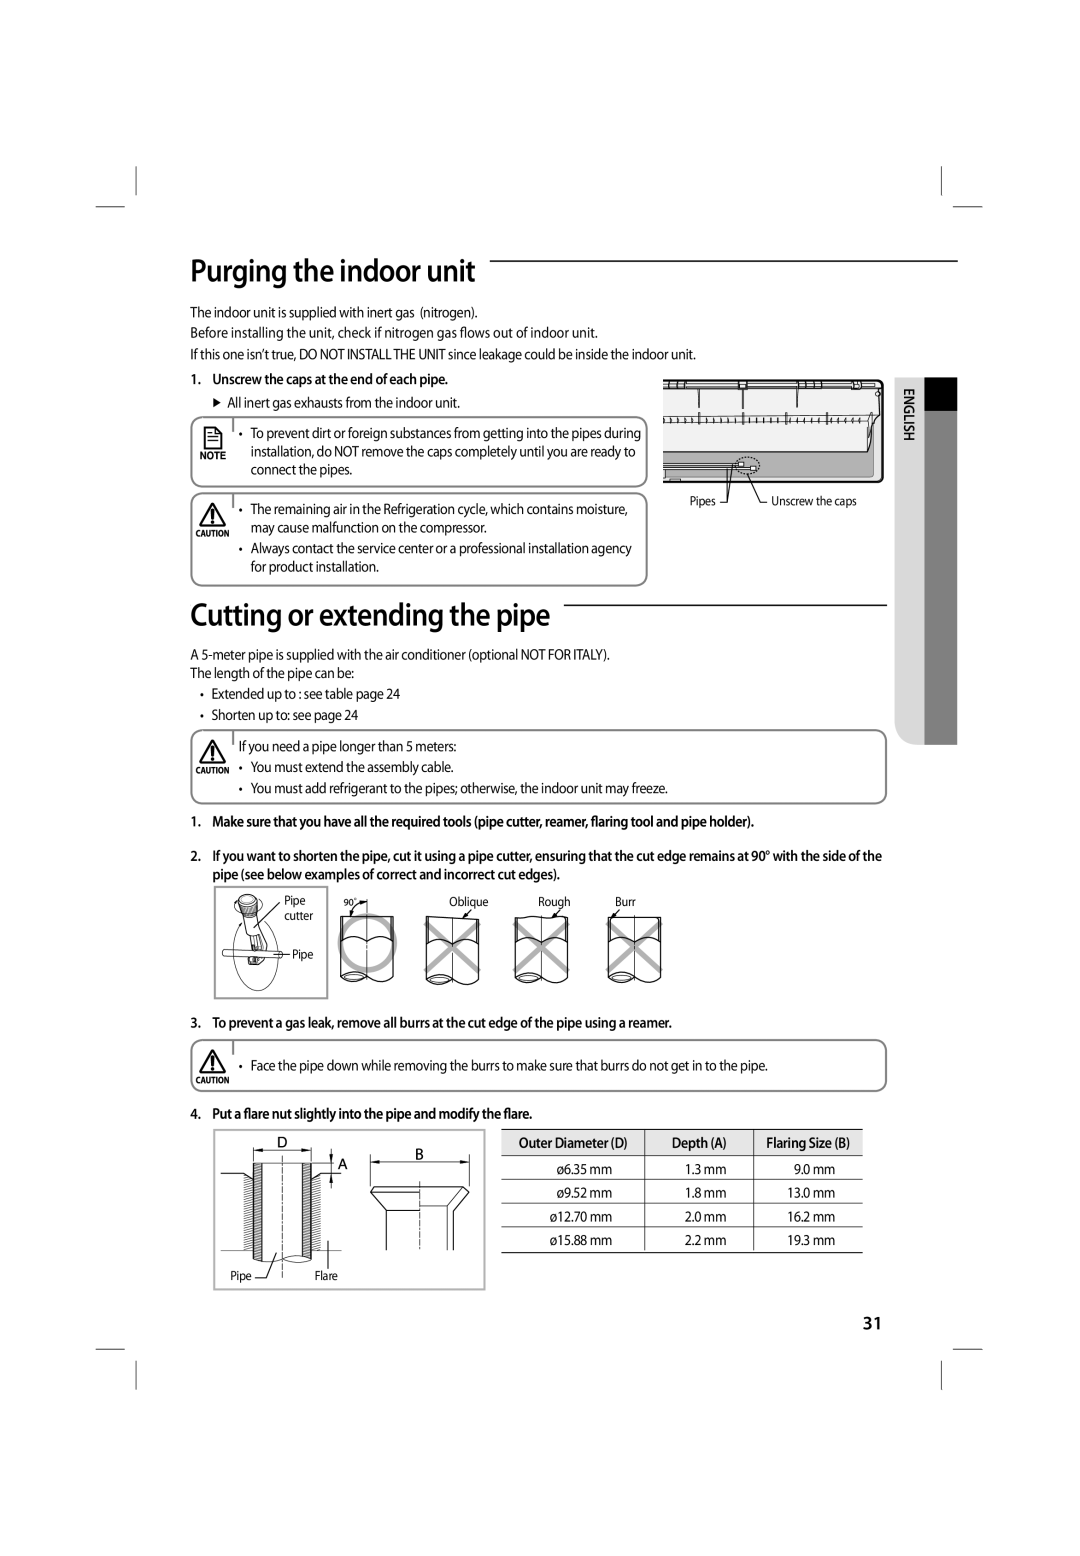
Samsung ASV24PUQNXEA, ASV13PSPNXEA manual Checking the remote controller, Remote controller buttons

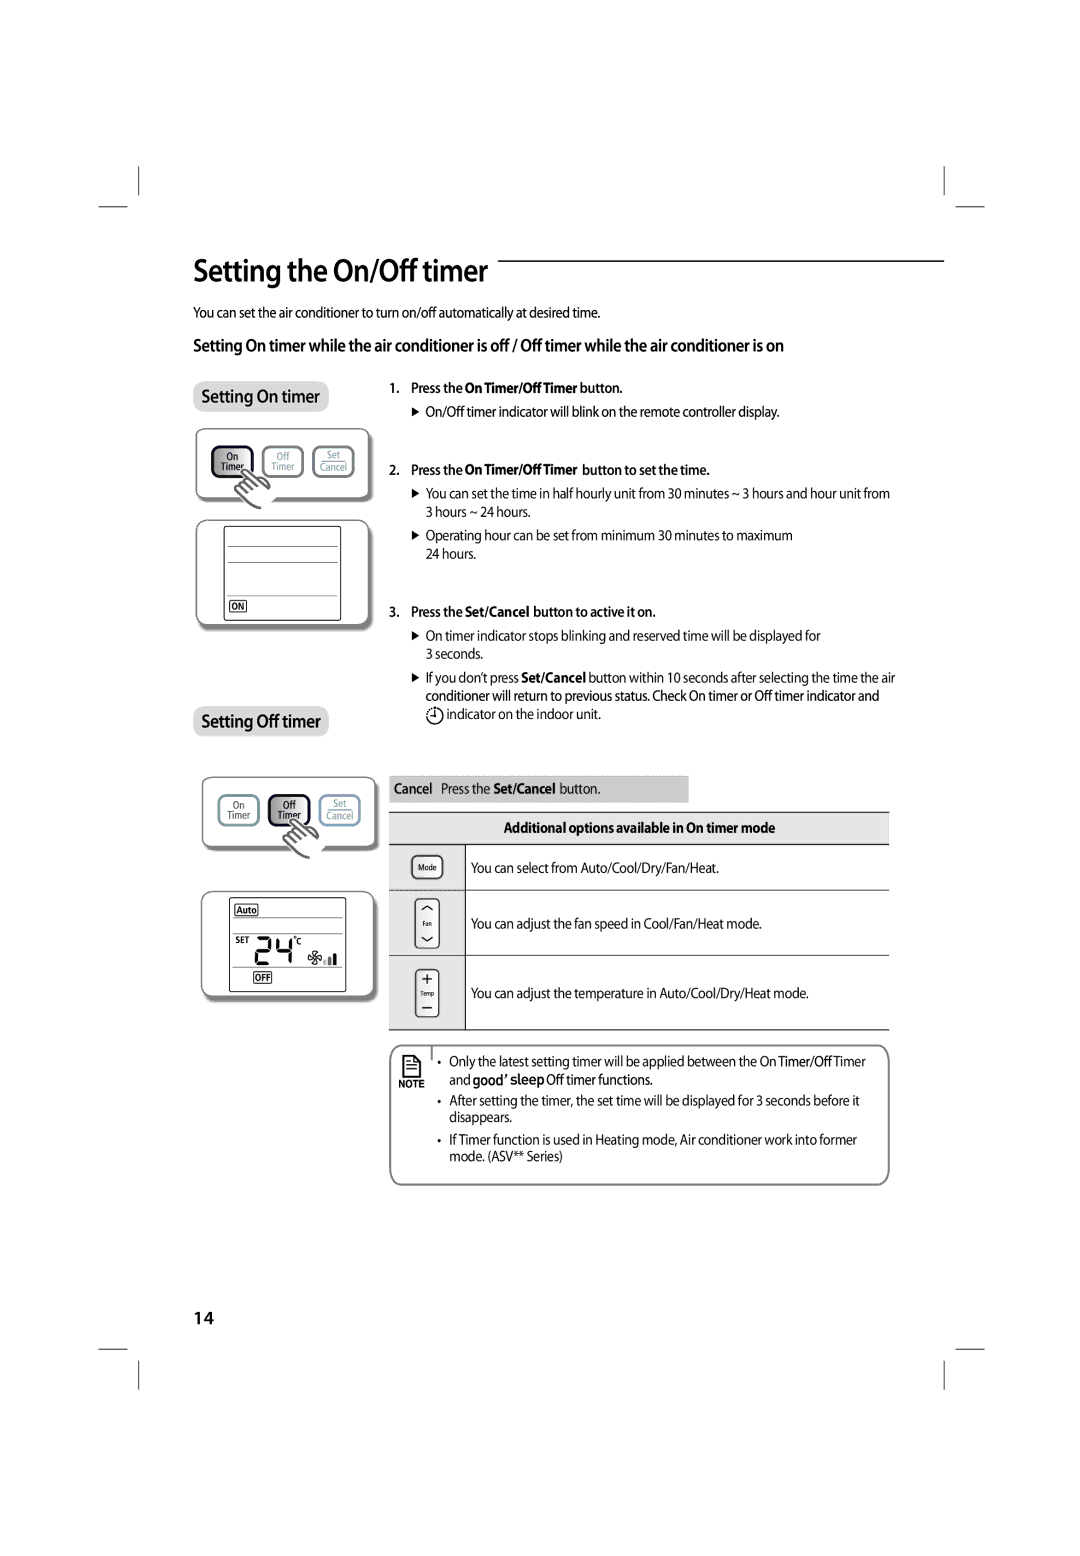
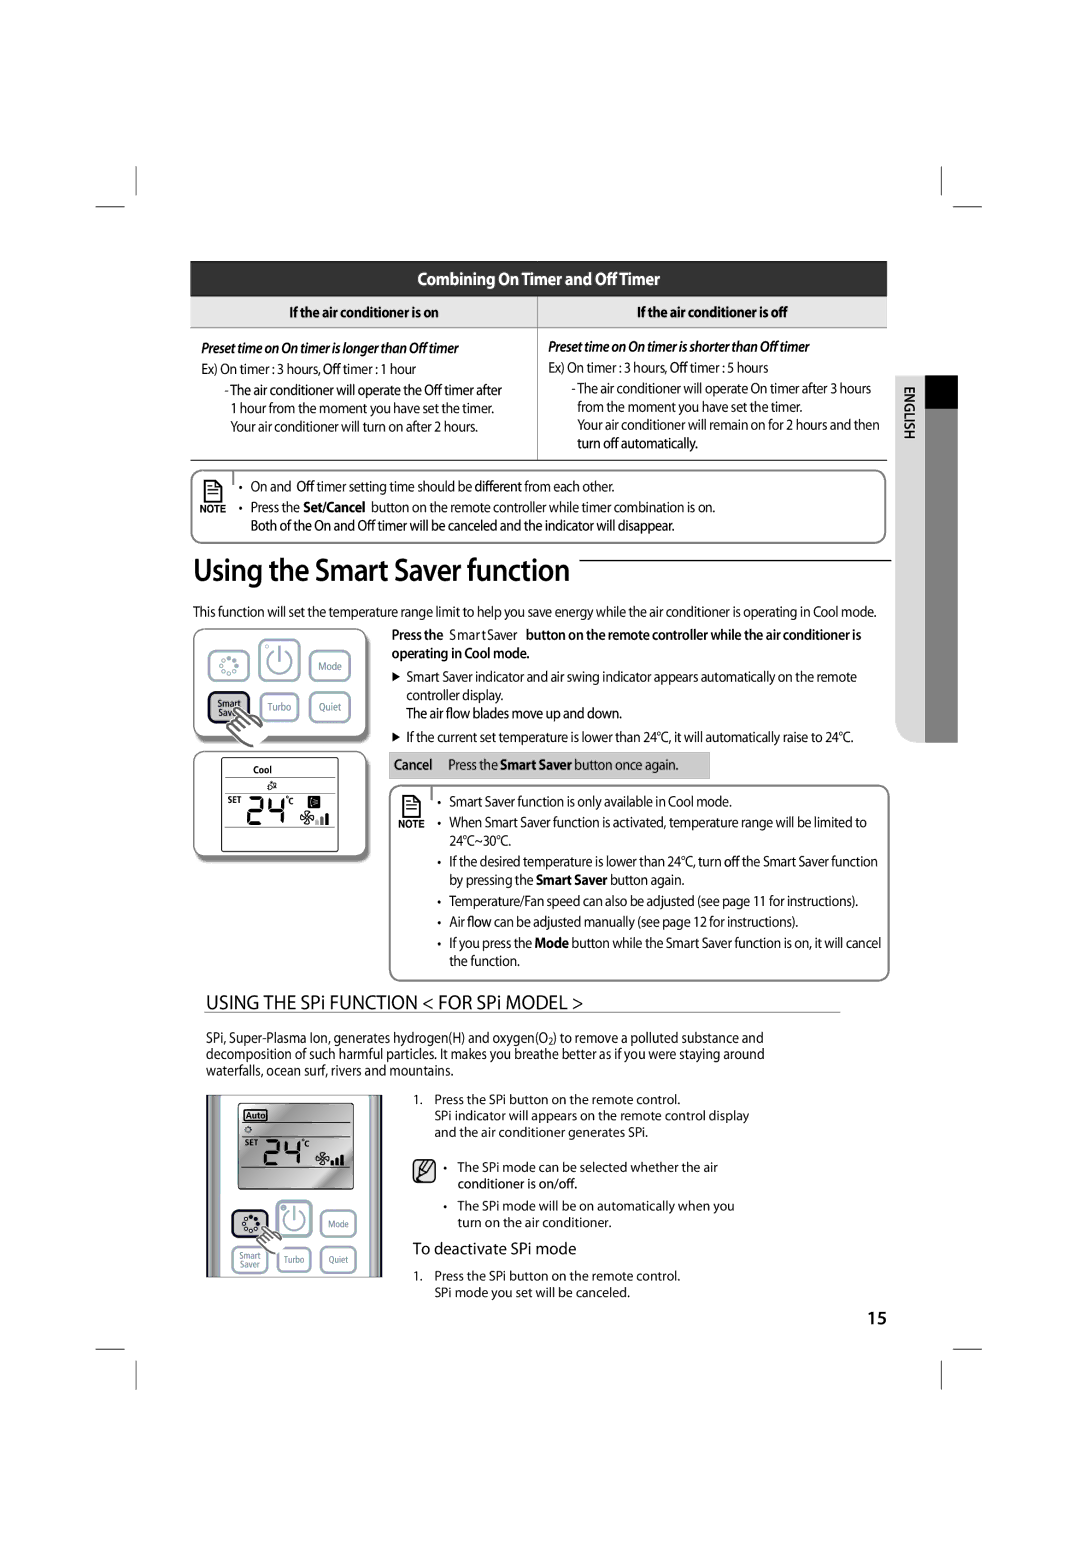
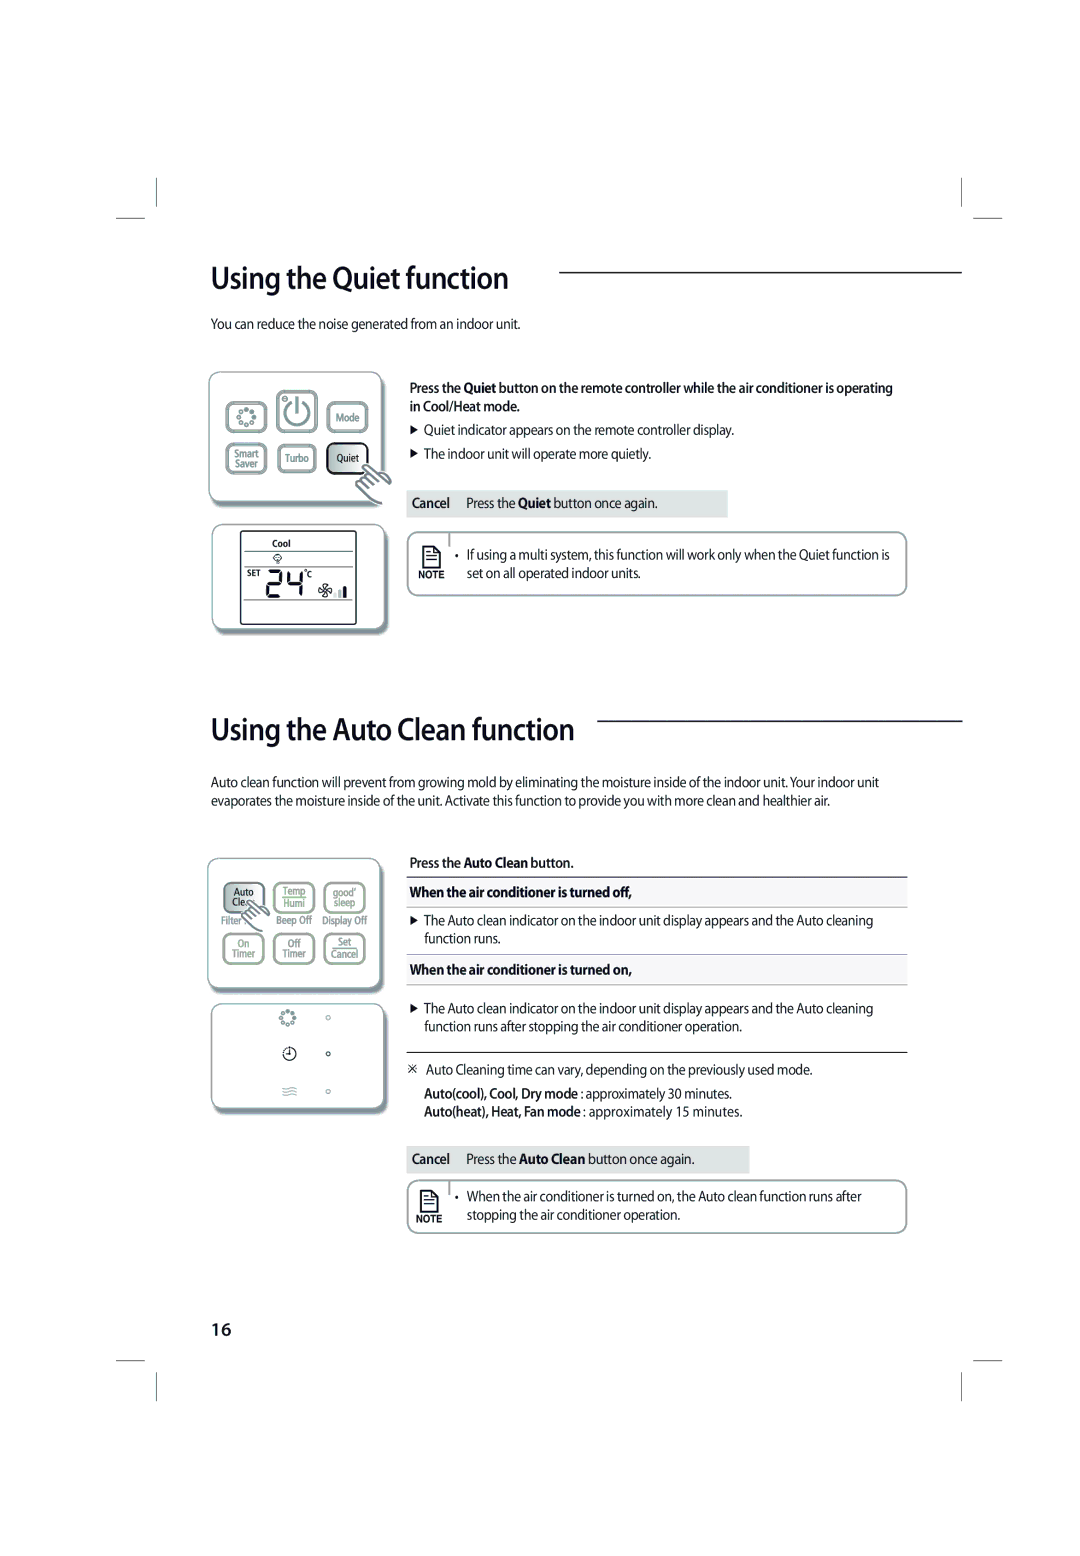
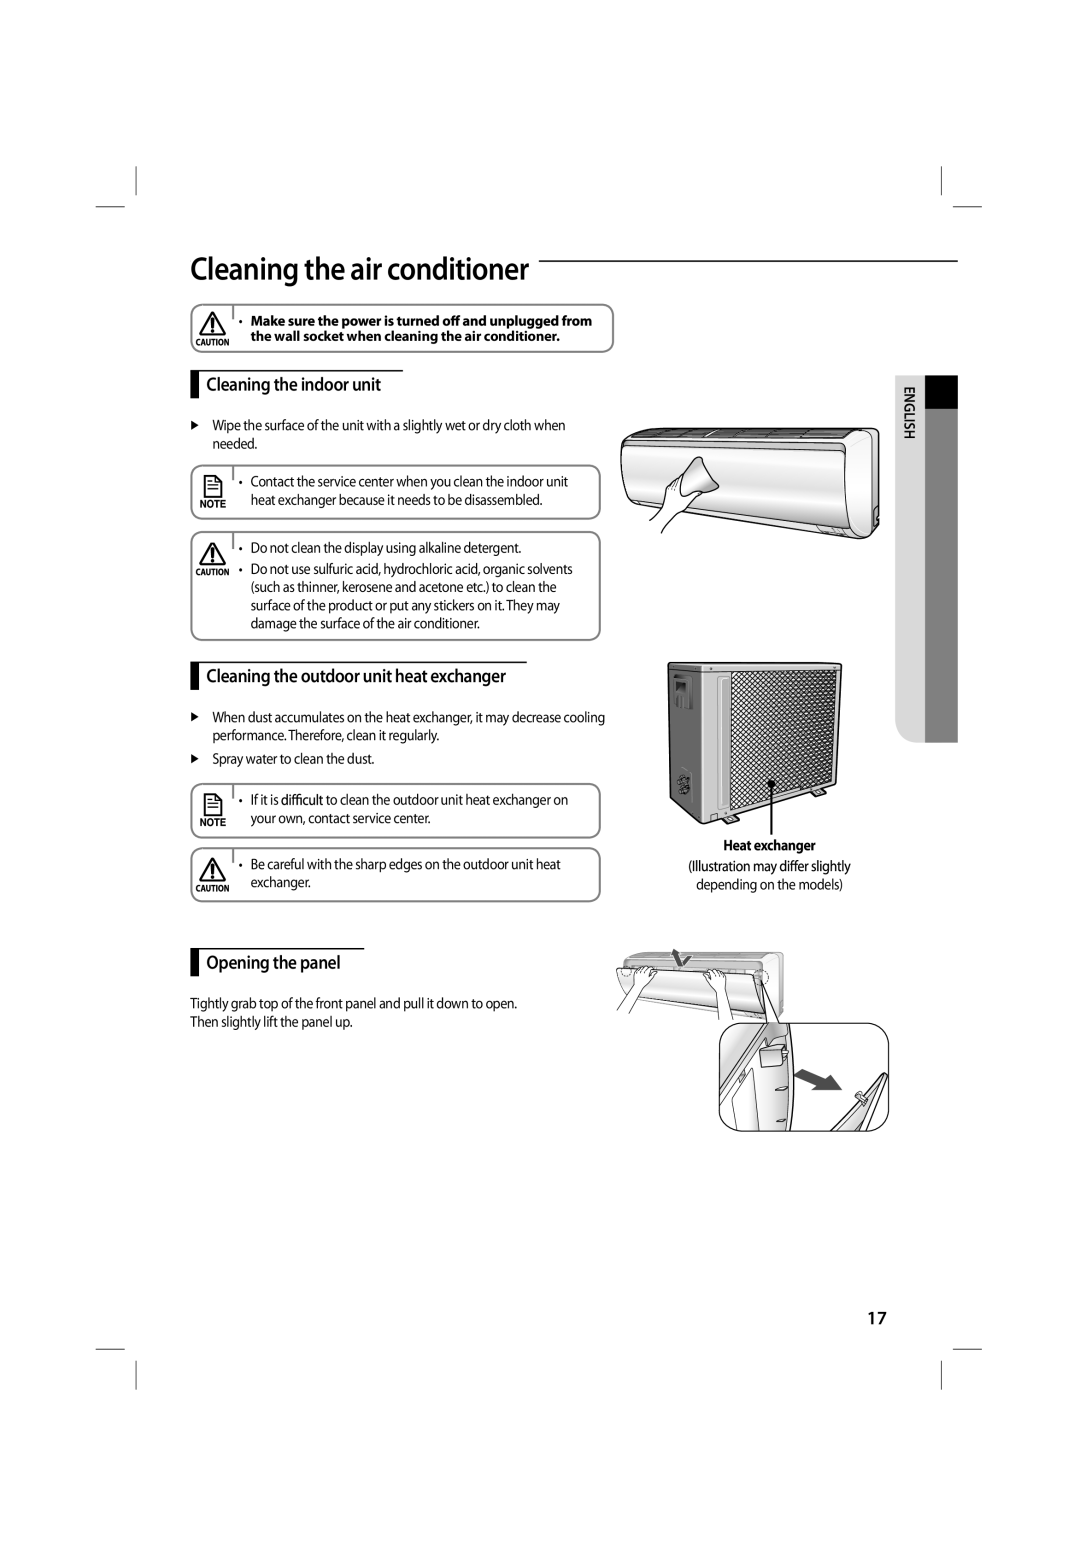
Page 8

Checking the remote controller

Point the remote controller towards the remote controller receiver of the indoor unit.

When you properly press the button on the remote controller, you will hear beep sound from the indoor unit and a transmit indicator() appears on the remote controller display.

Remote controller buttons


Power


Mode


SPi

Set one of the 5 operating modes


SPi : Set the SPi function on/off

(see pages 10~11 for instructions).


Smart Saver

Quiet


Reduce noise generated from an indoor unit

Less energy usage makes your space

during operation.


cool between the temperature range

Air swing


of 24°C~30°C.


Turbo

automatically up and down.


Fan


Operate in auto fan speed to


cool quickly.


Temp + -

such as Auto/Low/Medium/High.


Increase/Decrease the temperature by 1˚C.


d’light Cool <Option>


Auto Clean

Set the d’light Cool function on/off


Auto clean function – Dry inside of the indoor

Set the

mode on.


unit to get rid of odor.

Filter Reset

(2nd F) <Option>


On Timer

This Button doesn’t have any function.

However Beep sound will come out.

Set the On Timer on.

(2nd F) <Option>


To silence the beep sound when pressing

Use 2nd function

the button.

(2nd F)


Temp/Humi

Set/Cancel


<Option>


Set/Cancel the timer/

mode.


• When you press [2ndF] button, the indicator will be displayed on the remote controller and you can change the functions on the remote controller as listed below.

Filter Reset,

If you select the function under the button while the function of the button is switched by 2ndF button, the 2ndF function is canceled.

Make sure that the water does not get to the remote controller.


• The d'light Cool function is not available for this model.

8

If you press the d'light Cool button in the cooling mode, air conditioner will be operated as auto mode.


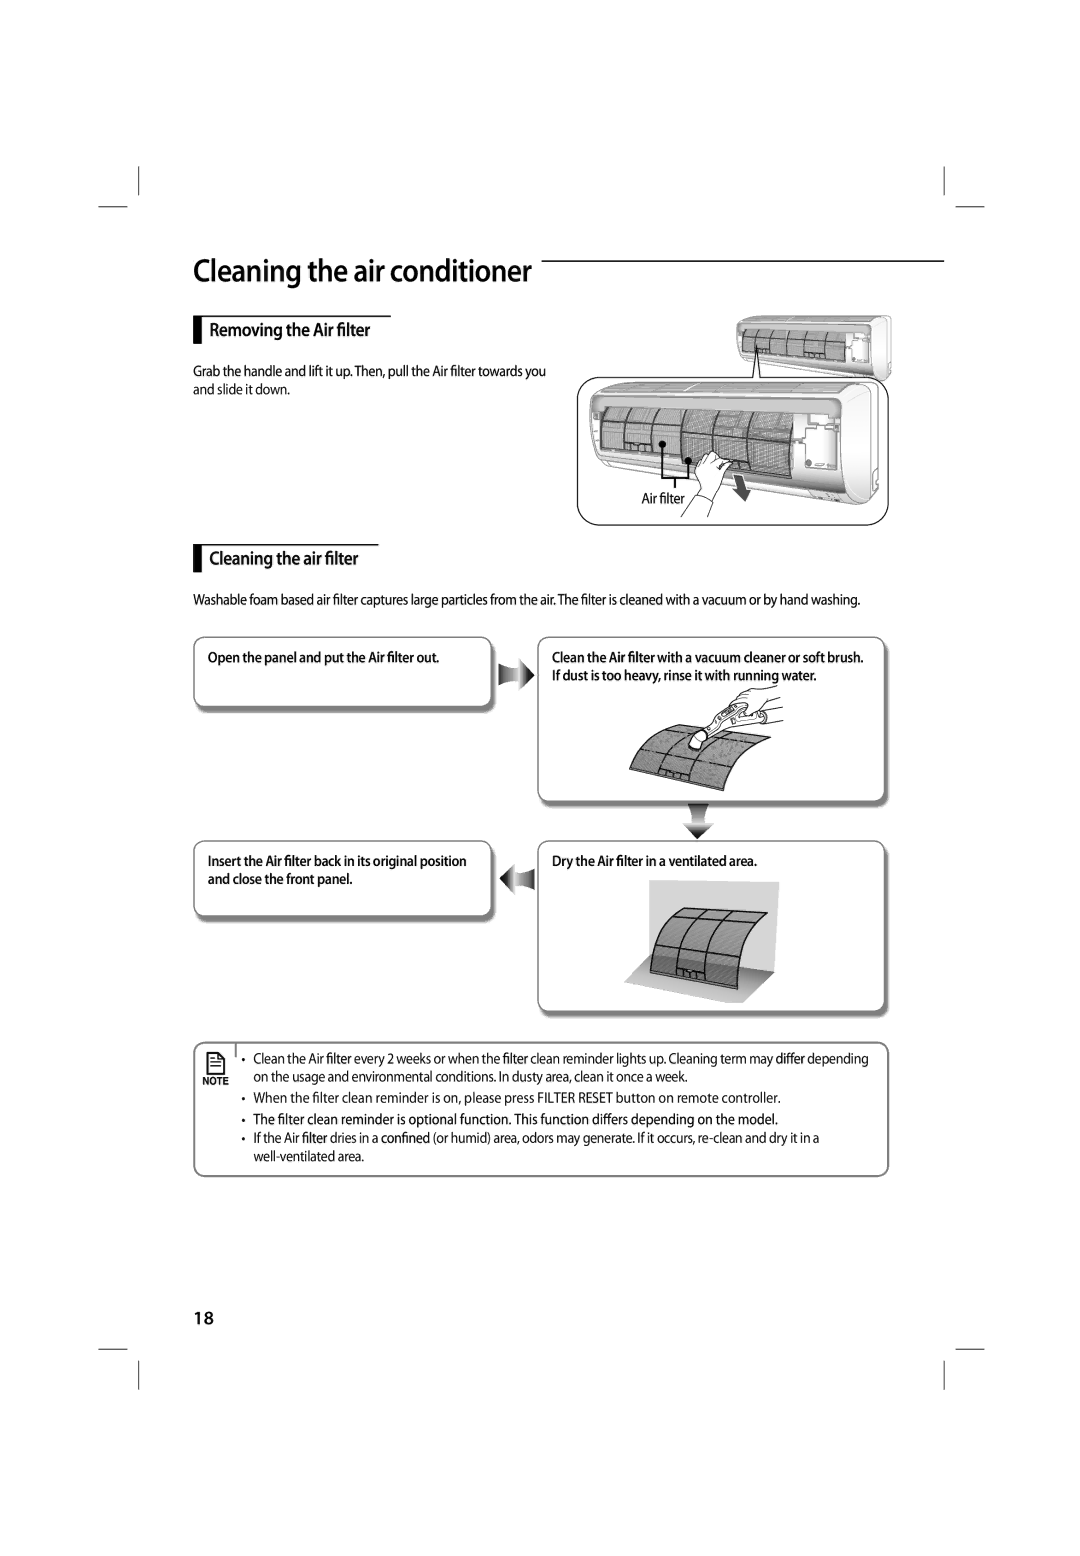
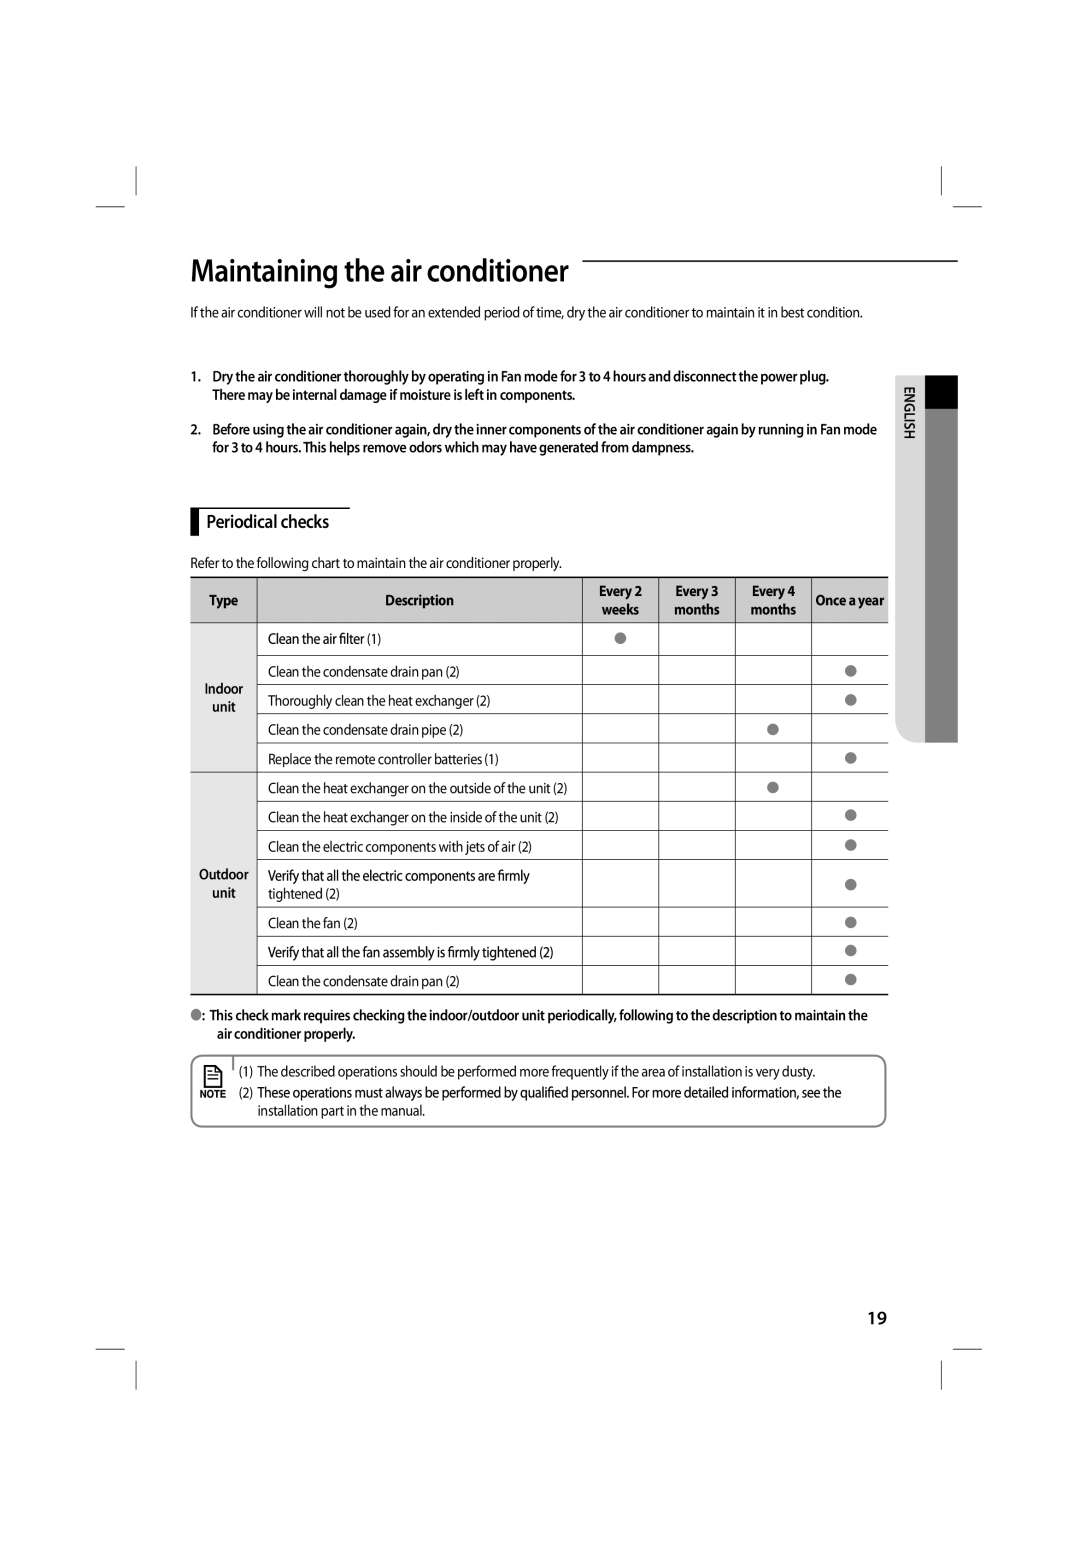
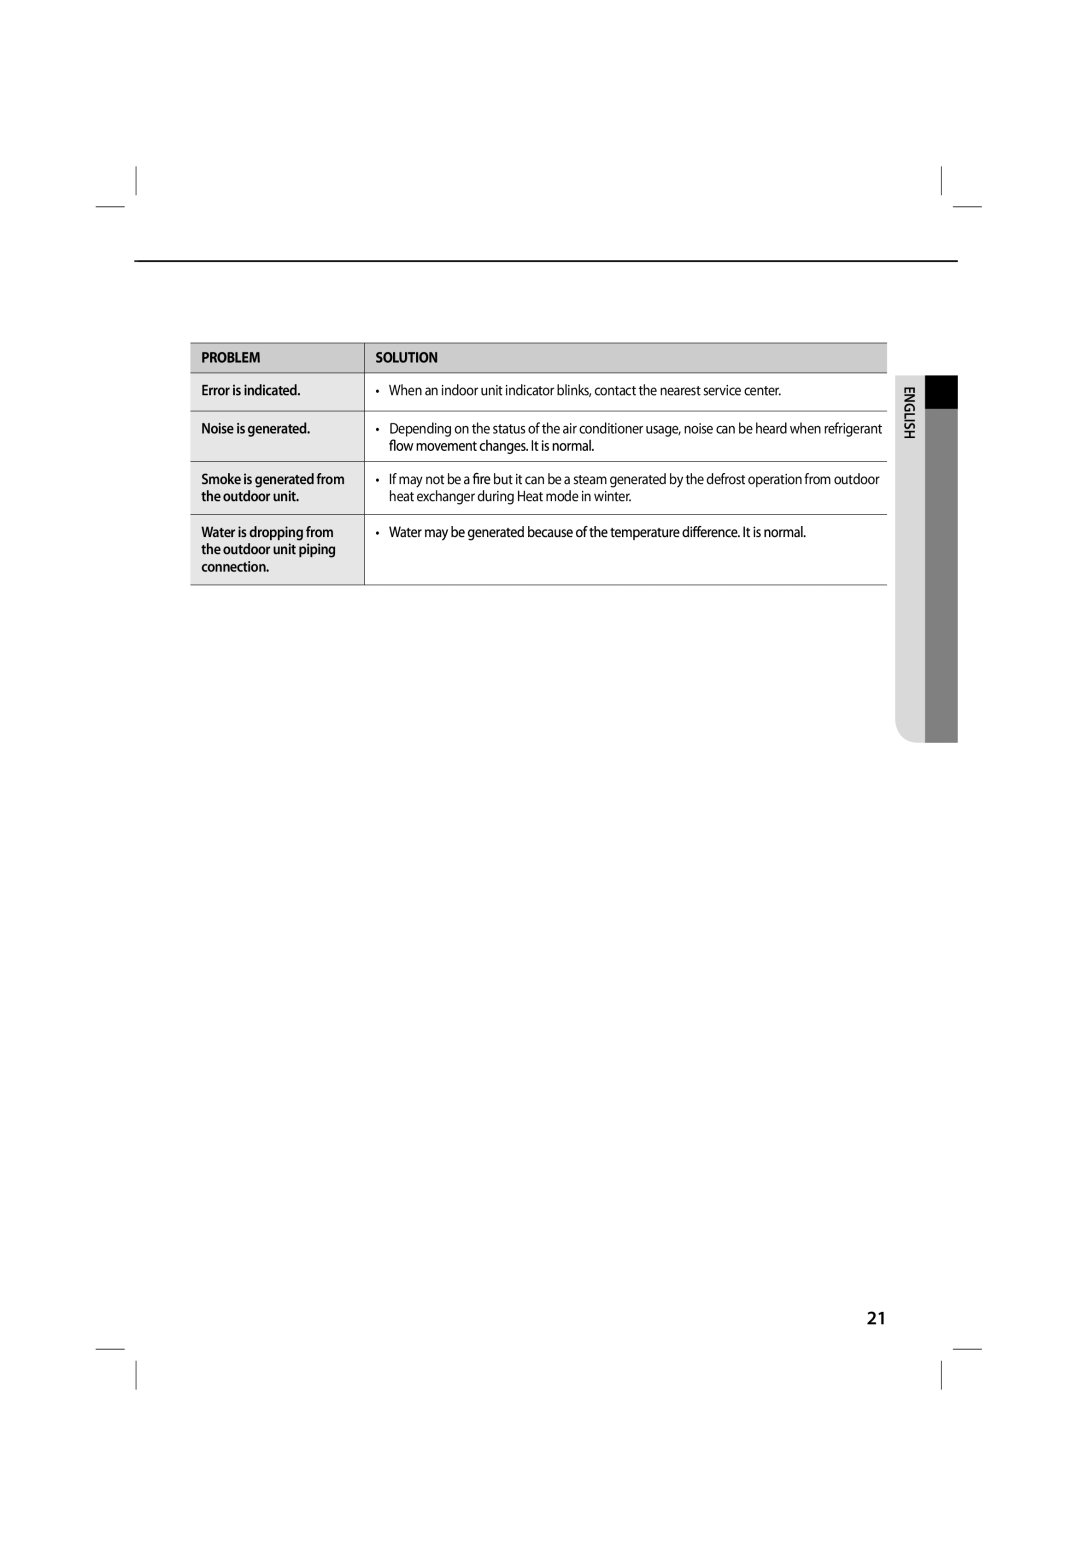
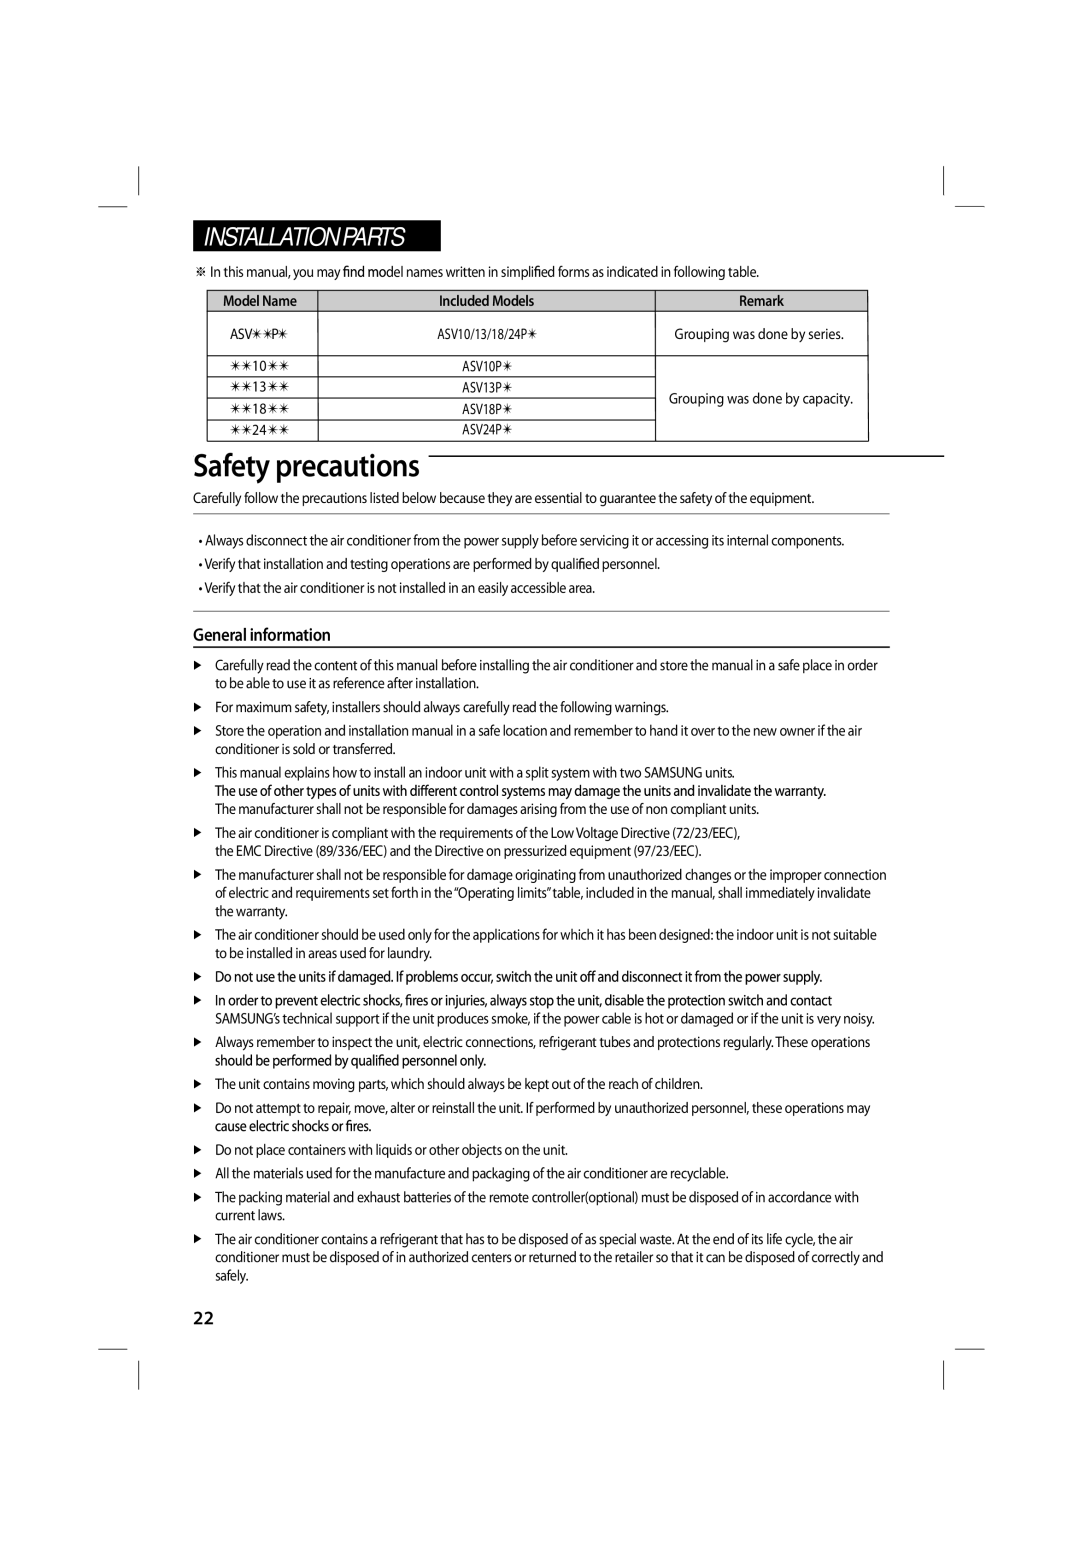
Image 8
Contents Air Conditioner Contents Safety precautions Important safety symbols and precautionsFollow directions Wall socketFor Using For Cleaning Checking before use Operation rangesPower button Checking the name of the partsMain parts DisplayChecking the remote controller Remote controller buttonsRemote controller display Battery changing timeStoring the remote controller Inserting the batteriesBasic function Button to adjust the temperature PressUsing the Turbo function Press the Air swing button on the remote controllerCirculate the air Position you preferMode Press the Set/Cancel button to active it on Press the button Press the button to set the timeUsing the Smart Saver function Timer 1 hourTimer 5 hours From the moment you have set the timerUsing the Quiet function Cleaning the indoor unit Cleaning the outdoor unit heat exchangerOpening the panel Heat exchangerCleaning the air conditioner Clean the AirSlide it down Dry the Ai lter in a ventilated areaMaintaining the air conditioner Periodical checksTroubleshooting Connection Outdoor unit Heat exchanger during Heat mode in winterIf may not be a General information Model Name Included Models RemarkChoosing the installation location Installing the unitPower supply line, fuse or circuit breaker Won’t be considered in-warranty and charged to end userOutdoor Unit ModelTop view Side view When installing more than 1 outdoor unit When the air outlet is towards the wall Accessories in the outdoor unit case AccessoriesAccessories in the indoor unit case Fixing the installation plate Optional accessoriesTools required for installation General Tools Tools for test operationsFix the indoor unit Connecting the assembly cableConnecting the cable Extend the assembly cable if necessary Each wire is labeled with the corresponding terminal numberSmooth the cut edges Then pull it out through the appropriate holePurging the indoor unit Cutting or extending the pipeUnscrew the caps at the end of each pipe Connect the pipesCorrect Inclined CrackedApplying the following torque Outer DiameterDrain hose installation Changing direction of the drain hosePurging the connected pipes Excessive torque can be cause of gas leakageAdding Refrigerant 1975 Covered by the Kyoto ProtocolPerforming the gas leak tests To check for gas leaks on the outdoor unitTo check for gas leaks on the indoor unit Leak test with nitrogen before opening valvesOutdoor unit installed on the wall by rack Fixing the outdoor unit in placePart without insulation on the end of the pipes Properly ModelPump down procedure when removing the product Press the Power button and check the followingPress the Mode button to select Cool or Heat mode Final Check and Trial OperationHow to connect your extended power cables Questions or COMMENTS?