EtherLink 10/100 PCI Network Interface Card with 3XP processor
3CR990 Family of EtherLink NICs
User Guide
Published August
5400 Bayfront Plaza Santa
3Com Corporation
Clara, California
UNITED STATES GOVERNMENT LEGEND
3 NIC INSTALLATION
CONTENTS
2 3CR990 NICS
1 BEFORE YOU BEGIN
5 NETWARE DRIVERS
4 WINDOWS DRIVERS
6 IP SECURITY
Multiple NICs
9 TROUBLESHOOTING
8 CONFIGURATION
7 UPGRADING DRIVERS
Accessing the 3Com KnowledgeBase
A SPECIFICATIONS
E MBA BOOT ROM
D UNINSTALLING NIC SOFTWARE
B TECHNICAL SUPPORT
INDEX WARRANTY AND REGULATORY COMPLIANCE INFORMATION
F DYNAMICACCESS TECHNOLOGY
DynamicAccess Features
Configuring DynamicAccess Technology
Page
2 Click Register Product, and then Register Online
BEFORE YOU BEGIN
Go to Auto Insert Go to Root Subdirectories
1 Right-click the My Computer icon, and then select Properties
NIC Installation with Windows 2000, and then Done
click NIC Software, Drivers and Diagnostics, NIC Preinstallation
Go to NIC Installation
Minimum System
Diskette Installation
DOS-Bootable
to install these drivers
about installation diskettes
Installations \ Diskette.pdf To make installation diskettes
NIC Overview
3CR990 NICS
Encryption chip Remote Wake-Up RWU connector 3XP processor
NIC Features
3CR990 NICs support up to
168-bit 3DES encryption
Remote Wake-Up cable installed
NOTE The 3CR990 NICs provide a network connection with or without the
Upgrading software Scanning for viruses
DynamicAccess Technology, and Install 3Com DMI Agent now
Offload Features
Offline Diagnostics
Windows
NOTE The default hex value is F all offloads enabled
2 Click the Local Area Connection icon
3 Click Configure
20 CHAPTER 2 3CR990 NICS
Installing the NIC
NIC INSTALLATION
your system
For more information
22 CHAPTER 3 NIC INSTALLATION
Remote Wake-Up Cable
Installing the NIC
DATA
24 CHAPTER 3 NIC INSTALLATION
TX ACT
L N K
Go to Windows Go to Windows Go to Windows NT Go to Windows NT
What do you want to do?
Go to NetWare Drivers
Go to Multiple NICs
Page
3 Click Drivers and Diagnostics
Windows 2000 and installed the NIC, go to step 7 in this procedure
4 Click NIC Preinstallation
5 Click NIC Installation with Windows 2000, and then click Done
Go to 3Com DOS Configuration Program
To verify that the installation was successful
NOTE You must restart your computer to complete the installation
Go to Verifying Successful Installation
Go to New Hardware Found Go to Update Device Driver Wizard
Go to Verifying Successful Installation
Update Device
Driver Wizard
Windows NT
Windows NT
PC or server running Windows NT
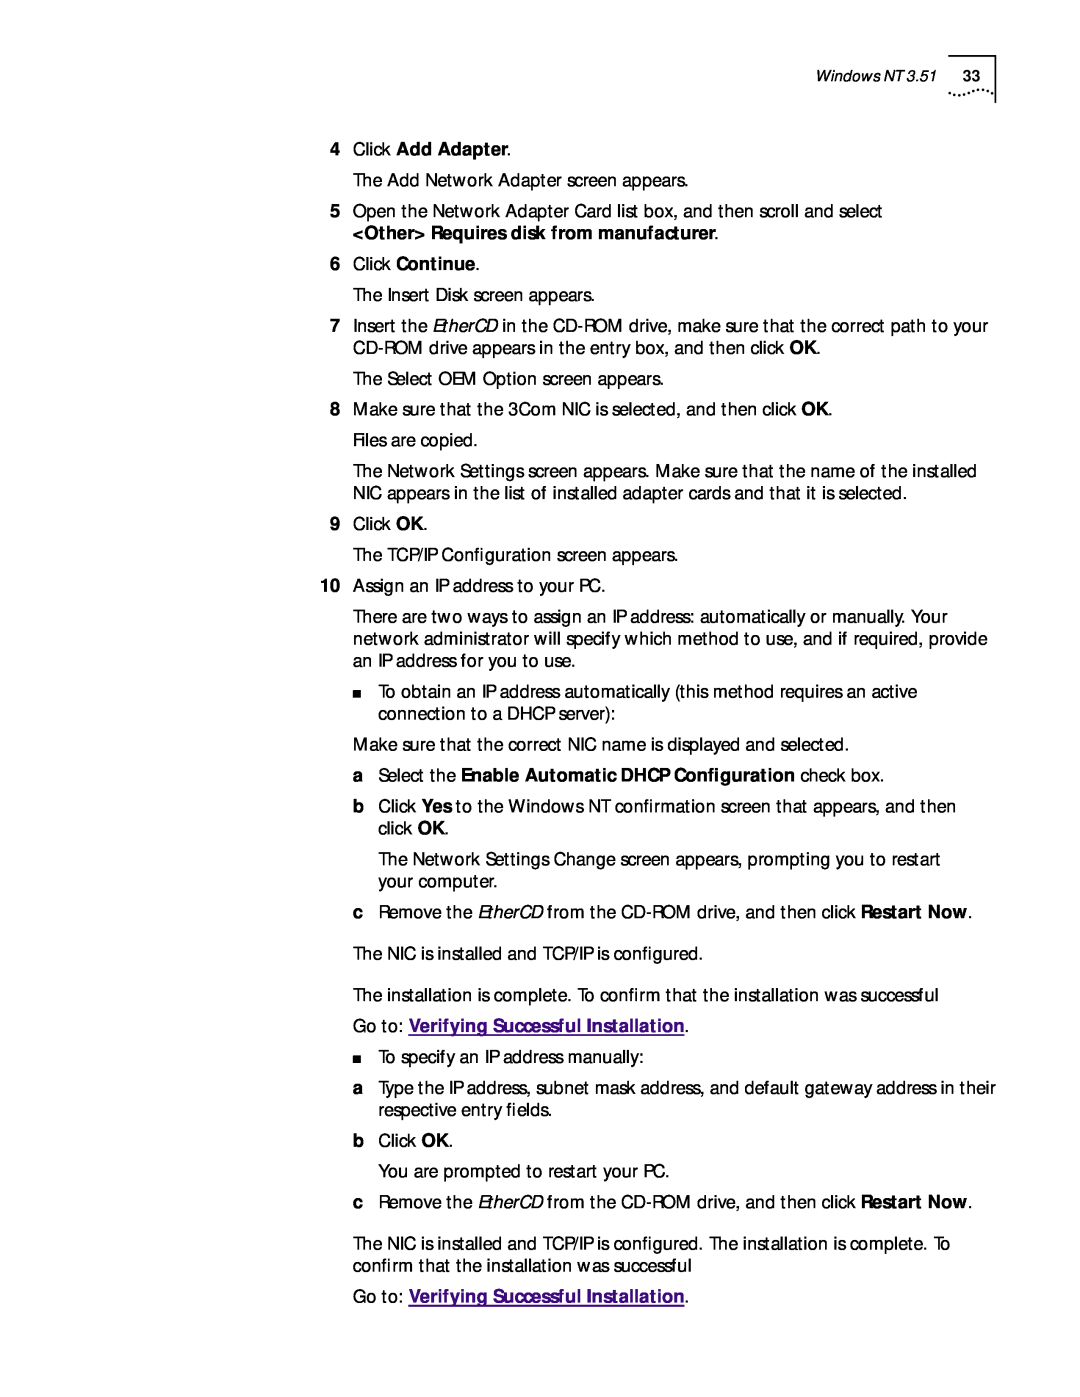
a Select the Enable Automatic DHCP Configuration check box
4 Click Add Adapter
6 Click Continue
Installation
Verifying Successful
34 CHAPTER 4 WINDOWS DRIVERS
5 Click NIC Installation with Windows 2000, and then Done
Multiple NICs
operating system
36 CHAPTER 4 WINDOWS DRIVERS
Windows 95 and
5 Click Have Disk
Page
NOTE 3CR990 NICs do not support NetWare 3.11 and 4.0x servers
NETWARE DRIVERS
Go to Verifying the PCI Slot Number
4.11, and
a Select Reinitialize System
For NetWare
load c\nwserver\3c99x.lan
Verifying the PCI Slot Number
Overview Creating a Security Policy
IP SECURITY
7 Clear the Activate the default response rule check box
5 Select IP Security Policy Management, and then click Add
1 In the left pane, click IP Security Policies on Local Machine
Creating a Security Policy
Filter Action
46 CHAPTER 6 IP SECURITY
2 Select Un-assign
8 Click Have Disk
UPGRADING DRIVERS
Go to Windows 98 and Windows
Go to Windows 95 Version A Build
7 Click Have Disk
6 Click Close
Windows NT 4.0
50 CHAPTER 7 UPGRADING DRIVERS
6 Click Restart Now
CONFIGURATION
Provides the ability to boot a PC
100BASE-TX 100 Mb/s
Go to Making a DOS-Bootable Diskette
If you do not have a DOS-bootable diskette
3Com DOS
Configuration
Diagnostics Program
Diagnostics Program
3Com NIC
Go to To Run the Network Test
5 Repeat the process for each setting that you want to change
Accessing the
TROUBLESHOOTING
Troubleshooting
the Installation
Programs
Running Diagnostics
Go to 10BASE-T Description Go to 100BASE-TX Description
Go to Technical Support
4 Click 3Com NIC Doctor
For more information about how to make a DOS-bootable diskette
General Tab
Configuration Tab
Diagnostics Tab
Diagnostics Tests
Flash Update Tab
Accessing the 3Com
To run the NIC test, Network test, or Remote Wake-Up test
2 Click Perform NIC Test
Support Services
Accessing 3Com
Go to Troubleshooting Remote Wake-Up
Go to 3Com NIC Diagnostics Program
3Com Tray Icon
Remote Wake-Up
connection between the NIC and the network
Troubleshooting a
Network Connection
NOTE For more information on PCI specifications and Remote Wake-Up
2 Connect a straight-through cable from the PC to the hub
NIC Specifications
SPECIFICATIONS
PCI Local Bus Specification, Revision
Hardware
Network
Connection Criteria
Network Cable
Assignments
1 TD+ 2 TD 3 RD+ 6 RD
1 2 3 4 5 6 7
Flow Control
Pause Frames
Link Negotiation
TECHNICAL SUPPORT
Services
Register this Product
Online Technical
1 847
1 408 727
day, 7 days a week
Support from 3Com
Country
Telephone Number
To obtain an RMA number, call or fax
SUPPORTED DRIVERS
over-the-network installations
Additional Drivers
NOTE DOS drivers are not supported for 3CR990 NICs. However, they are
Page
UNINSTALLING NIC SOFTWARE
Windows 98 and
or Windows
76 APPENDIX D UNINSTALLING NIC SOFTWARE
the Boot ROM Setting
MBA BOOT ROM
Booting with the
MBA Boot ROM
Non-BBS
MBA boot ROM, see the documentation that came with MBA on the EtherCD
DynamicAccess
DYNAMICACCESS TECHNOLOGY
Features
Failure to install the patch will result in system failure
Technology
Installing
you install the NIC software
To install DynamicAccess technology
NOTE You must restart your PC to complete the installation
Configuring
management tools for an Ethernet network
1 Double-click the Add/Remove Programs icon in the Control Panel
Removing
2 Select the DAPassThru Driver Transport protocol
Page
Numbers
INDEX
uninstalling NIC software 76 unshielded twisted pair UTP
WARRANTY AND REGULATORY COMPLIANCE INFORMATION
3Com Corporation Limited Warranty
YEAR 2000 WARRANTY
OBTAINING WARRANTY SERVICE
LIMITATION OF LIABILITY
Regulatory Compliance Information
DISCLAIMER
GOVERNING LAW
INDUSTRY CANADA CLASS B
3COM END USER SOFTWARE IMPORTANT Read Before Using This Product
EMISSION COMPLIANCE
STATEMENT
Santa Clara, CA 95052-8145 408
3Com Corporation 5400 Bayfront Plaza P.O. Box