22CHAPTER 2: INSTALLING THE SWITCH
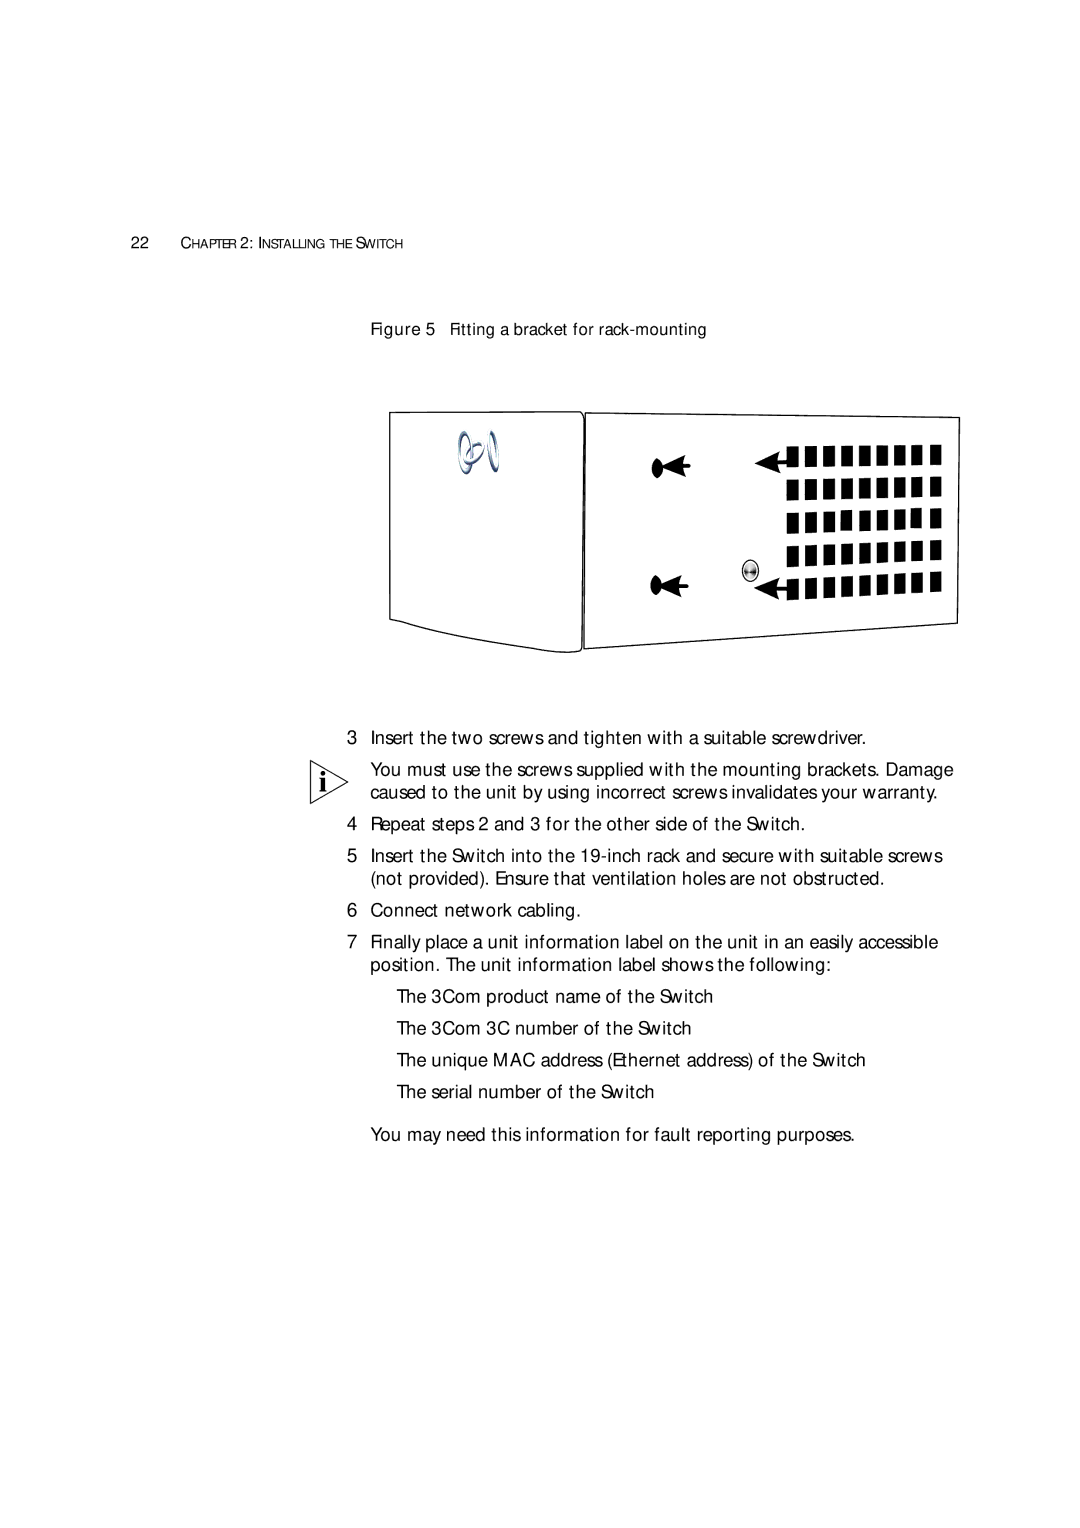
Figure 5 Fitting a bracket for rack-mounting
3Insert the two screws and tighten with a suitable screwdriver.
You must use the screws supplied with the mounting brackets. Damage caused to the unit by using incorrect screws invalidates your warranty.
4Repeat steps 2 and 3 for the other side of the Switch.
5Insert the Switch into the
6Connect network cabling.
7Finally place a unit information label on the unit in an easily accessible position. The unit information label shows the following:
■The 3Com product name of the Switch
■The 3Com 3C number of the Switch
■The unique MAC address (Ethernet address) of the Switch
■The serial number of the Switch
You may need this information for fault reporting purposes.