USER INSTRUCTIONS
LIGHTING & CONTROLLING THE FIRE
Under no circumstances must the stove be operated if the glass is cracked or broken.
It is recommended that if the property is occupied the pilot be left on permanently. This will keep the stove and its components, including the ceramic coal / log set in a warmer state and assist the light- ing of the burner. This in turn will reduce the chance of condensation and any associated prob- lems.
If the property is left unoccupied for a long period of time the pilot must be switched off.
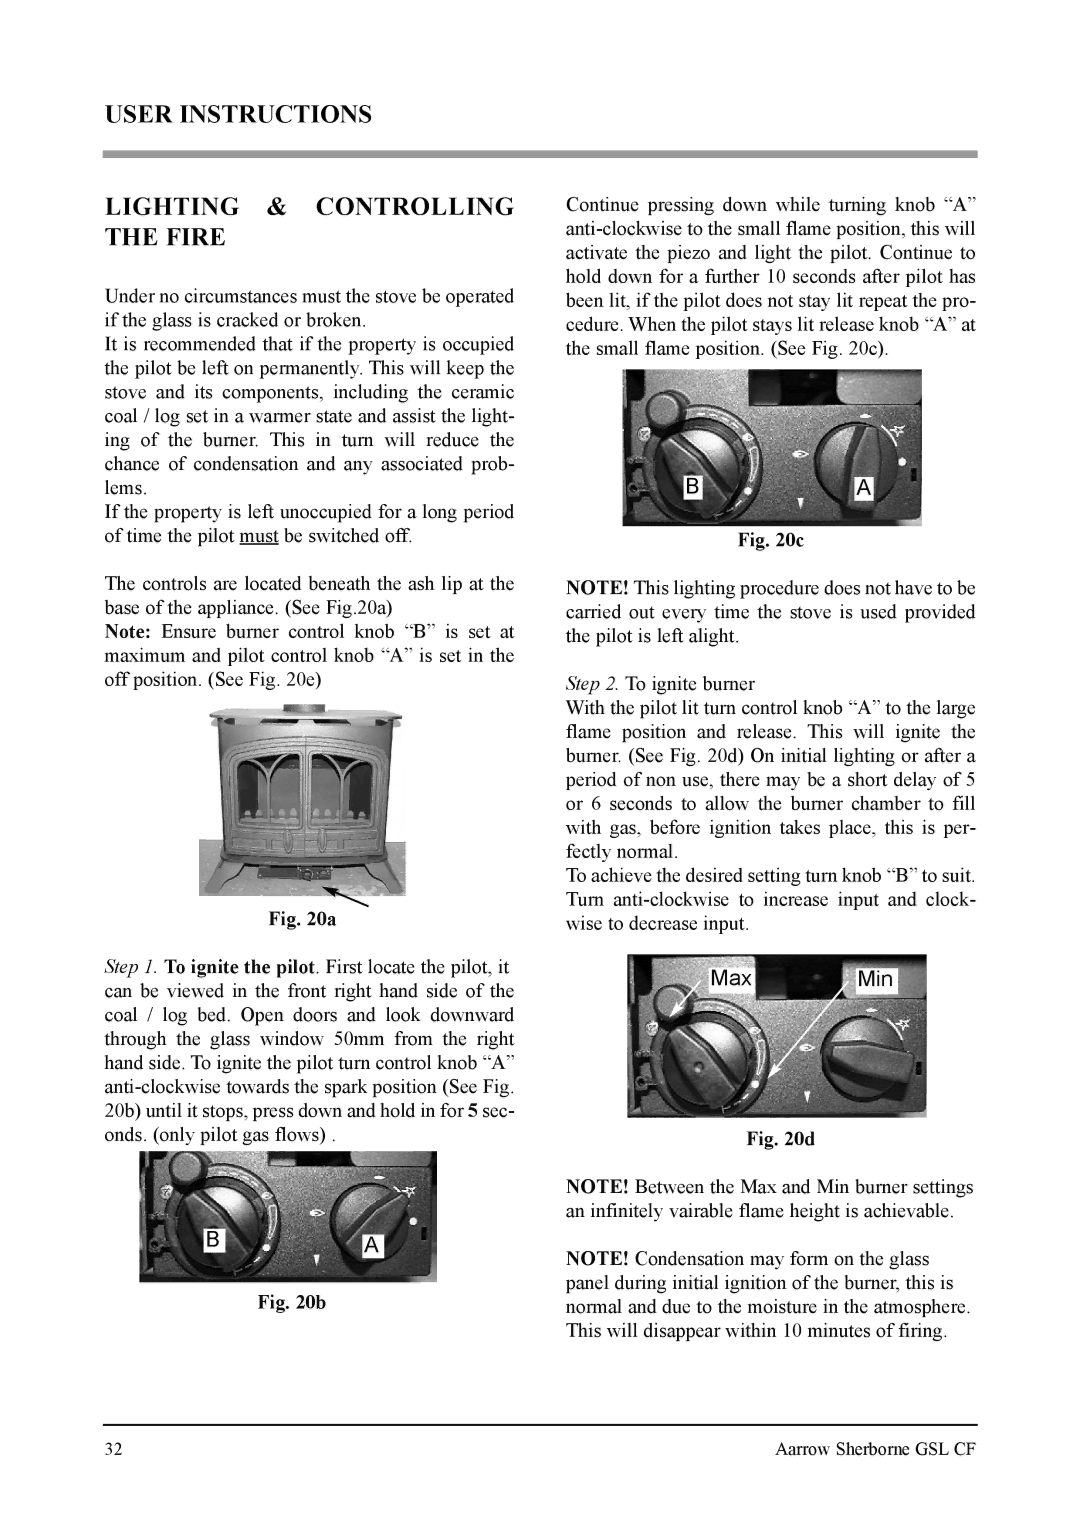
The controls are located beneath the ash lip at the base of the appliance. (See Fig.20a)
Note: Ensure burner control knob “B” is set at maximum and pilot control knob “A” is set in the off position. (See Fig. 20e)
Fig. 20a
Step 1. To ignite the pilot. First locate the pilot, it can be viewed in the front right hand side of the coal / log bed. Open doors and look downward through the glass window 50mm from the right hand side. To ignite the pilot turn control knob “A”
BA
Fig. 20b
Continue pressing down while turning knob “A”
BA
Fig. 20c
NOTE! This lighting procedure does not have to be carried out every time the stove is used provided the pilot is left alight.
Step 2. To ignite burner
With the pilot lit turn control knob “A” to the large flame position and release. This will ignite the burner. (See Fig. 20d) On initial lighting or after a period of non use, there may be a short delay of 5 or 6 seconds to allow the burner chamber to fill with gas, before ignition takes place, this is per- fectly normal.
To achieve the desired setting turn knob “B” to suit. Turn
Max Min
Fig. 20d
NOTE! Between the Max and Min burner settings an infinitely vairable flame height is achievable.
NOTE! Condensation may form on the glass panel during initial ignition of the burner, this is normal and due to the moisture in the atmosphere. This will disappear within 10 minutes of firing.
32 | Aarrow Sherborne GSL CF |