The track order information in the original CD will be copied as the index marks.
To record on a previously recorded MD
If there is an unrecorded section left of the MD, the new recording automatically starts from where the previous recording finished. If you want to start recording from the beginning of a previously recorded MD, erase the previous recording completely. (See page 28.)
RECORDING ONLY ONE TRACK OF A
CD
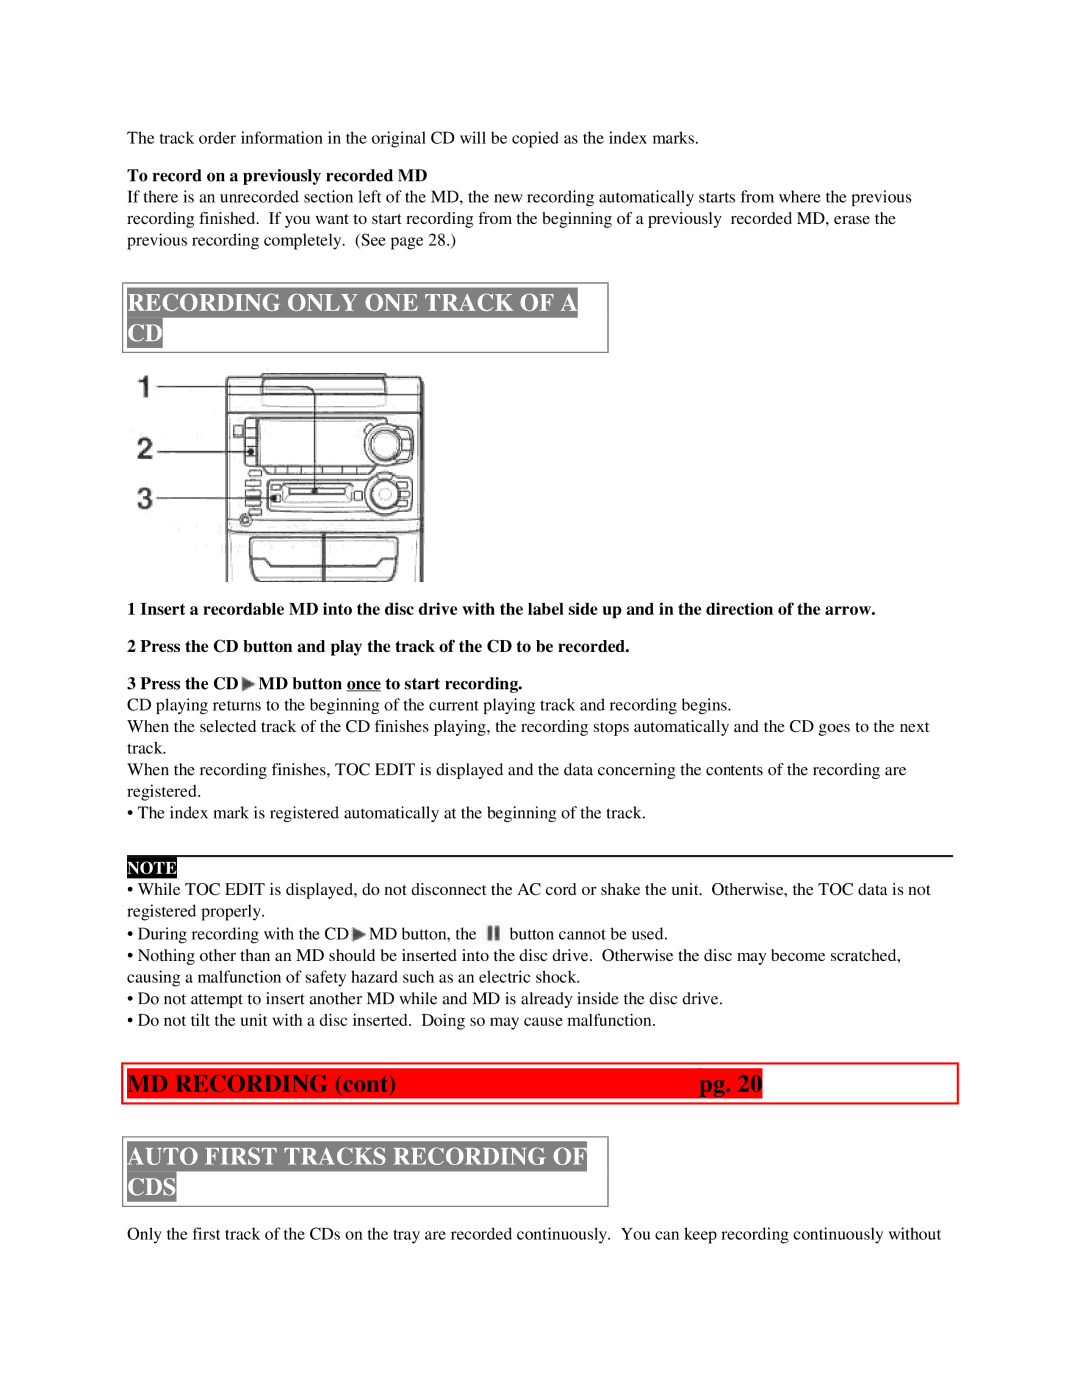
1 Insert a recordable MD into the disc drive with the label side up and in the direction of the arrow. 2 Press the CD button and play the track of the CD to be recorded.
3 Press the CD![]() MD button once to start recording.
MD button once to start recording.
CD playing returns to the beginning of the current playing track and recording begins.
When the selected track of the CD finishes playing, the recording stops automatically and the CD goes to the next track.
When the recording finishes, TOC EDIT is displayed and the data concerning the contents of the recording are registered.
• The index mark is registered automatically at the beginning of the track.
NOTE
•While TOC EDIT is displayed, do not disconnect the AC cord or shake the unit. Otherwise, the TOC data is not registered properly.
•D uring recording with the CD![]() MD button, the
MD button, the ![]() button cannot be used.
button cannot be used.
•Nothing other than an MD should be inserted into the disc drive. Otherwise the disc may become scratched, causing a malfunction of safety hazard such as an electric shock.
•Do not atte mpt to insert another MD while and MD is already inside the disc drive.
•Do not tilt the unit with a disc inserted. Doing so may cause malfunction.
|
|
|
|
| MD RECORDING (cont) | pg. 20 |
|
|
|
|
|
AUTO FIRST TRACKS RECORDING OF
CDS
Only the first track of the CDs on the tray are recorded continuously. You can keep recording continuously without