NOTE
During random play, the following operations are not possible: - to select the tracks directly with the numbered buttons.
- to skip to the previously played track with the button or the MULTI JOG control.
PROGRAMMED PLAY
Up to 30 tracks can be programmed from the inserted disc.
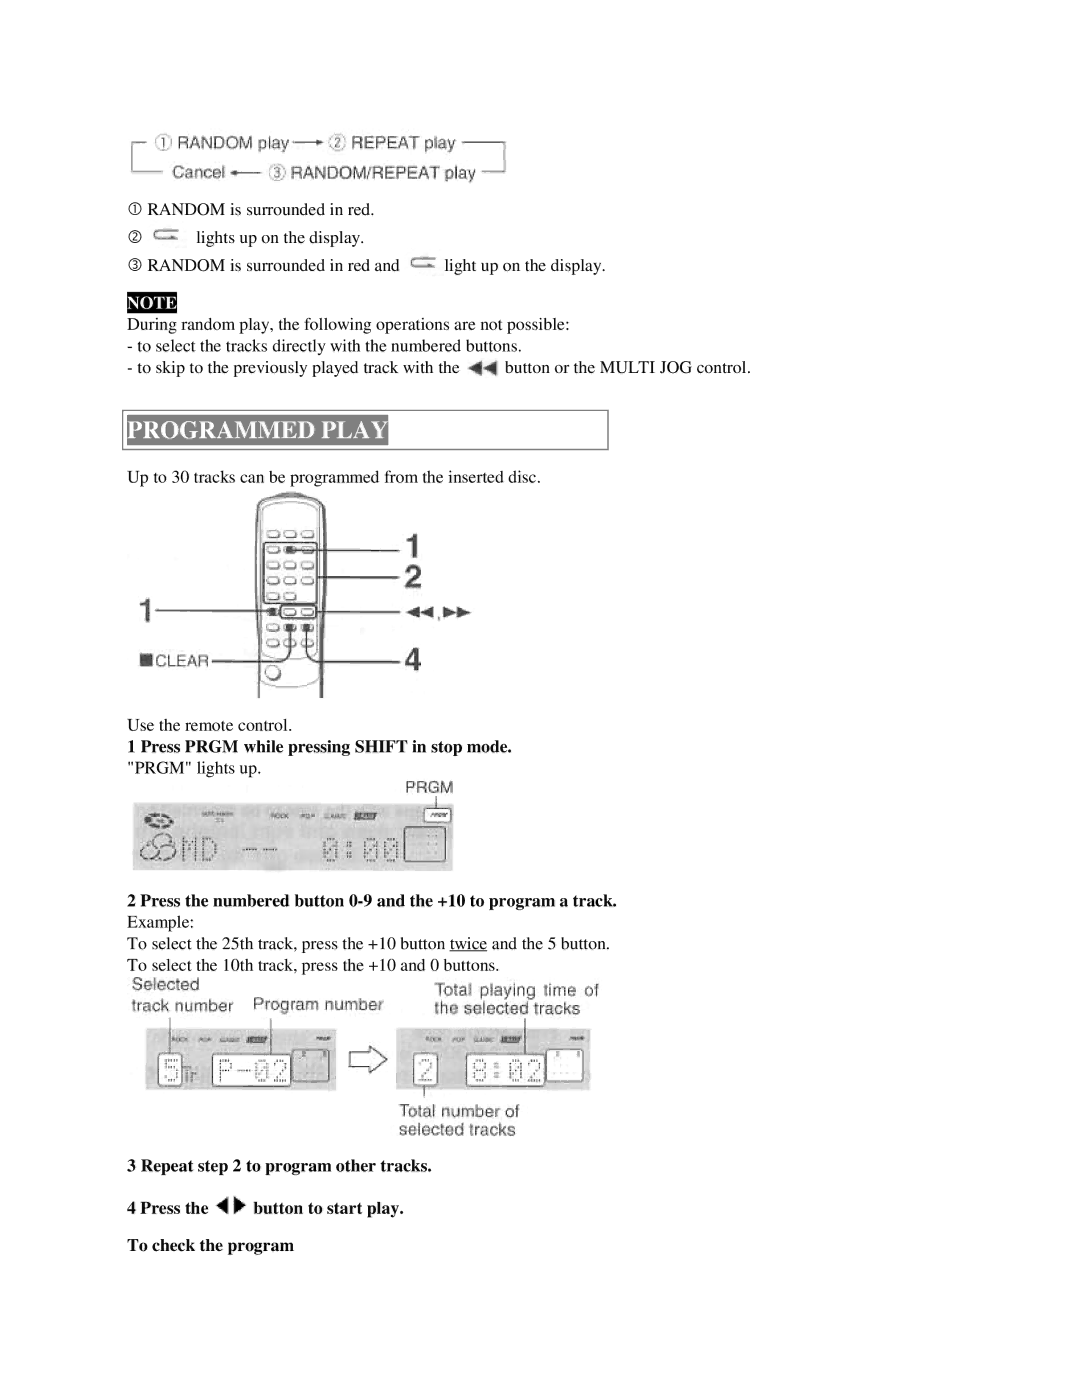
Use the remote control.
1 Press PRGM while pressing SHIFT in stop mode. "PRGM" lights up.
2 Press the numbered button 0-9 and the +10 to program a track. Example:
To select the 25th track, press the +10 button twice and the 5 button. To select the 10th track, press the +10 and 0 buttons.
3 Repeat step 2 to program other tracks.
4 Press the button to start play. To check the program
RANDOM is surrounded in red and
light up on the display.
dcRANDOM is surrounded in red. e lights up on the display.