LECTURE ALEATOIRE
Toutes I,ss pistes sur Ie disque peuvent &re Iues de fagon
aleatoira.
A,ppuyez sur la touche RANDOM tout en appuyant
.eur la Itouchr? SHIFT sur la telecommande.
“RANDCIM” est alors affiche.
Pour annuler la lecture aleatoire, repetez la m6me operation.
●M6me en appuyant sur la touche +< ou en tournant Ie cadran MULTI JOG, il ne vous est pas possible de sauter une piste
que vcws avez ecoutee precedemment, L’appareil retourne uniquement au debut de la piste en tours de lecture.
●Si vous selectionnez une piste avec Ies touches numeriques
de la telecommande, la lecture de la piste selectionnee commence et Ie mode lecture aleatoire est annule.
LECTURE REPETEE
IIest possible d’ecouter a plusieurs reprises une piste individuelle ou toutes Ies pistes.
Tout en appuyant sur la touche SHIFT, appuyez a
plusieurs reprises sur la touche REPEAT sur la t~l~cojrnmande.
‘%1” s’i~llume quand la lecture repetee d’une seule piste est
sdectionnee et
C:” s’allume quand la lecture repetee de toutes Ies pistes est sdectiormee.
Pour annuler la lecture repetee, appuyez de nouveau sur Ies touches susmentionnees.
Pour re!peter la lecture aleatoire
Appuyez tout d’abord sur la touche RANDOM tout en appuyant
wla tol.lche SHIFT sur la telecommande afin d’activer la lecture aleatoire.
Puis appuyez sur la touche REPEAT tout en appuyant sur la
tcmche SHIFT sur la telecommande de fa~on a ce que “G” s’allume.
L.ECTIJRE PROGRAMMED
IIest pcwsible de programmer jusqu’a 30 pistes sur Ie disque irlsere.
1
2
1B
4
9
Utilisez la telecommande
1 Appuyez sur la touche PRGM tout en appuyant sur la touche SHIFT clans Ie mode d’arri%
“PRGM” clignote alors sur I’affichage.
Si vous appuyez sur la touche E avant d’aller au point 2, Ie
mode de programmation s’annulera et la lecture de la premiere piste du CD commencera.
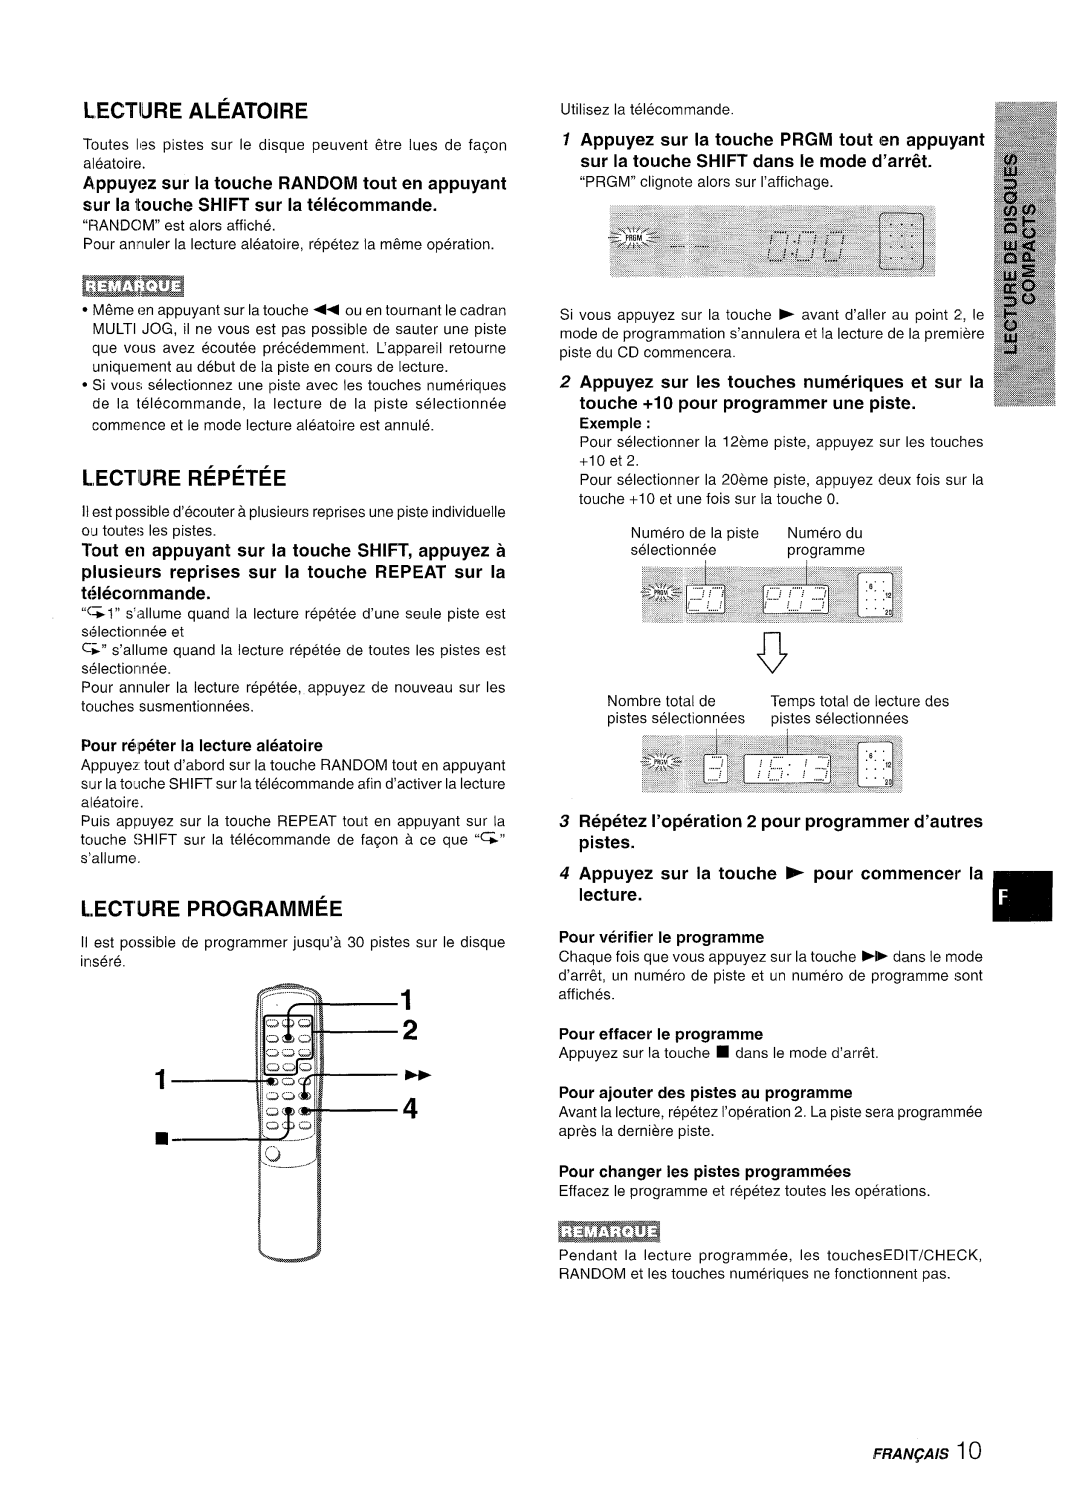
2 Appuyez sur Ies touches numeriques et sur la
touche +10 pour programmer une piste. Exemple :
Pour selectionner la 12eme piste, appuyez sur Ies touches
+lOet 2,
Pour selectionner la 20eme piste, appuyez deux fois sur la touche +1 O et une fois sur la touche O.
Numero de la piste Numero du
selectionneeprogramme
Nombre | total de | Temps | total de lecture des |
pistes | selectionnees | pistes | selectionnees |
3 Repetez I’operation 2 pour programmer d’autres pistes.
4 Appuyez sur la touche ~ pour commencer la lecture.
Pour verifier Ie programme
Chaque fois que vous appuyez sur la touche ➤b clansIe mode d’arr6t, un numero de piste et un numero de programme sent
affiches.
Pour effacer Ie programme
Appuyez sur la touche ■ clans Ie mode d’arr6t
Pour ajouter des pistes au programme
Avant la lecture, repetez I’operation2. La piste sera programmed apres la derniere piste.
Pour changer Ies pistes programmers
Effacez Ie programme et repetez toutes Ies operations.
~
Pendant la lecture programmed, Ies touchesEDIT/CHECK, RANDOM et Ies touches numeriques ne fonctionnent pas.
FRA/V~A/S 10