Tutorial Guide
The following pages will provide
Creating a One-Line Legend, Component Marker
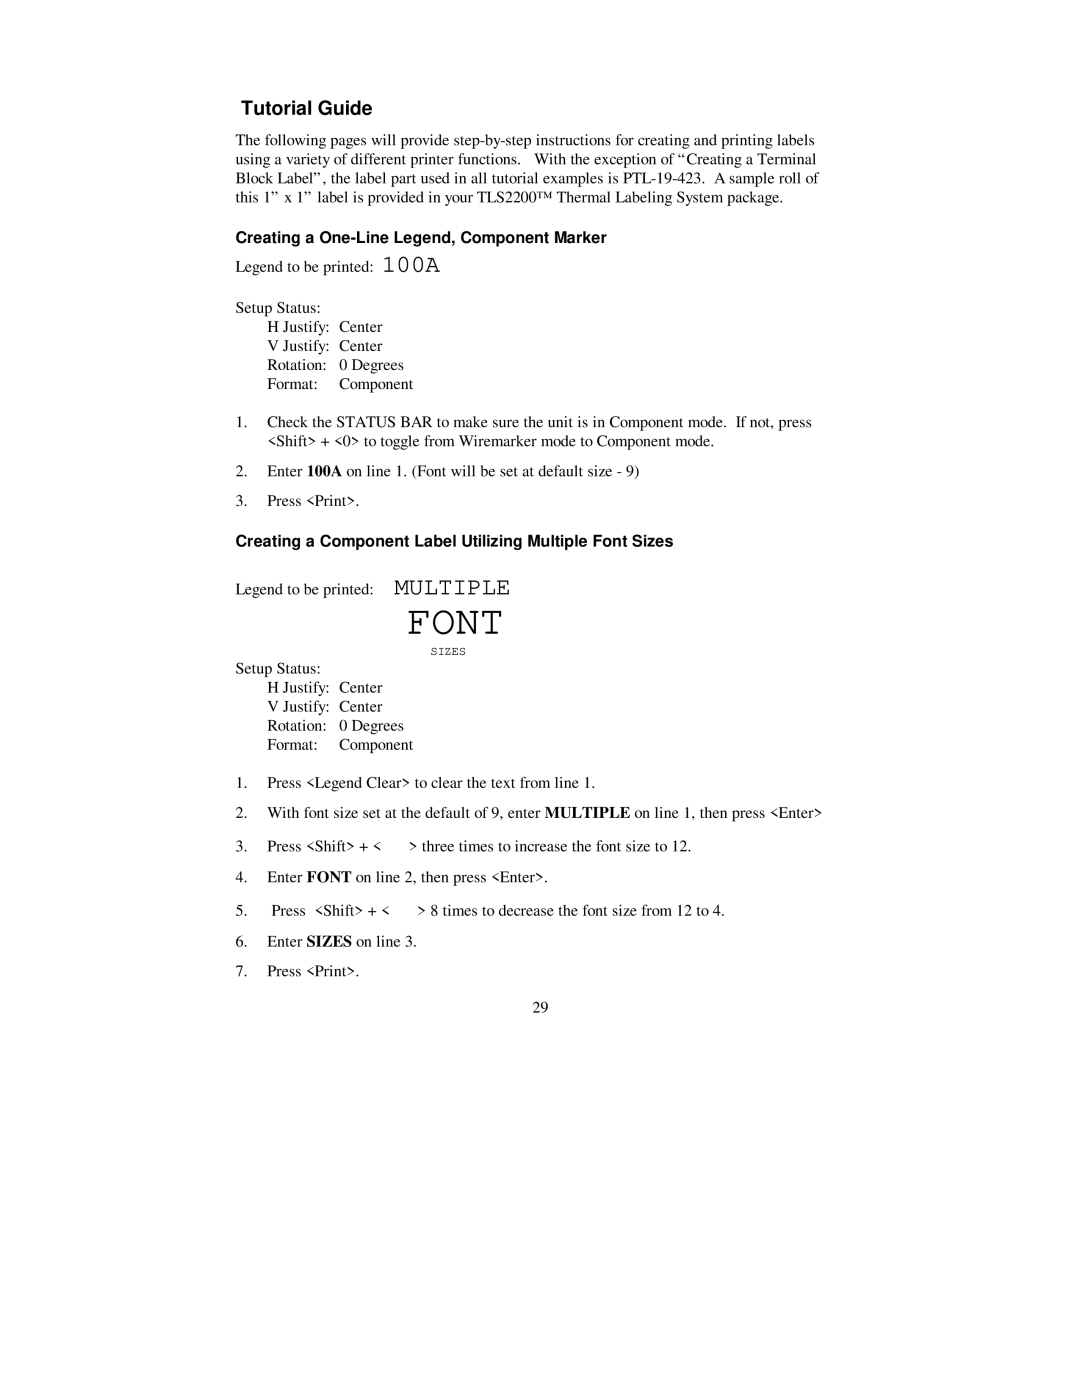
Legend to be printed: 100A
Setup Status:
H Justify: Center
V Justify: Center
Rotation: 0 Degrees
Format: Component
1.Check the STATUS BAR to make sure the unit is in Component mode. If not, press <Shift> + <0> to toggle from Wiremarker mode to Component mode.
2.Enter 100A on line 1. (Font will be set at default size - 9)
3.Press <Print>.
Creating a Component Label Utilizing Multiple Font Sizes
Legend to be printed: MULTIPLE
FONT
SIZES
Setup Status:
H Justify: Center
V Justify: Center
Rotation: 0 Degrees
Format: Component
1.Press <Legend Clear> to clear the text from line 1.
2.With font size set at the default of 9, enter MULTIPLE on line 1, then press <Enter>
3.Press <Shift> + < > > three times to increase the font size to 12.
4.Enter FONT on line 2, then press <Enter>.
5.Press <Shift> + < ? > 8 times to decrease the font size from 12 to 4.
6.Enter SIZES on line 3.
7.Press <Print>.
29
