TM
SLE100 Installation Manual
3 Installation
3.1 Equipment Unpacking
The radio system equipment will arrive in two boxes: one box for the
Unpacked radios can be identified by the color of their labels found on their front faces or inside the unit after removing the plastic back weather cover. The blue color label indicates a high band radio and the red color label indicates a low band radio. See Figure
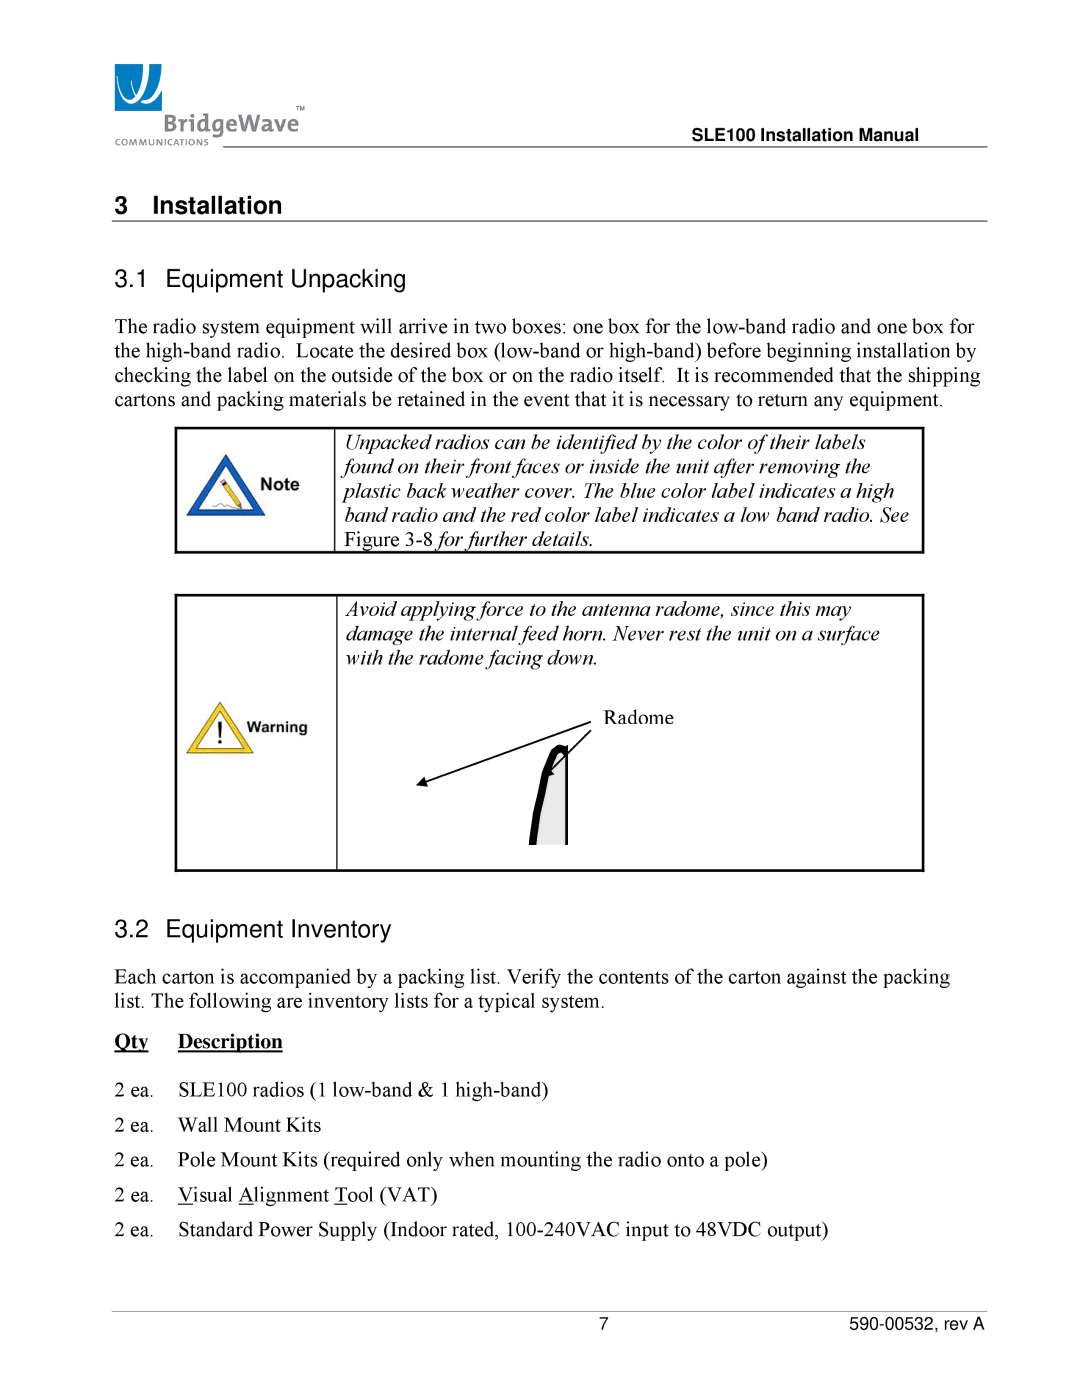
Avoid applying force to the antenna radome, since this may damage the internal feed horn. Never rest the unit on a surface with the radome facing down.
Radome
3.2 Equipment Inventory
Each carton is accompanied by a packing list. Verify the contents of the carton against the packing list. The following are inventory lists for a typical system.
Qty Description
2 ea. SLE100 radios (1
2 ea. Wall Mount Kits
2 ea. Pole Mount Kits (required only when mounting the radio onto a pole)
2 ea. Visual Alignment Tool (VAT)
2 ea. Standard Power Supply (Indoor rated,
7 |