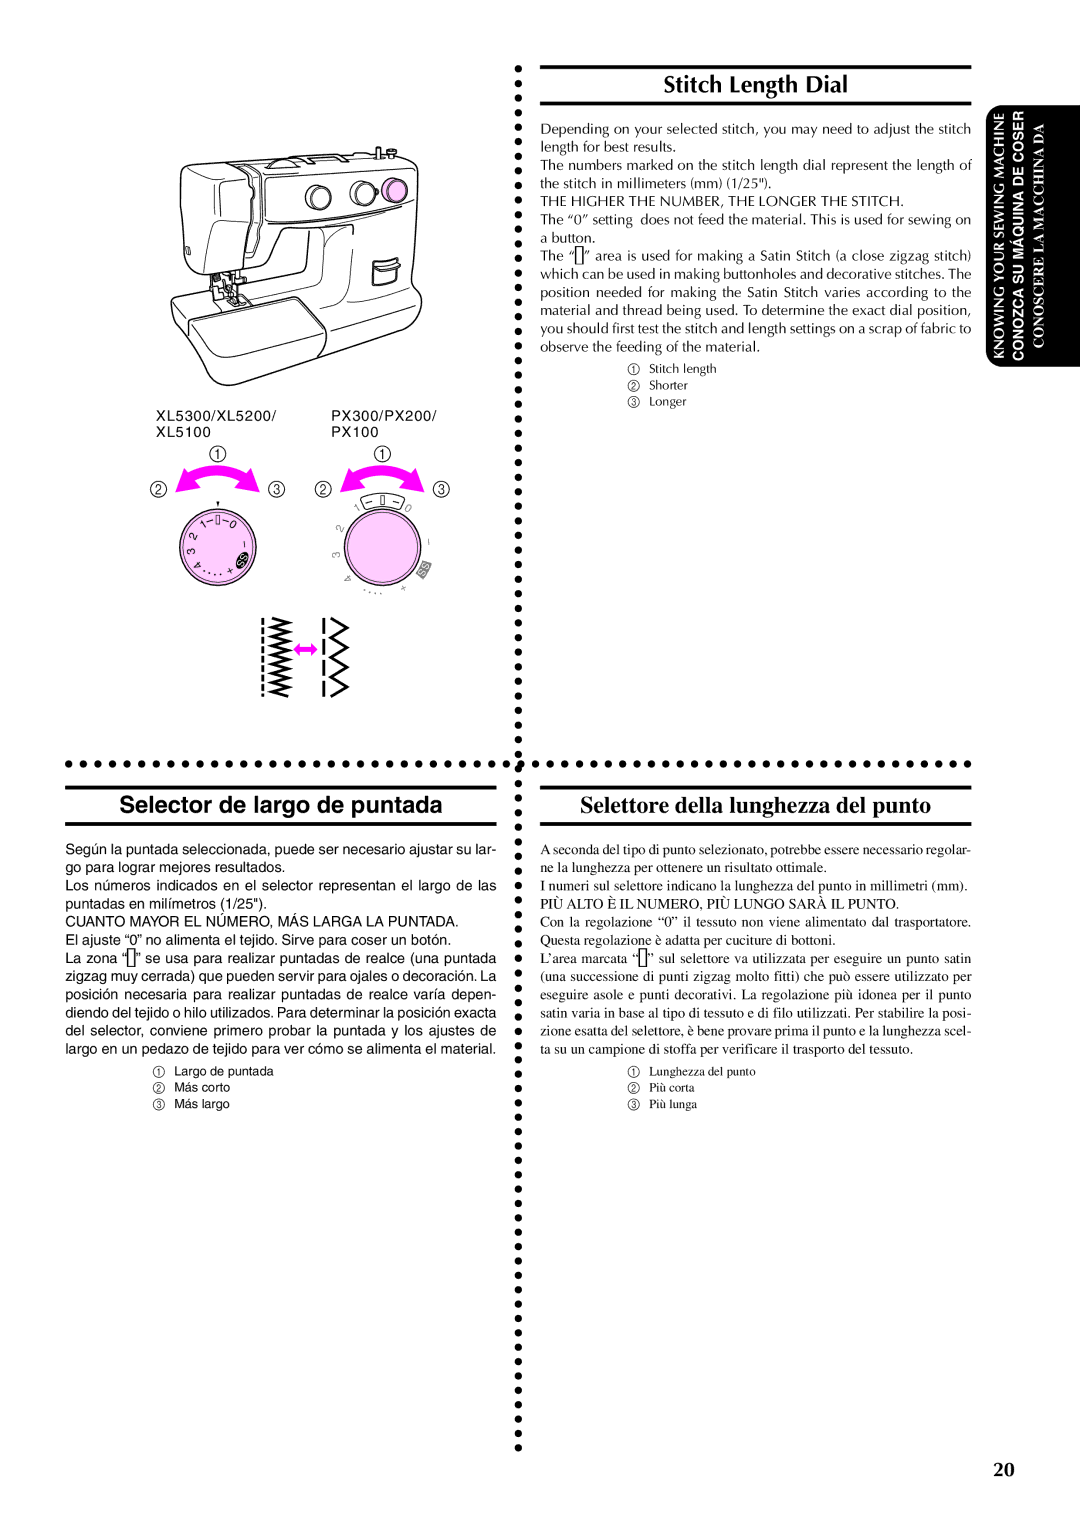
Stitch Length Dial
Depending on your selected stitch, you may need to adjust the stitch length for best results.
The numbers marked on the stitch length dial represent the length of the stitch in millimeters (mm) (1/25").
THE HIGHER THE NUMBER, THE LONGER THE STITCH.
The “0” setting does not feed the material. This is used for sewing on a button.
The “![]()
![]() ” area is used for making a Satin Stitch (a close zigzag stitch) which can be used in making buttonholes and decorative stitches. The position needed for making the Satin Stitch varies according to the material and thread being used. To determine the exact dial position, you should first test the stitch and length settings on a scrap of fabric to observe the feeding of the material.
” area is used for making a Satin Stitch (a close zigzag stitch) which can be used in making buttonholes and decorative stitches. The position needed for making the Satin Stitch varies according to the material and thread being used. To determine the exact dial position, you should first test the stitch and length settings on a scrap of fabric to observe the feeding of the material.
1 Stitch length
2 Shorter
3 Longer
XL5300/XL5200/ | PX300/PX200/ | |||||
XL5100 |
| PX100 |
|
| ||
| 1 |
| 1 |
| ||
2 |
| 3 | 2 |
|
| 3 |
|
|
| 1 |
| 0 |
|
1 |
| 0 | 2 |
|
|
|
2 |
|
|
|
| – | |
| – |
|
|
| ||
3 |
|
|
|
|
| |
| SS | 3 |
|
|
| |
4 |
|
|
| S | ||
|
|
|
|
| ||
• | • • • | + |
|
| S | |
4 |
|
| ||||
|
|
|
| + |
| |
|
|
| • | • • |
| |
|
|
|
| • |
| |
KNOWING YOUR SEWING MACHINE CONOZCA SU MÁQUINA DE COSER CONOSCERE LA MACCHINA DA
Selector de largo de puntada
Según la puntada seleccionada, puede ser necesario ajustar su lar- go para lograr mejores resultados.
Los números indicados en el selector representan el largo de las puntadas en milímetros (1/25").
CUANTO MAYOR EL NÚMERO, MÁS LARGA LA PUNTADA. El ajuste “0” no alimenta el tejido. Sirve para coser un botón.
La zona “![]()
![]() ” se usa para realizar puntadas de realce (una puntada zigzag muy cerrada) que pueden servir para ojales o decoración. La posición necesaria para realizar puntadas de realce varía depen- diendo del tejido o hilo utilizados. Para determinar la posición exacta del selector, conviene primero probar la puntada y los ajustes de largo en un pedazo de tejido para ver cómo se alimenta el material.
” se usa para realizar puntadas de realce (una puntada zigzag muy cerrada) que pueden servir para ojales o decoración. La posición necesaria para realizar puntadas de realce varía depen- diendo del tejido o hilo utilizados. Para determinar la posición exacta del selector, conviene primero probar la puntada y los ajustes de largo en un pedazo de tejido para ver cómo se alimenta el material.
1Largo de puntada
2 Más corto
3 Más largo
Selettore della lunghezza del punto
A seconda del tipo di punto selezionato, potrebbe essere necessario regolar- ne la lunghezza per ottenere un risultato ottimale.
I numeri sul selettore indicano la lunghezza del punto in millimetri (mm).
PIÙ ALTO È IL NUMERO, PIÙ LUNGO SARÀ IL PUNTO.
Con la regolazione “0” il tessuto non viene alimentato dal trasportatore. Questa regolazione è adatta per cuciture di bottoni.
L’area marcata “![]()
![]() ” sul selettore va utilizzata per eseguire un punto satin (una successione di punti zigzag molto fitti) che può essere utilizzato per eseguire asole e punti decorativi. La regolazione più idonea per il punto satin varia in base al tipo di tessuto e di filo utilizzati. Per stabilire la posi- zione esatta del selettore, è bene provare prima il punto e la lunghezza scel- ta su un campione di stoffa per verificare il trasporto del tessuto.
” sul selettore va utilizzata per eseguire un punto satin (una successione di punti zigzag molto fitti) che può essere utilizzato per eseguire asole e punti decorativi. La regolazione più idonea per il punto satin varia in base al tipo di tessuto e di filo utilizzati. Per stabilire la posi- zione esatta del selettore, è bene provare prima il punto e la lunghezza scel- ta su un campione di stoffa per verificare il trasporto del tessuto.
1Lunghezza del punto
2 Più corta
3 Più lunga
20