1
XL5300/XL5200/XL5100
| 2 | 1 | 0 |
| 4 | 3 | 2 | 1 | 5 | 4 |
|
3 |
| R | 5 | L | M | 0 | L | 3 |
| ||
M |
|
| R |
| M2 | ||||||
4 |
|
|
|
|
|
|
|
|
| R | 1 |
5 |
|
|
|
|
|
|
|
| 0 | ||
| L |
|
|
|
|
|
|
|
|
| |
PX300/PX200/PX100
|
|
| M |
|
|
|
|
| M |
|
|
|
|
| M |
|
|
R | 1 | 2 | 3 | 4 | L | R | 1 | 2 | 3 | 4 | L | R | 1 | 2 | 3 | 4 | L |
|
|
|
|
|
| ||||||||||||
0 |
|
|
|
| 5 | 0 |
|
|
|
| 5 | 0 |
|
|
|
| 5 |
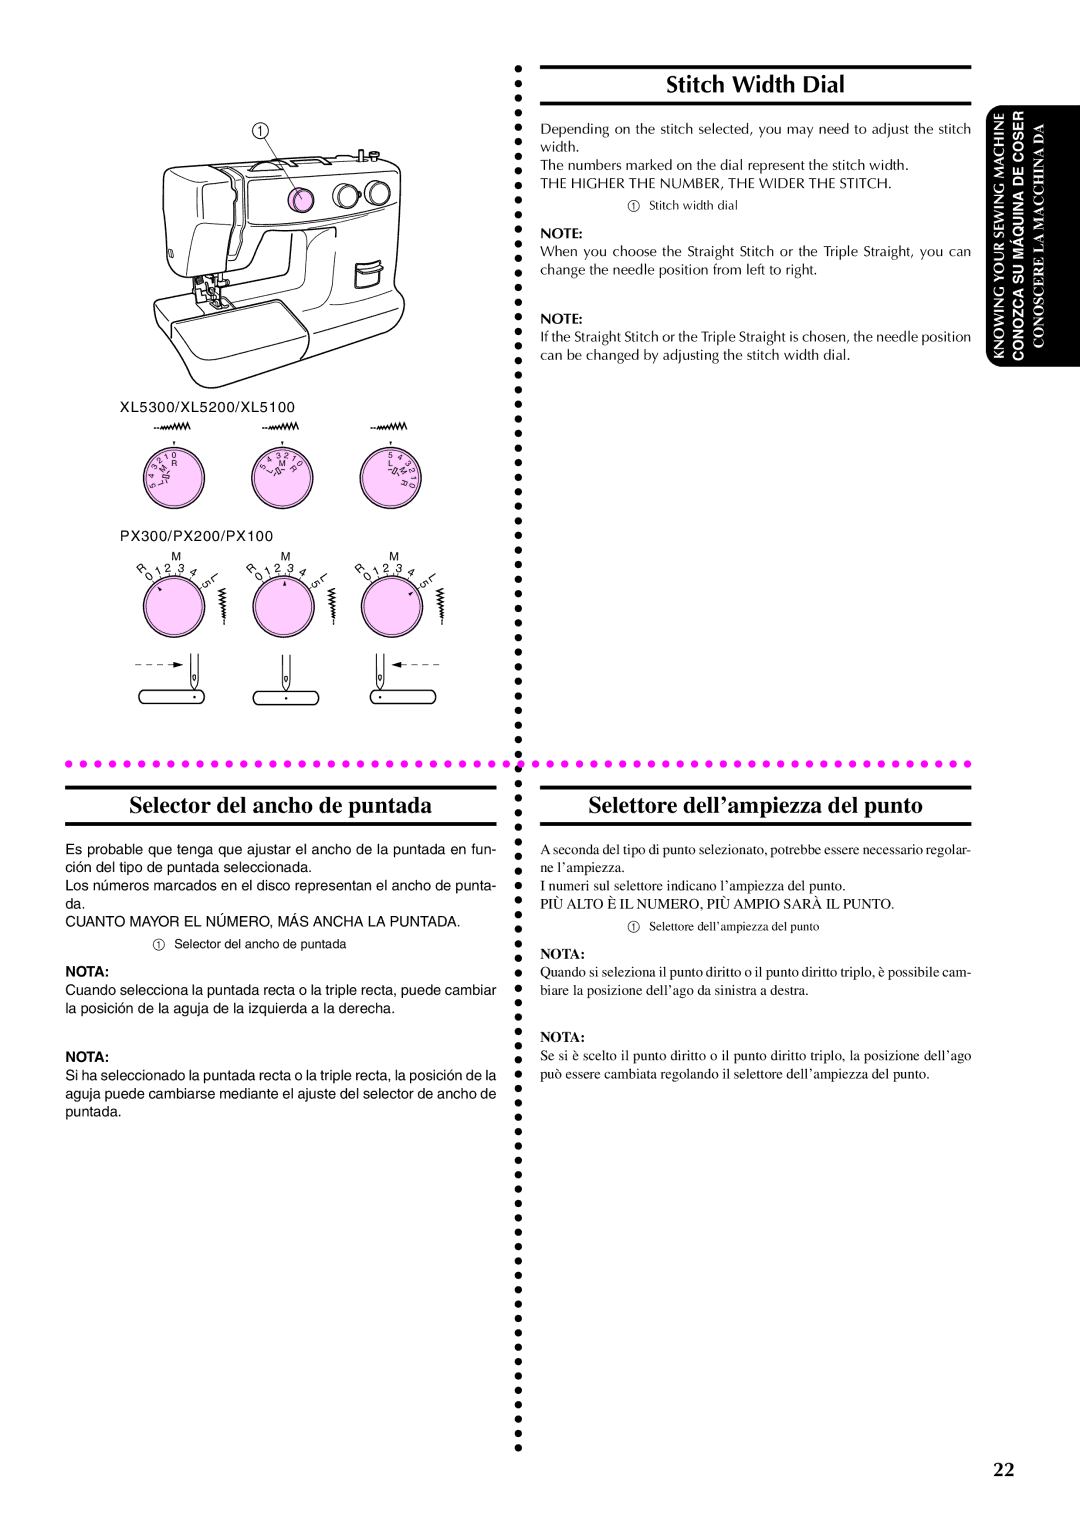
Stitch Width Dial
Depending on the stitch selected, you may need to adjust the stitch width.
The numbers marked on the dial represent the stitch width.
THE HIGHER THE NUMBER, THE WIDER THE STITCH.
1Stitch width dial
NOTE:
When you choose the Straight Stitch or the Triple Straight, you can change the needle position from left to right.
NOTE:
If the Straight Stitch or the Triple Straight is chosen, the needle position can be changed by adjusting the stitch width dial.
KNOWING YOUR SEWING MACHINE CONOZCA SU MÁQUINA DE COSER CONOSCERE LA MACCHINA DA
Selector del ancho de puntada
Es probable que tenga que ajustar el ancho de la puntada en fun- ción del tipo de puntada seleccionada.
Los números marcados en el disco representan el ancho de punta- da.
CUANTO MAYOR EL NÚMERO, MÁS ANCHA LA PUNTADA.
1Selector del ancho de puntada
NOTA:
Cuando selecciona la puntada recta o la triple recta, puede cambiar la posición de la aguja de la izquierda a la derecha.
NOTA:
Si ha seleccionado la puntada recta o la triple recta, la posición de la aguja puede cambiarse mediante el ajuste del selector de ancho de puntada.
Selettore dell’ampiezza del punto
A seconda del tipo di punto selezionato, potrebbe essere necessario regolar- ne l’ampiezza.
I numeri sul selettore indicano l’ampiezza del punto.
PIÙ ALTO È IL NUMERO, PIÙ AMPIO SARÀ IL PUNTO.
1Selettore dell’ampiezza del punto
NOTA:
Quando si seleziona il punto diritto o il punto diritto triplo, è possibile cam- biare la posizione dell’ago da sinistra a destra.
NOTA:
Se si è scelto il punto diritto o il punto diritto triplo, la posizione dell’ago può essere cambiata regolando il selettore dell’ampiezza del punto.
22