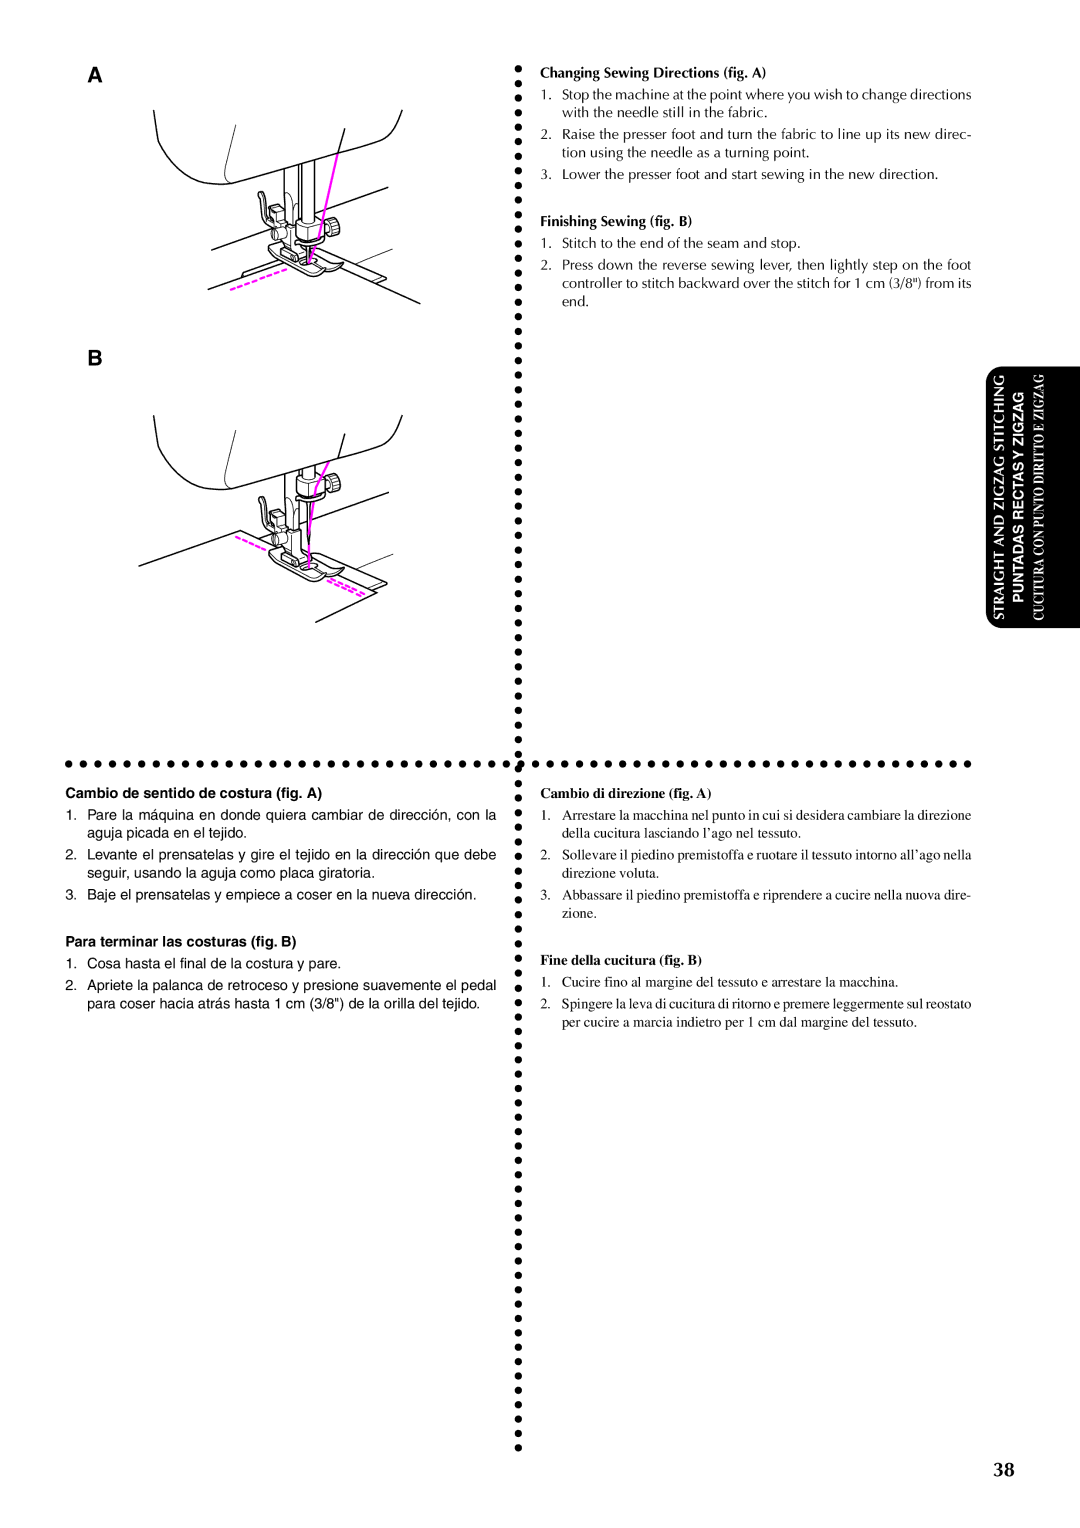
A
B
Cambio de sentido de costura (fig. A)
1.Pare la máquina en donde quiera cambiar de dirección, con la aguja picada en el tejido.
2.Levante el prensatelas y gire el tejido en la dirección que debe seguir, usando la aguja como placa giratoria.
3.Baje el prensatelas y empiece a coser en la nueva dirección.
Para terminar las costuras (fig. B)
1.Cosa hasta el final de la costura y pare.
2.Apriete la palanca de retroceso y presione suavemente el pedal para coser hacia atrás hasta 1 cm (3/8") de la orilla del tejido.
Changing Sewing Directions (fig. A)
1.Stop the machine at the point where you wish to change directions with the needle still in the fabric.
2.Raise the presser foot and turn the fabric to line up its new direc- tion using the needle as a turning point.
3.Lower the presser foot and start sewing in the new direction.
Finishing Sewing (fig. B)
1.Stitch to the end of the seam and stop.
2.Press down the reverse sewing lever, then lightly step on the foot controller to stitch backward over the stitch for 1 cm (3/8") from its end.
STRAIGHTANDZIGZAGSTITCHING PUNTADASRECTASYZIGZAG | CUCITURACONPUNTODIRITTOEZIGZAG |
Cambio di direzione (fig. A)
1.Arrestare la macchina nel punto in cui si desidera cambiare la direzione della cucitura lasciando l’ago nel tessuto.
2.Sollevare il piedino premistoffa e ruotare il tessuto intorno all’ago nella direzione voluta.
3.Abbassare il piedino premistoffa e riprendere a cucire nella nuova dire- zione.
Fine della cucitura (fig. B)
1.Cucire fino al margine del tessuto e arrestare la macchina.
2.Spingere la leva di cucitura di ritorno e premere leggermente sul reostato per cucire a marcia indietro per 1 cm dal margine del tessuto.
38