Chapter 3: Installation
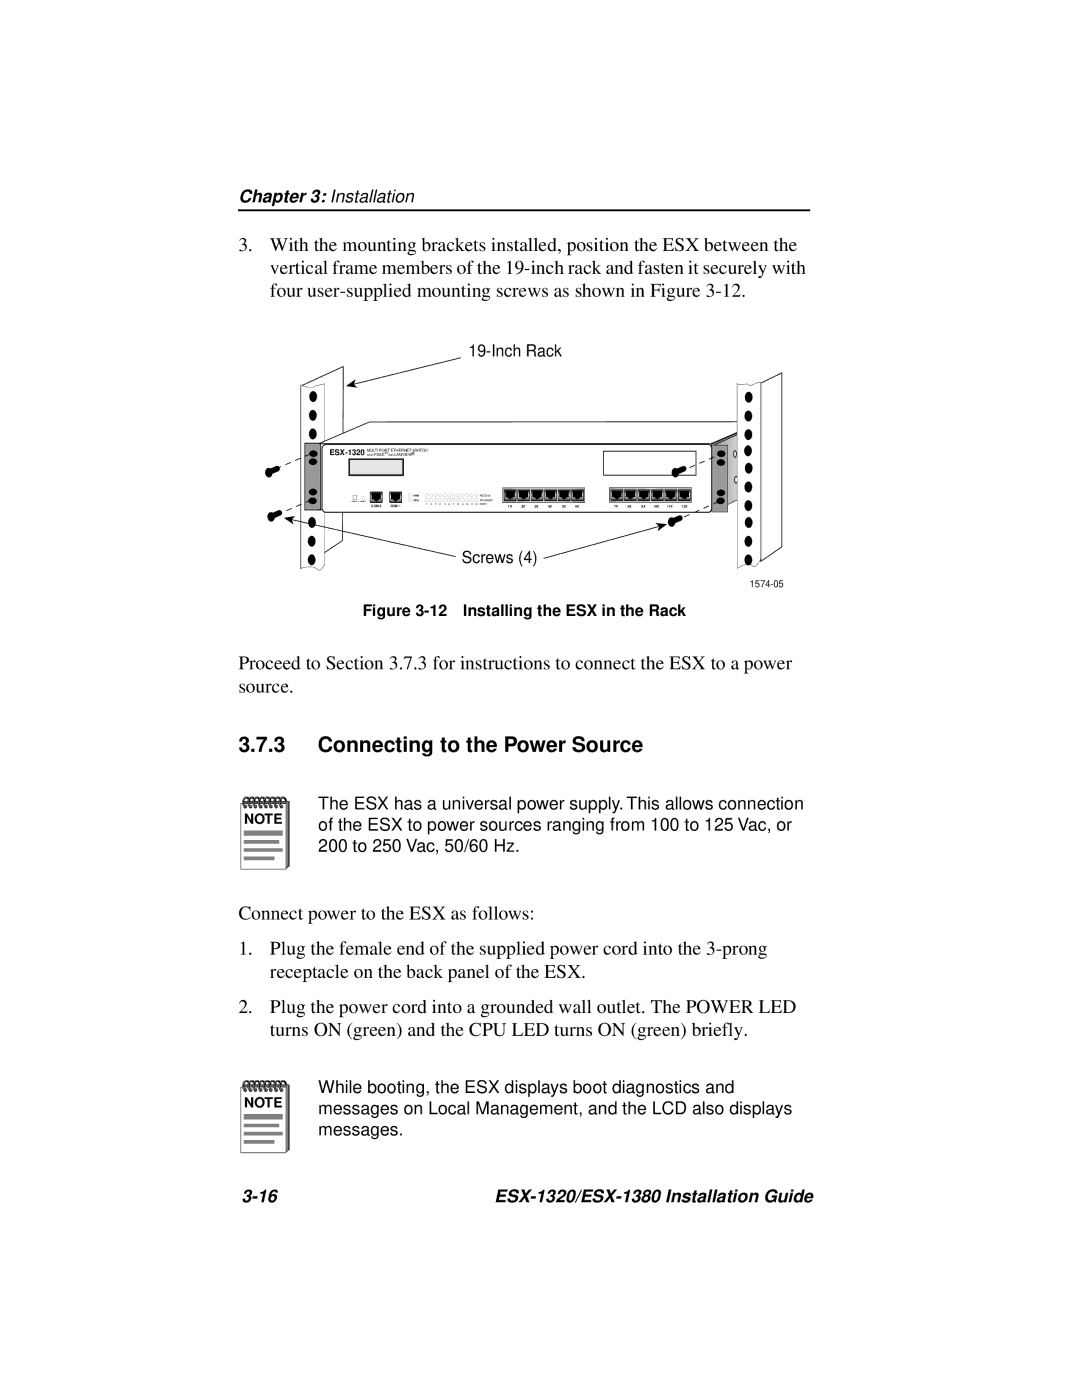
3.With the mounting brackets installed, position the ESX between the vertical frame members of the
19-Inch Rack
MULTI PORT ETHERNET SWITCH |
|
|
|
|
|
|
|
|
|
|
|
|
|
|
|
|
|
|
|
|
|
|
| ||
|
|
|
|
|
|
|
|
|
|
|
|
|
|
|
|
|
|
|
|
|
|
|
| ||
| PWR |
|
|
|
|
|
|
|
|
|
|
|
| RECEIVE |
|
|
|
|
|
|
|
|
|
|
|
| CPU |
|
|
|
|
|
|
|
|
|
|
|
| TRANSMIT |
|
|
|
|
|
|
|
|
|
|
|
COM 2 | COM 1 | 1 | 2 | 3 | 4 | 5 | 6 | 7 | 8 | 9 | 10 | 11 | 12 | PORT | 2X | 3X | 4X | 5X | 6X | 7X | 8X | 9X | 10X | 11X | 12X |
|
|
|
|
|
|
|
|
|
|
|
| 1X | |||||||||||||
Screws (4) 
Figure 3-12 Installing the ESX in the Rack
Proceed to Section 3.7.3 for instructions to connect the ESX to a power source.
3.7.3Connecting to the Power Source
NOTE |
The ESX has a universal power supply. This allows connection of the ESX to power sources ranging from 100 to 125 Vac, or 200 to 250 Vac, 50/60 Hz.
Connect power to the ESX as follows:
1.Plug the female end of the supplied power cord into the
2.Plug the power cord into a grounded wall outlet. The POWER LED turns ON (green) and the CPU LED turns ON (green) briefly.
NOTE |
While booting, the ESX displays boot diagnostics and messages on Local Management, and the LCD also displays messages.
|