Connecting the AC Adaptor for the
Use the dedicated AC adaptor for the
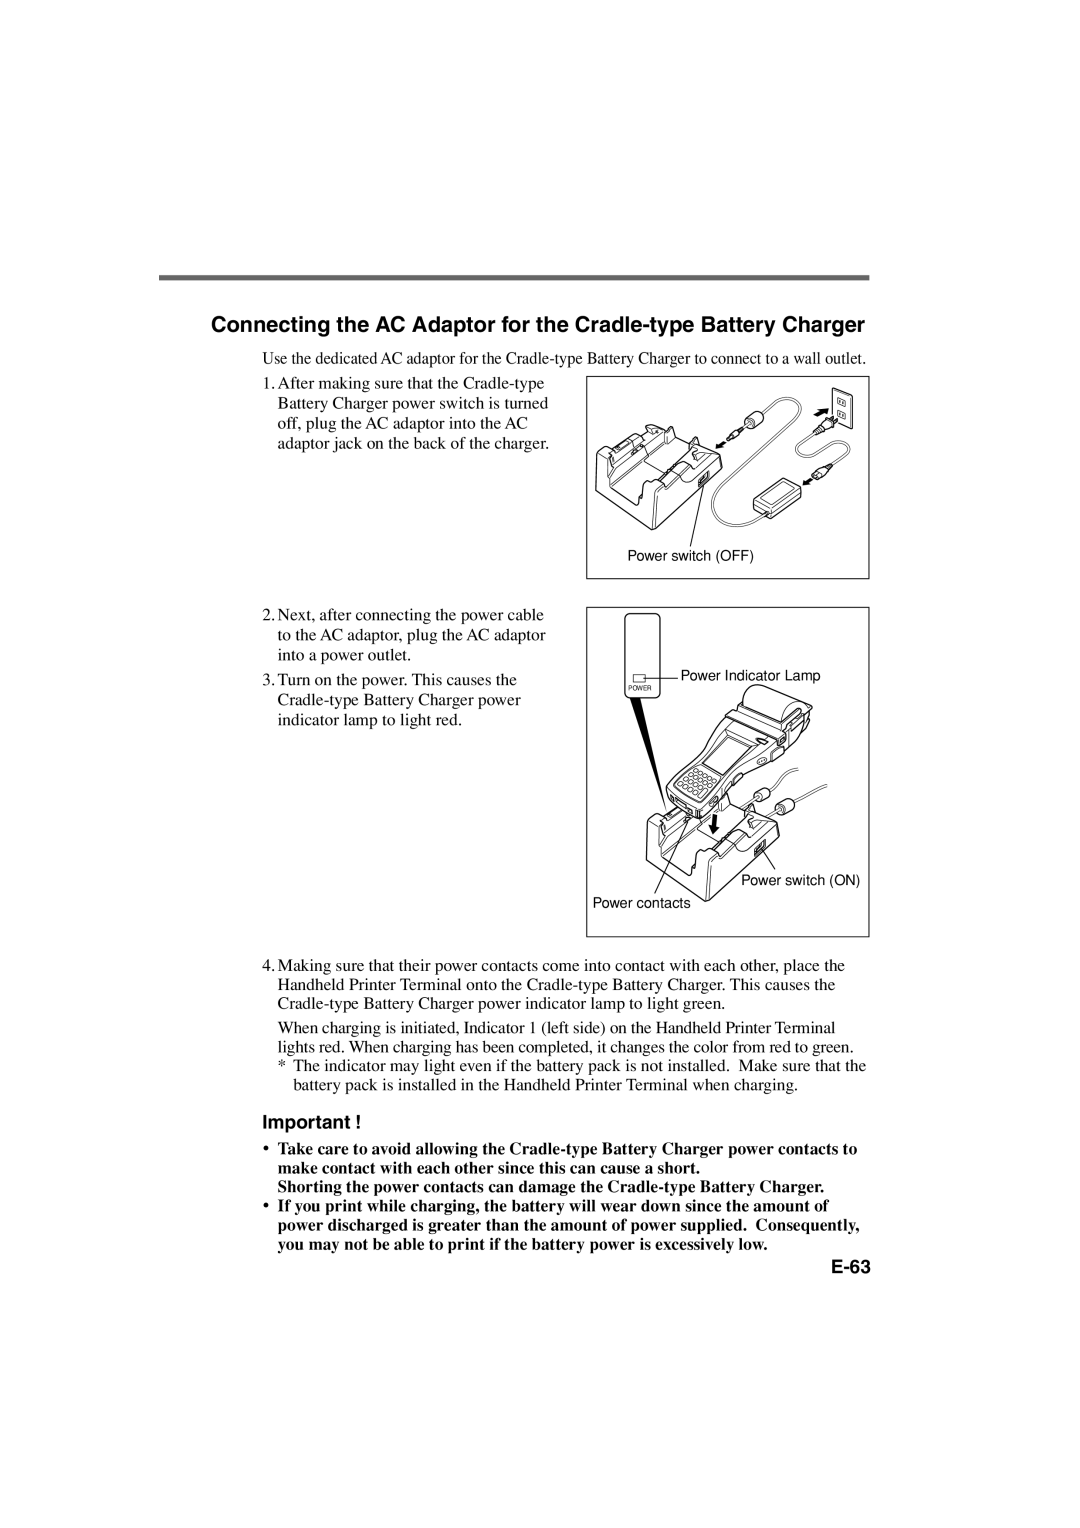
1.After making sure that the
Power switch (OFF) |
2.Next, after connecting the power cable to the AC adaptor, plug the AC adaptor into a power outlet.
3.Turn on the power. This causes the
Power Indicator Lamp
POWER
Power switch (ON)
Power contacts
4.Making sure that their power contacts come into contact with each other, place the Handheld Printer Terminal onto the
When charging is initiated, Indicator 1 (left side) on the Handheld Printer Terminal lights red. When charging has been completed, it changes the color from red to green.
*The indicator may light even if the battery pack is not installed. Make sure that the battery pack is installed in the Handheld Printer Terminal when charging.
Important !
•Take care to avoid allowing the
Shorting the power contacts can damage the
•If you print while charging, the battery will wear down since the amount of power discharged is greater than the amount of power supplied. Consequently, you may not be able to print if the battery power is excessively low.