Removing and Installing the Fan Tray and Power Supplies in a Cisco 3845 Router
Step 3 Use a number 2 Phillips screwdriver to tighten the two captive retention screws, one on each side of the motherboard.
Removing and Installing the Fan Tray and Power Supplies in a Cisco 3845 Router
The Cisco 3845 router accommodates two
Caution To comply with Telcordia NEBS
To remove or install a power supply, you must first remove the fan tray assembly. Follow the same procedure to replace the fan tray assembly with a new one.
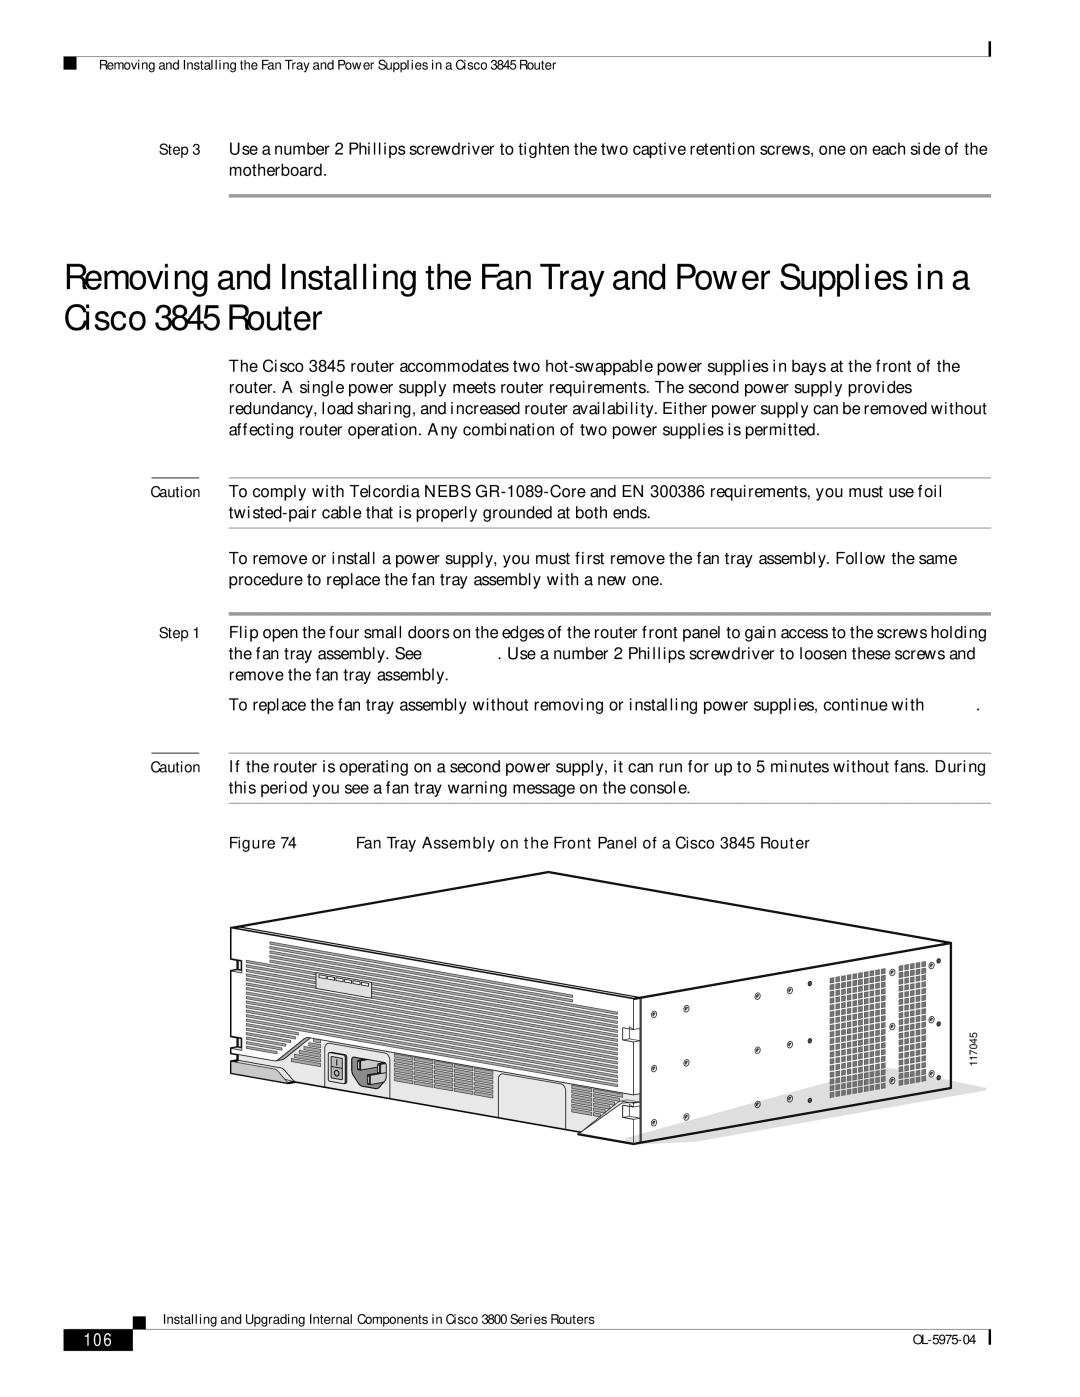
Step 1 Flip open the four small doors on the edges of the router front panel to gain access to the screws holding the fan tray assembly. See Figure 74. Use a number 2 Phillips screwdriver to loosen these screws and remove the fan tray assembly.
To replace the fan tray assembly without removing or installing power supplies, continue with Step 6.
Caution If the router is operating on a second power supply, it can run for up to 5 minutes without fans. During this period you see a fan tray warning message on the console.
Figure 74 Fan Tray Assembly on the Front Panel of a Cisco 3845 Router
117045
Installing and Upgrading Internal Components in Cisco 3800 Series Routers
106 |
|
|
|
