Setting up the Hardware | 2 |
| |
Starting the NSS |
|
|
|
|
|
Starting the NSS
Follow these steps to start the NSS.
STEP 1 Press the Power button on the front of the chassis.
188912
STEP 2 Verify that the Power LED on the front of the NSS chassis turns yellow. If the LED is not yellow, see the ”Power Button LED” section on page 25.
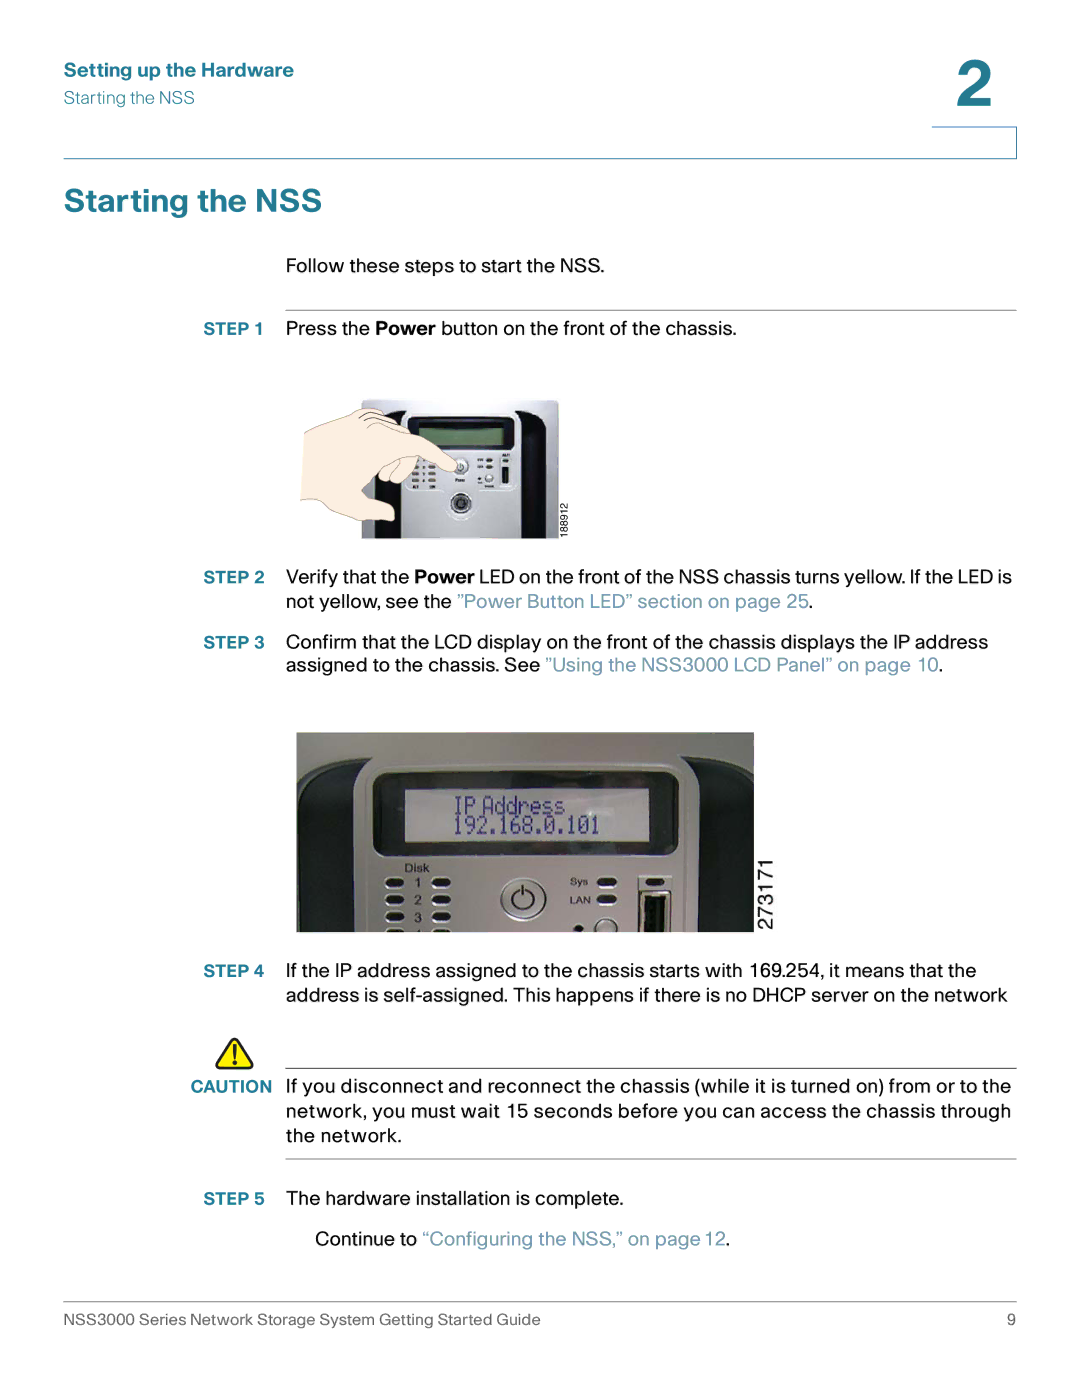
STEP 3 Confirm that the LCD display on the front of the chassis displays the IP address assigned to the chassis. See ”Using the NSS3000 LCD Panel” on page 10.
STEP 4 If the IP address assigned to the chassis starts with 169.254, it means that the address is
!
CAUTION If you disconnect and reconnect the chassis (while it is turned on) from or to the network, you must wait 15 seconds before you can access the chassis through the network.
STEP 5 The hardware installation is complete.
Continue to “Configuring the NSS,” on page12.
NSS3000 Series Network Storage System Getting Started Guide | 9 |
