Installation
Installing the Rails
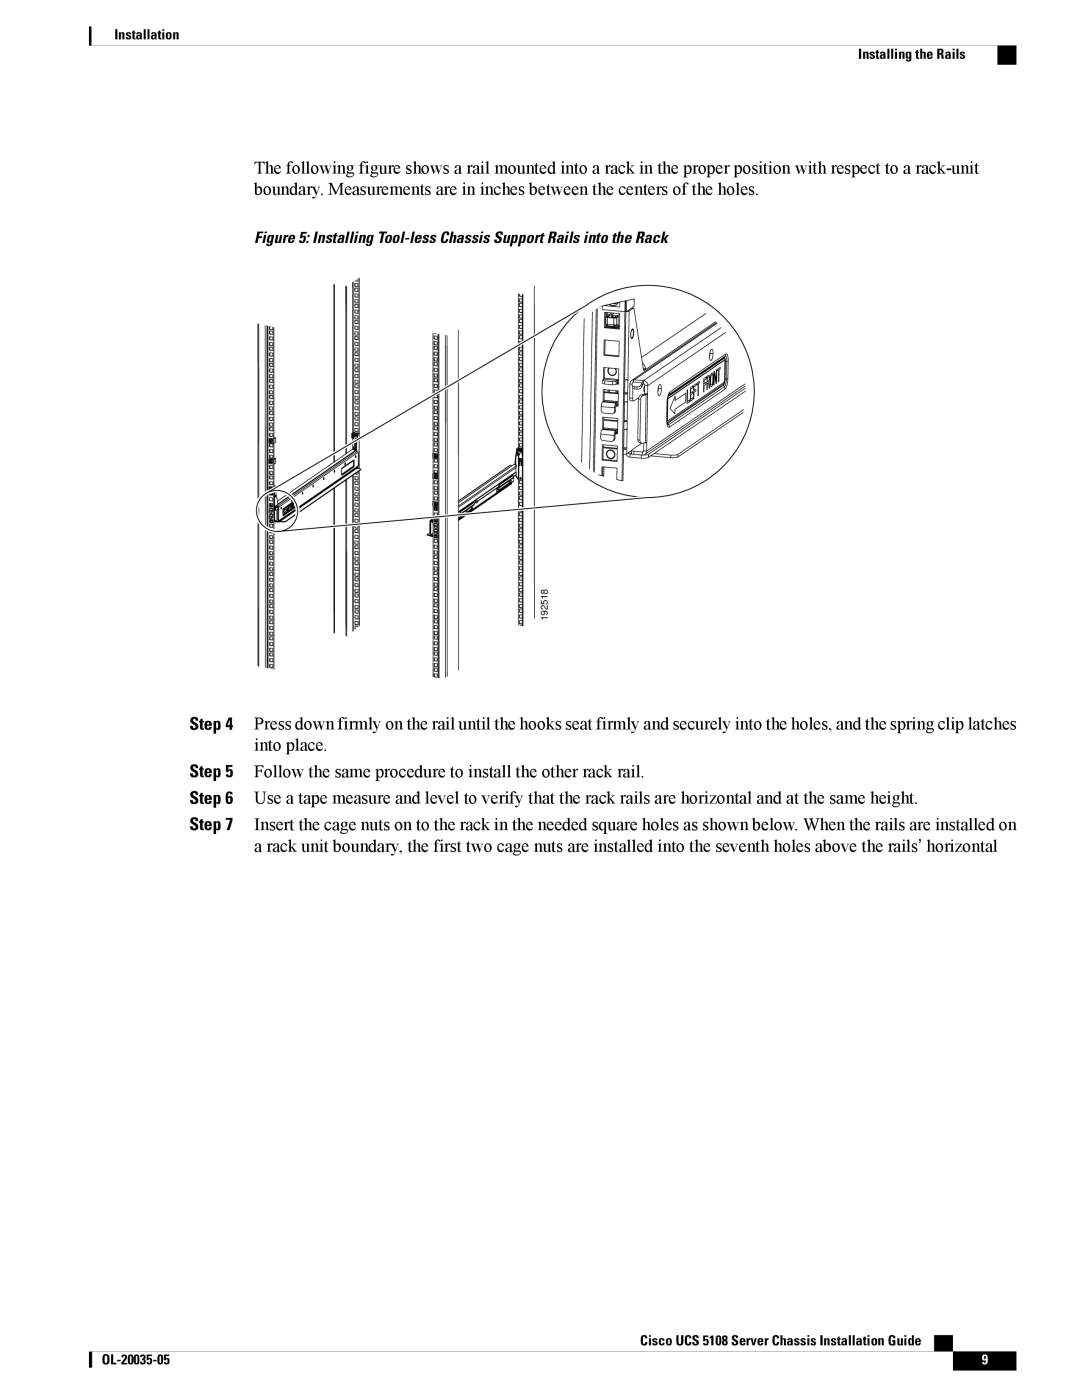
The following figure shows a rail mounted into a rack in the proper position with respect to a
Figure 5: Installing Tool-less Chassis Support Rails into the Rack
192518
Step 4 Press down firmly on the rail until the hooks seat firmly and securely into the holes, and the spring clip latches into place.
Step 5 Follow the same procedure to install the other rack rail.
Step 6 Use a tape measure and level to verify that the rack rails are horizontal and at the same height.
Step 7 Insert the cage nuts on to the rack in the needed square holes as shown below. When the rails are installed on a rack unit boundary, the first two cage nuts are installed into the seventh holes above the rails’ horizontal
Cisco UCS 5108 Server Chassis Installation Guide
9 |